
Assembly and Finishing
- Seaming: Fold the rectangle in half so the short ends meet. Slip stitch through the back loops of the foundation chain and the last row worked to join the edges together, forming a tube. Fasten off, leaving a 12-inch long yarn tail.
- Gathering: Thread your tapestry needle with the long tail. Weave the yarn in and out along the top edge of the tube. Pull the yarn tail tight to cinch the top of the hat closed. Secure with a few knots on the inside.
- Final Step: Weave in all remaining yarn ends securely and turn the hat right side out.
Care & Washing Instructions
- Hand wash in cool water using a gentle detergent specifically formulated for knit and crochet items.
- Lay the hat flat on a clean towel to air dry, reshaping it gently if it appears stretched.
- Avoid using a tumble dryer or bleach, as these can permanently damage the fibers and cause the hat to lose its elasticity.
Pro Tips & Common Mistakes to Avoid
Maintain consistent tension throughout the project to ensure the ribbing looks uniform across the entire surface. If your stitches look loose or uneven, consider going down half a hook size to tighten the gauge. Always place a stitch marker in the first stitch of every row if you find yourself accidentally skipping the last stitch, as this is a common reason for edges becoming uneven. When you decide to adjust the size, add or subtract foundation chains in increments of two to keep your stitch count stable, remembering that more chains will make the hat taller and more rows will make it wider.
Frequently Asked Questions
Can I use a different weight of yarn for this pattern?
Yes, but you will need to adjust your starting chain count. A bulkier yarn will require fewer starting chains, while a lighter weight yarn will require more to reach the same height.
Is this project suitable for someone who has never crocheted before?
It is very beginner-friendly. As long as you are comfortable with the chain stitch and the half double crochet, you have all the skills needed to complete this hat successfully.
How do I adjust the hat to fit a child?
Simply reduce the number of starting chain stitches to make the hat shorter, and work fewer rows until the circumference fits the child’s head snugly.
Am I allowed to sell hats made from this pattern?
You are welcome to sell finished items created from this pattern, provided you credit the design and use your own original photographs for your listings.
 Pin for later!
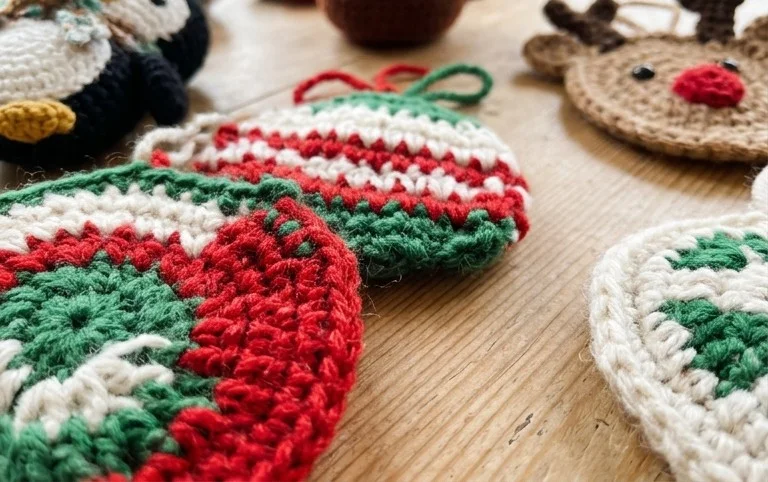
These finished ornaments look beautiful hanging on a pine branch or tied onto the top of a holiday gift. Try using a velvet yarn if you want a softer, more luxurious texture for your baubles this year. Posting a photo of your creations on social media helps others find inspiration for their own handmade homes. Check back often on the blog to find more free projects that keep your hooks moving throughout the busy winter months and beyond into the coming year.
PinterestFacebookWhatsAppFlipboardShare
