
333
new link ads
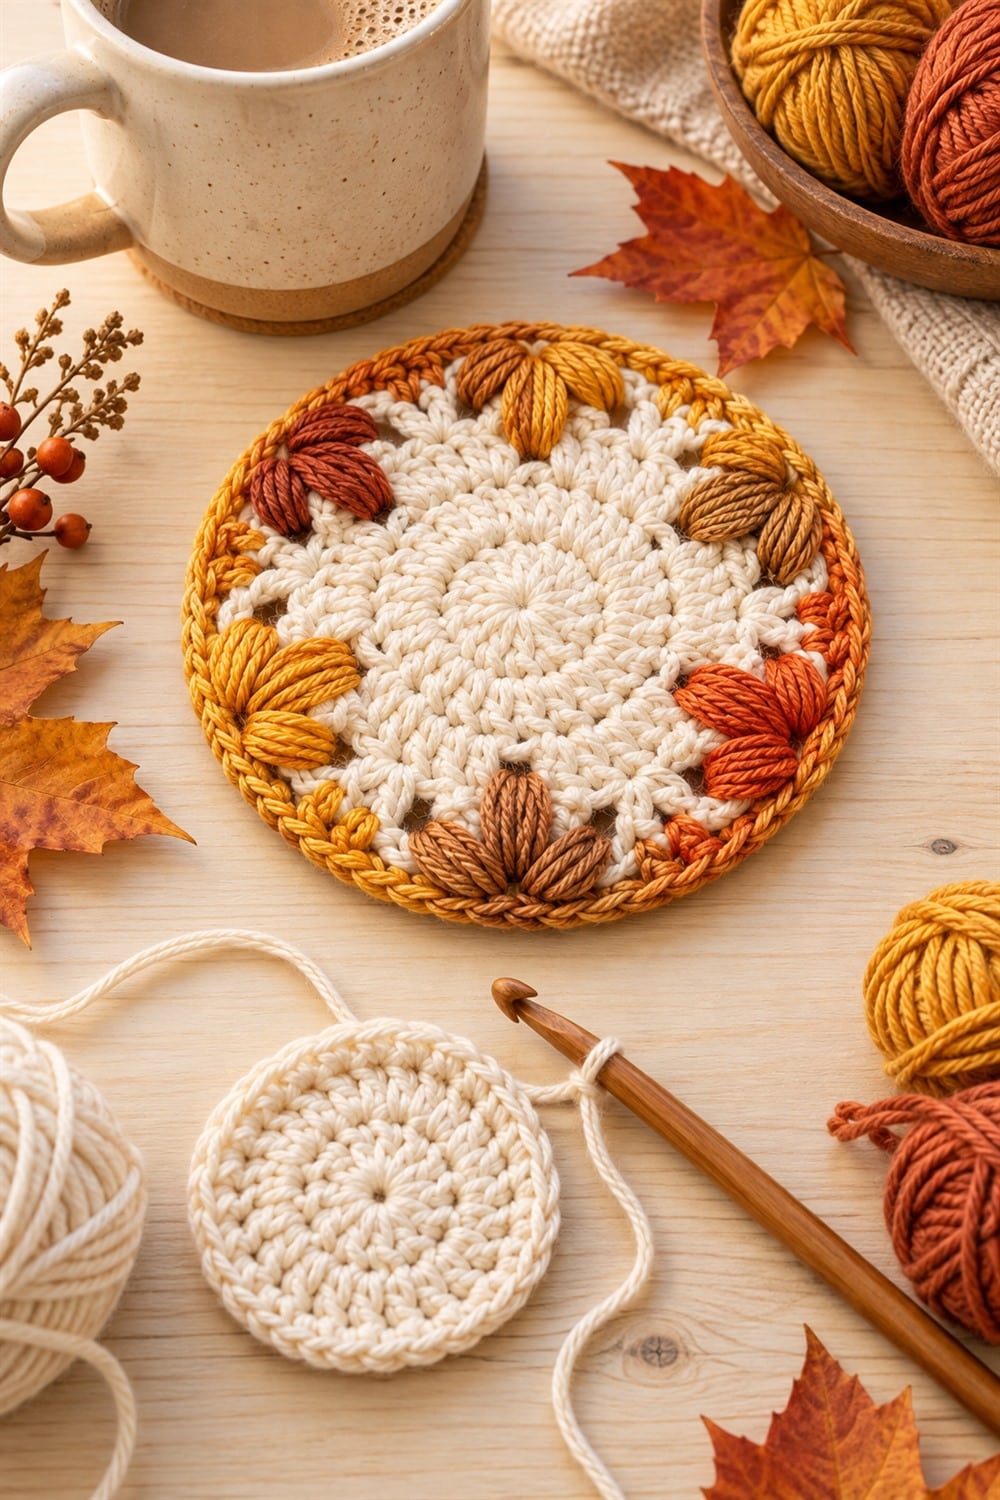
This maple leaf crochet coaster combines a soft textured center with warm gold, rust, and caramel leaf motifs, making it a charming autumn project to follow with the video below.
Easy Maple Leaf Crochet Coaster for Autumn
A handmade fall coaster is a quick way to bring seasonal color to a coffee table, Thanksgiving place setting, or cozy kitchen corner. The round cream base keeps the design light, while dimensional leaf-like clusters around the edge create a decorative maple-inspired border.
Watch the full tutorial before beginning, then replay each round as needed. Follow the creator’s demonstrated stitch counts and placement because the raised leaves depend on even spacing around the center.
Materials and Tools
- Smooth cotton or cotton-blend yarn in cream
- Small amounts of gold, amber, rust, orange, and caramel yarn
- Crochet hook suitable for the chosen yarn
- Stitch marker
- Scissors
- Blunt yarn needle
- Measuring tape
Cotton yarn is a practical coaster choice because it creates defined stitches and handles moisture well. Avoid fibers that may melt or react poorly to heat, and never use a handmade coaster as a substitute for a heat-rated trivet.
How the Crochet Coaster Is Constructed
1. Crochet the Center Circle
Begin with the center ring shown in the video and work evenly spaced increases. Mark the first stitch of each round and count before moving on. The circle should lie flat without ruffling or forming a bowl.
2. Build the Textured Cream Base
Continue expanding the center with the demonstrated stitch sequence. Keep your tension steady so the fabric remains dense enough to protect a tabletop while still lying smoothly.
3. Add the Maple-Leaf Clusters
Change to the autumn shades and work the raised leaf shapes in the specified spaces. Maintain consistent loop height when forming puff or cluster stitches. Alternate warm colors for a natural fall palette or repeat one color for a simpler look.
4. Complete the Outer Border
Join the edge with the final round demonstrated in the tutorial. Work evenly around the circumference and avoid tightening the border, which can cause the coaster to cup.
