
333
new link ads
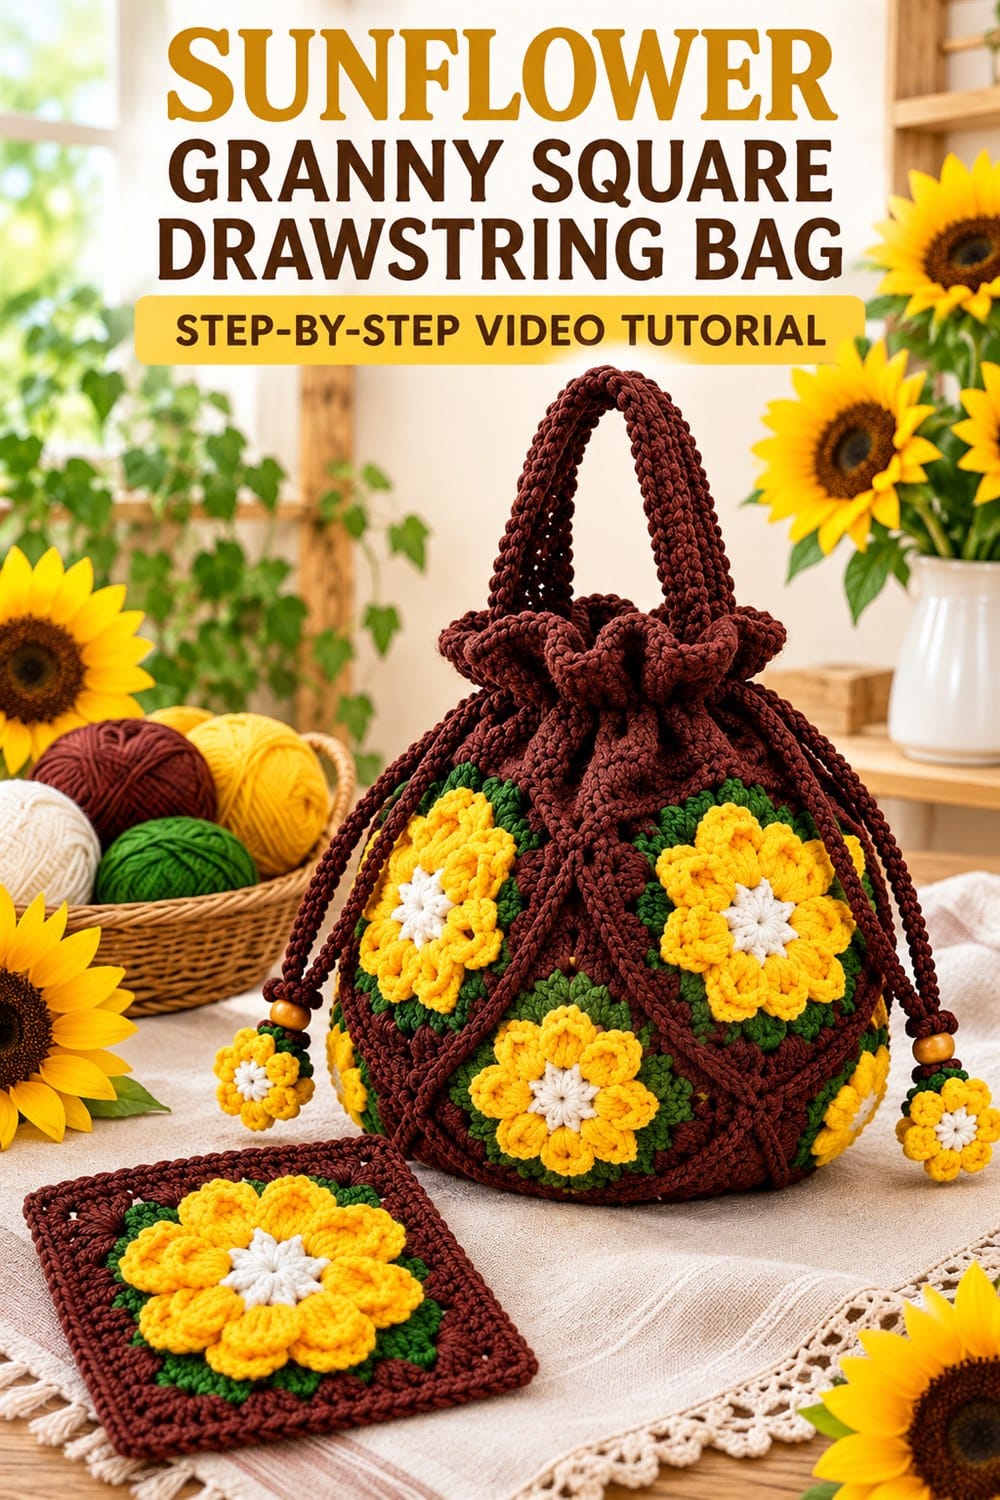
This sunflower granny square drawstring bag turns dimensional floral motifs into a cheerful, practical bucket-style handbag. Golden petals, cream centers, deep green leaves, and chocolate-brown borders create a warm garden palette. The gathered top, sturdy handles, long drawstrings, wooden beads, and tiny flower charms give the finished bag a polished handmade appearance.
This English guide accompanies the embedded video tutorial. It explains the major construction stages, planning, joining, handle reinforcement, drawstring setup, and finishing. Follow the video for the creator’s exact yarn, hook, stitch counts, motif rounds, and assembly order.
Sunflower Granny Square Drawstring Bag Video Tutorial
Why This Crochet Flower Bag Stands Out
The raised sunflower petals create strong texture and make every square a focal point. Dark brown borders frame the flowers and visually connect the motifs to the top, handles, and drawstrings. Because the bag is assembled from smaller sections, the project is portable and easy to customize.
The drawstring opening is both decorative and useful. When pulled closed, the top forms a soft ruffle that keeps belongings more secure. The two handles allow the bag to be carried without relying on the drawstrings.
Suggested Materials
- Chocolate-brown yarn for borders, body details, handles, and ties
- Golden-yellow yarn for dimensional petals
- Cream yarn for flower centers
- Deep or olive-green yarn for leaves
- A suitable crochet hook
- Yarn needle, scissors, and stitch markers
- Optional wooden beads, fabric lining, and bag base
Select yarns of similar thickness and care requirements. Cotton, cotton blends, or smooth synthetic yarns can provide useful stitch definition. The bag should have enough structure to hold its rounded shape, but the upper section must remain flexible enough to gather.
Understanding the Sunflower Granny Square
The motif grows from a small center into layered petals, green leaf or background sections, and a square brown border. Keep the petal count consistent so each flower remains balanced. When converting the round flower into a square, identify and mark all four corners before continuing.
Dimensional petals can twist if tension varies. Work each repeat at the same height and check that the petals face forward before finishing a round. Leave generous yarn tails and weave them through dense stitches on the back.
Step-by-Step Project Overview
- Prepare the palette. Wind manageable yarn balls and confirm that all colors work together.
- Crochet a test flower square. Follow the video and measure the motif after gentle blocking.
- Repeat the motifs. Keep the flower centers, petals, leaves, corners, and borders consistent.
- Block the squares. Shape them to equal dimensions without flattening the raised petals.
- Arrange the bag body. Place motifs in the order demonstrated and check flower direction.
- Join the squares. Use firm, flexible seams and matching brown yarn.
- Shape the base. Follow the tutorial to create a stable rounded or polygonal bottom.
- Add the upper section. Crochet the eyelet round and gathered ruffle evenly.
- Make the handles. Crochet two matching handles and reinforce attachment points.
- Add drawstrings and charms. Thread the ties through the eyelets and finish their ends.
Keeping Every Motif the Same Size
Use one completed square as the master sample. Compare each new motif against it before cutting the yarn. Count every side and corner space, and use the same hook throughout the project. Small differences can often be corrected with blocking, but large differences are easier to fix before joining.
Block with rust-resistant pins and allow the pieces to dry fully. Protect the three-dimensional petals by shaping them with your fingers rather than pressing them flat with heavy heat.
Joining the Granny Squares Neatly
Arrange all motifs before seaming and photograph the layout. A slip-stitch join can create definition, single crochet adds a raised decorative ridge, and an invisible seam gives a flatter appearance. Use the joining method shown in the video when you want the closest result.
Keep seam tension slightly relaxed so the bag body remains flexible. Align corners first, then match the stitches along each side. Secure every seam end carefully because the bag will experience movement and weight.
