
333
new link ads
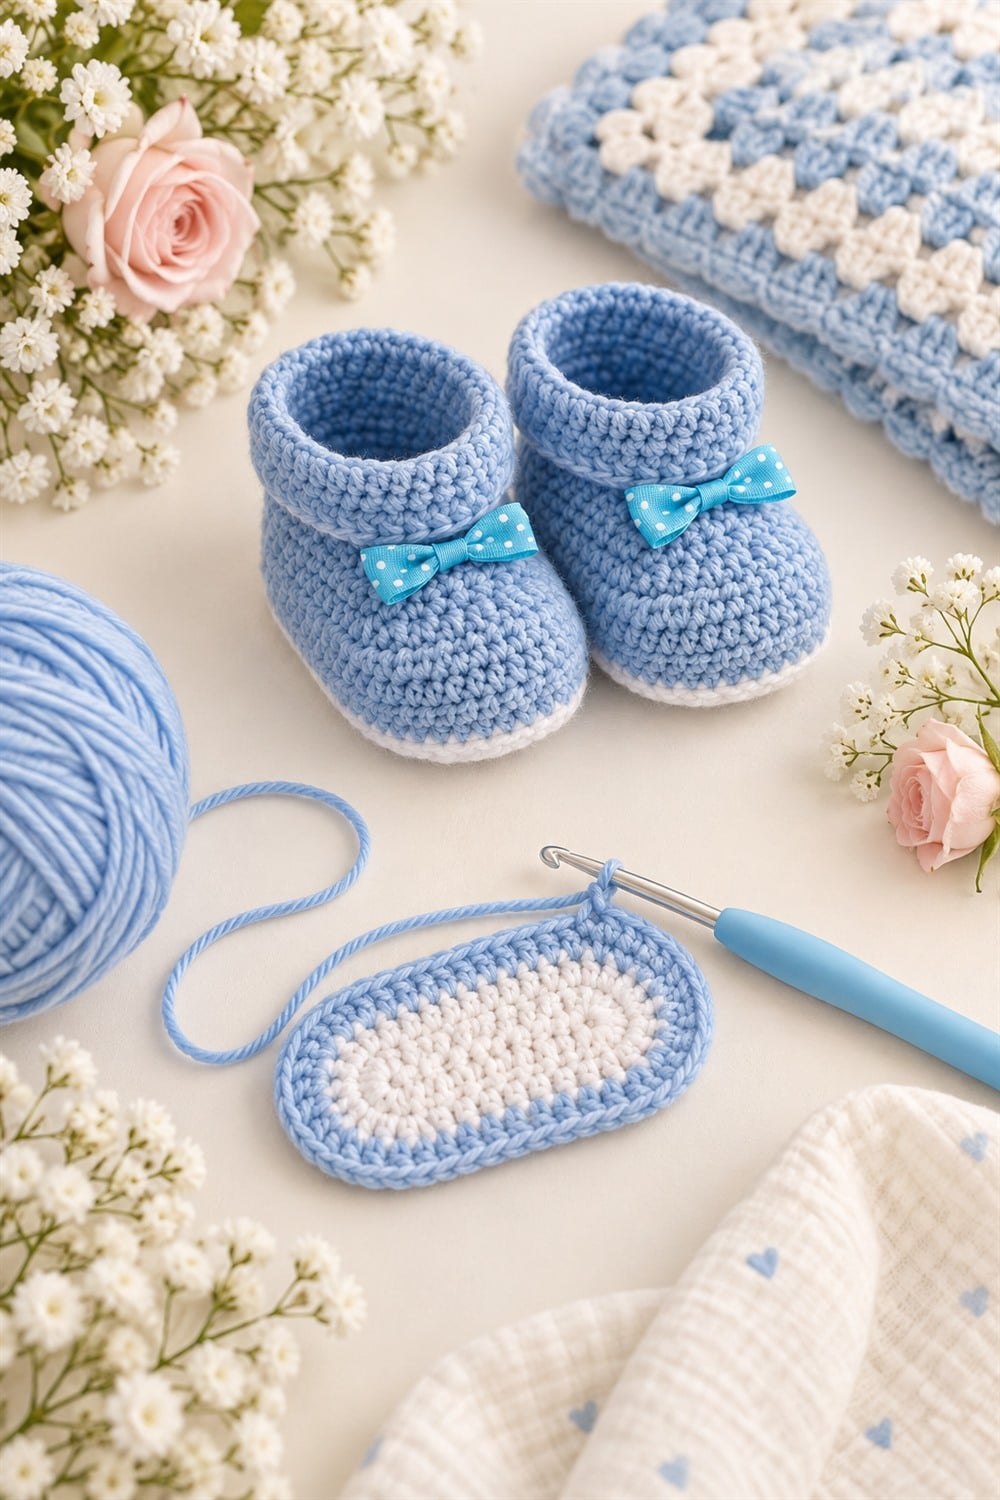
These blue bow crochet baby booties combine a classic handmade shape with soft powder-blue yarn, crisp white sole edging, and charming polka-dot bows. Follow the embedded video tutorial to see how the sole, sides, toe, and ankle cuff come together, then use the practical tips below to make a neat matching pair.
Watch the Blue Bow Crochet Baby Booties Tutorial
The video should be your authoritative guide for the exact foundation chain, stitch counts, yarn, hook size, and shaping sequence. Pause after each section and compare your work with the demonstration. Since gauge and baby foot sizes vary, measure the finished sole before completing the upper.
Why You Will Love This Crochet Baby Shoes Project
- A small, satisfying project for practicing shaped crochet
- A sweet handmade idea for baby showers and nursery gifts
- Easy to personalize with different yarn and ribbon colors
- Fold-over cuffs create a cozy, polished appearance
- Contrasting sole edging gives the booties extra definition
Suggested Materials
- Soft, washable baby-friendly yarn in powder blue
- A small amount of white yarn for the contrasting edge
- Crochet hook appropriate for the selected yarn and tutorial gauge
- Scissors and a yarn needle
- Stitch markers
- Flexible measuring tape or ruler
- Two small bows or ribbon for securely sewn decorations
Use the yarn weight and hook demonstrated by the video maker whenever possible. A different yarn can change both the size and firmness of the finished booties, even when the stitch count stays the same.
How Crochet Baby Booties Are Constructed
The bootie begins with an oval sole worked around both sides of a foundation chain. Increases shape the rounded ends, while later rounds form the side walls. Decreases placed across the front create the toe and instep. Even rounds then build the ankle, and the upper edge can be folded outward to create the soft cuff shown in the design.
Count the stitches at the end of each round and mark the first stitch. If the sole ripples, check for accidental increases. If it cups too early, the tension may be tight or an increase may be missing. Correcting the sole before starting the upper will produce a smoother finished shoe.
Tips for Making Two Matching Booties
- Use the same hook and yarn ball for both shoes.
- Record each completed round and any adjustments.
- Compare the soles before beginning the side rounds.
- Mark the beginning and end of each toe-shaping section.
- Count cuff rounds so both ankle sections have equal height.
- Attach the bows at matching positions on the two shoes.
Checking the Baby Bootie Size
Age labels are useful starting points, but actual baby foot measurements are more reliable. Measure the sole length and width before adding the upper. Compare it with the intended baby’s foot or a comfortably fitting shoe, allowing appropriate ease without making the bootie so loose that it slips off.
