
333
new link ads
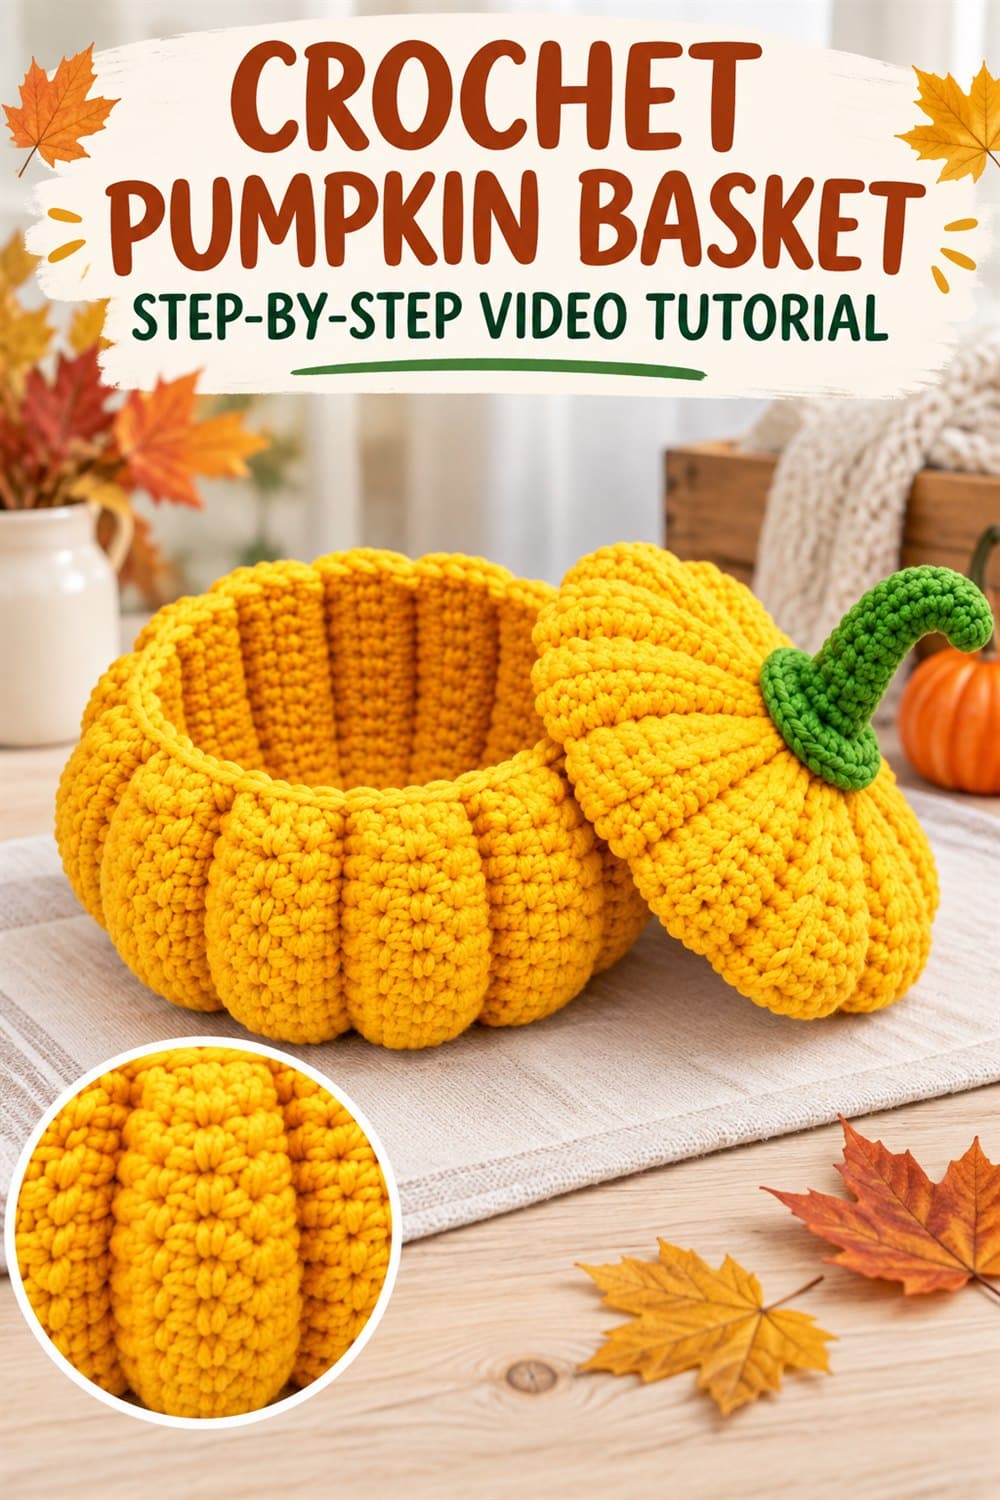
A crochet pumpkin basket is a cheerful way to combine seasonal decor with practical storage. This golden-yellow container has deep rounded ribs, a wide opening, and a removable pumpkin lid topped with a curved green stem. It can hold wrapped candy, small craft supplies, autumn table decorations, or lightweight household items while adding handmade texture to a room.
This English guide accompanies the complete video tutorial below. It explains material selection, basket structure, rib shaping, lid fitting, stem construction, and finishing. Exact counts depend on the yarn, hook, tension, and finished size, so use the instructor’s demonstration for the precise stitch totals and construction sequence used in the original project.
Crochet Pumpkin Basket Video Tutorial
Why Make a Lidded Pumpkin Basket?
The pumpkin silhouette gives the basket visual interest without requiring several colors. Raised vertical sections create the familiar segmented shape, while the fitted lid completes the design and hides the contents. A contrasting green stem acts as both decoration and a convenient handle for lifting the lid.
The pattern is easy to customize. Bright yellow feels playful, traditional orange suits harvest decor, cream creates a modern neutral look, and deep green or rust works well in an autumn palette. You can also change the yarn and hook to make a small trinket box or a larger tabletop container.
Suggested Materials and Tools
- Firm golden-yellow yarn or crochet cord for the basket and lid
- Green yarn for the stem and stem base
- A hook that creates dense, supportive fabric
- Stitch markers for the round beginning and rib placement
- Yarn needle and sharp scissors
- Flexible measuring tape
- Optional plastic canvas or covered base insert
- Optional washable stuffing for a shaped stem
Choose a low-stretch yarn that shows texture clearly. Cotton, cotton blend, recycled cord, or sturdy synthetic bag yarn can help the sides stand upright. If the selected yarn is soft, use a smaller hook, double the strand, or add an internal support after testing a swatch.
Planning the Size and Structure
Decide what the basket will hold before beginning. Measure the intended space and make a dense gauge swatch. The base should remain flat, and the walls should feel firm enough to stand without contents. A removable insert can strengthen the bottom, but cover hard edges so they do not rub against the crochet.
Step-by-Step Construction Overview
- Make a firm center. Begin the base using the method shown in the video and close the center neatly.
- Expand the base. Space increases evenly so the circle lies flat without ripples.
- Establish the pumpkin ribs. Mark the repeated sections that will create the vertical segments.
- Build the basket walls. Work upward while keeping every rib aligned with the base.
- Shape the rounded sides. Follow the demonstrated increases or decreases to form the pumpkin silhouette.
- Finish the upper edge. Create an even rim that supports the removable lid.
- Crochet the lid. Begin separately and repeat the segmented shaping in a shallower form.
- Test the fit. Place the lid on the basket before fastening off and adjust only if necessary.
- Make the green stem. Work a dense curved stem and secure it to a reinforced center.
- Finish and shape. Weave in ends, block lightly, and add optional internal support.
Creating Even Pumpkin Ribs
The ribs are the key design feature. Mark each repeat and count the plain stitches between raised sections. Work into the same loop or post placement throughout so the vertical lines do not drift. After every few rounds, set the basket down and inspect it from all sides. Correct a shifted rib immediately before more rows make the mistake difficult to reach.
Maintain consistent tension across raised stitches. Pulling them too tightly can pinch the fabric, while loose ribs will not create a defined pumpkin shape. Use the hook tip carefully in crowded areas so the yarn does not split.
Keeping the Basket Base Flat
A base that cups usually needs additional spacing or looser tension, while a wavy base may contain too many increases. Compare the work with a flat surface after each expansion round. Do not stretch it to force it flat; adjust the active round instead. Once the walls begin, keep the transition firm and even so the basket does not collapse around the lower edge.
Making Sturdy Basket Walls
Dense stitches and low-stretch yarn provide the best structure. If the walls remain soft, an optional lining with interfacing can help. Another solution is a removable internal form made from flexible plastic canvas and fabric. Keep supports fully covered, especially when the basket will hold delicate objects.
