
A Hello Kitty crochet hat turns a simple beanie into a playful accessory. The white face shape, little ears, and signature bow make it instantly recognizable, and the basic construction is more approachable than it looks. If you can crochet in the round, you can make one.
This guide covers materials, the basic construction, finishing tips, current crochet trends, and answers to common questions about yarn amounts, time, and pricing.
What Makes This Hello Kitty Crochet Hat Special
Hello Kitty’s design is built from simple shapes: a rounded head, two small ears, a bow, and a minimal face. That makes it well suited to crochet. Nearly everything is a circle, a flat oval, or a few lines of embroidery.
People make this style of hat for a few reasons. It’s a fun gift for fans of the character. It’s a good way to practice shaping and embroidery. And handmade versions can be customized in size, color, and softness in ways store-bought hats usually can’t. If you’re wondering where to buy a Hello Kitty hat, Sanrio’s official shops and licensed retailers carry officially made ones, while handmade sellers offer custom crochet versions.
Materials You May Need
Exact needs depend on the size and look you choose, but most versions use:
- Main yarn: white or off-white for the base. Soft acrylic or acrylic-blend yarn is a practical choice because it’s easy to wash.
- Accent yarn: red or pink for the bow, black for the eyes, and yellow for the nose.
- Crochet hook: the size recommended on your yarn label, or one size smaller for a denser fabric.
- Yarn needle: for sewing pieces on and embroidering the face.
- Stitch marker, scissors, and a measuring tape.
- Small amount of fiberfill (optional): helpful if you want a padded bow.
- Pins or clips: for testing ear and bow placement before sewing.
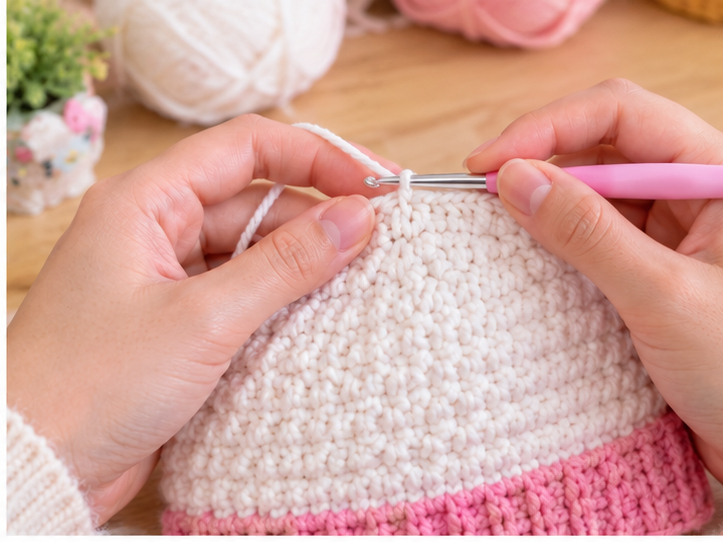
How to Make It
These steps describe a general beanie with added ears, bow, and face. Adjust them to suit your yarn and head size.
1. Make the Crown
Work in continuous rounds with a stitch marker. Start with a magic ring and 6 sc.
- Round 1: 6 sc in the ring
- Round 2: inc in each stitch (12)
- Round 3: (sc, inc) around (18)
- Round 4: (2 sc, inc) around (24)
Keep adding one plain stitch between increases each round. Stop increasing when the flat circle is roughly 5 to 5.5 inches across for a child, or about 6 to 6.5 inches for an adult in worsted-weight yarn. The circle should lie flat without cupping or ruffling.
2. Work the Body
Crochet even rounds, with no increases, until the hat reaches your target height. For an adult, this is often around 7.5 to 8 inches from the center of the crown to the edge. Measure the intended wearer’s head first, since sizes vary. Add a few extra rounds if you want a folded brim.
3. Finish the Edge
Add a round of sc, a ribbed edge, or a row of slip stitches for a neat, stretchy border. Fasten off and weave in the ends.
4. Make the Ears
Make two small ears. A simple method is to crochet a small flat circle (6 sc in a magic ring, increase to 12, then work one or two even rounds), then flatten and shape it into a rounded triangle. Ear size is a design choice, so make a test ear and hold it against the hat before committing.
5. Make the Bow
The bow can be a small rectangle pinched in the middle and wrapped with a strand of yarn, or a small oval loop with a center knot. Red or pink are the classic choices, but any color works.
6. Add the Face
Embroider the face rather than using plastic pieces. Use two black ovals for the eyes and a small yellow oval for the nose. Add whiskers with black yarn or embroidery thread if you like. Place the features low on the hat’s front, close together, and check that they’re level before stitching.
