
Stay cozy and stylish with our free crochet hat pattern offering easy-to-follow steps for creating warm hats perfect for every season and look.
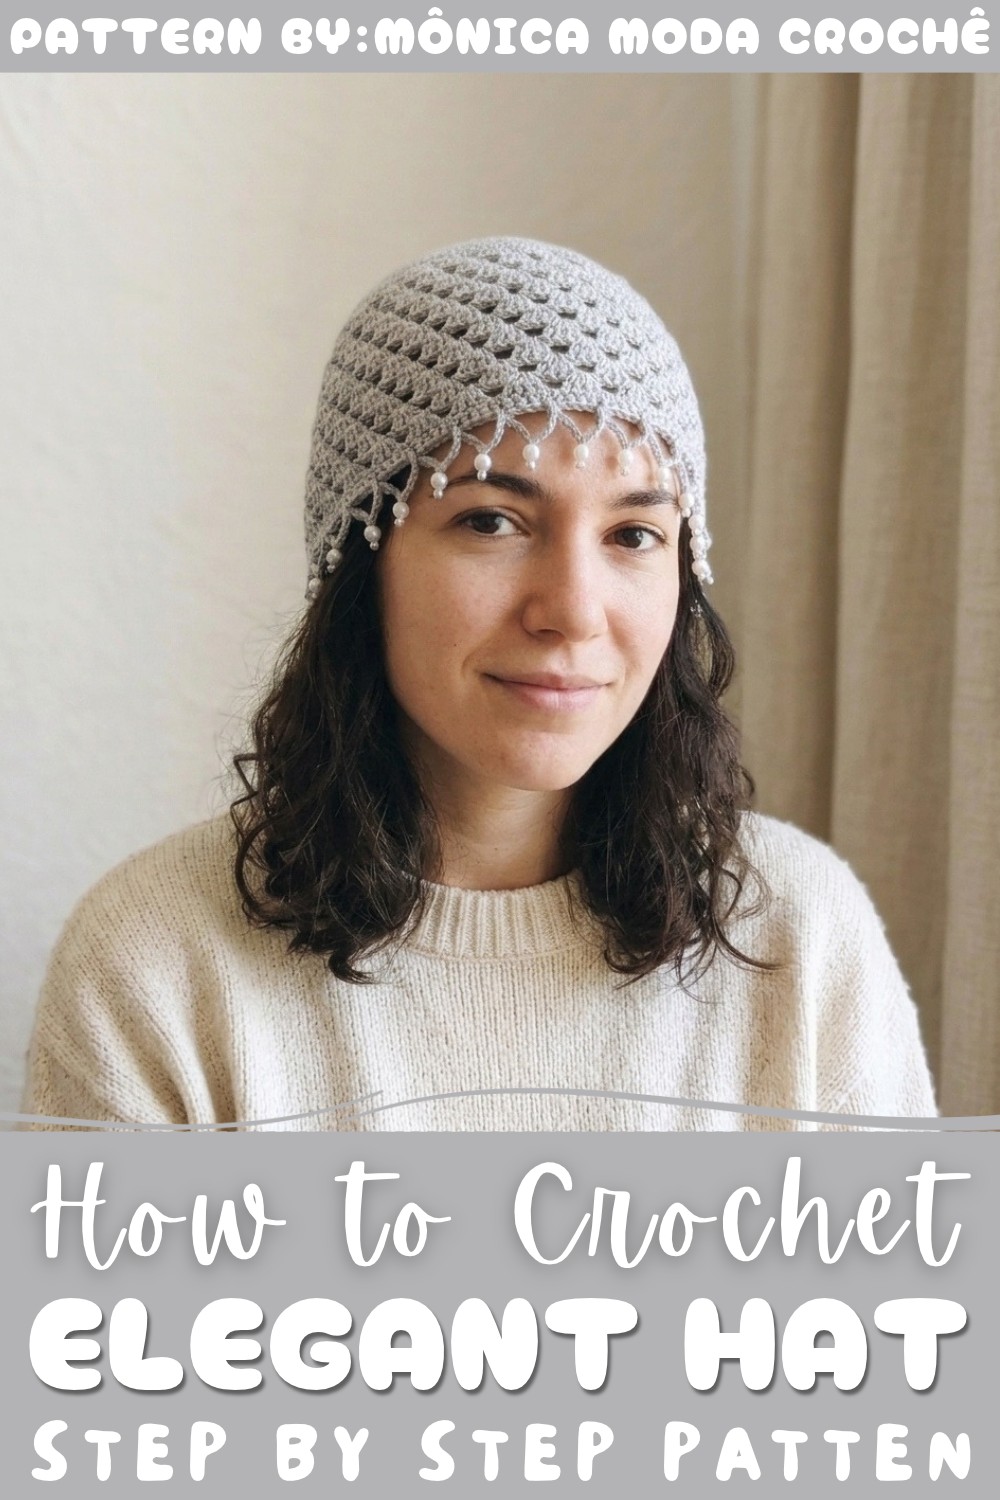
For those looking to add a charming accessory to their wardrobe, this elegant hat offers both style and function. On Mônica Moda Crochê channel, you’ll discover a Free crochet Hat Pattern that guides you step-by-step in creating a trendy piece known as the “Red Piece.” This hat is set to be a major fashion highlight for summer 2025, making it an excellent project for personal use or a thoughtful gift.
Easy and Free Crochet Hat Pattern | Perfect for Any Skill Level
Save
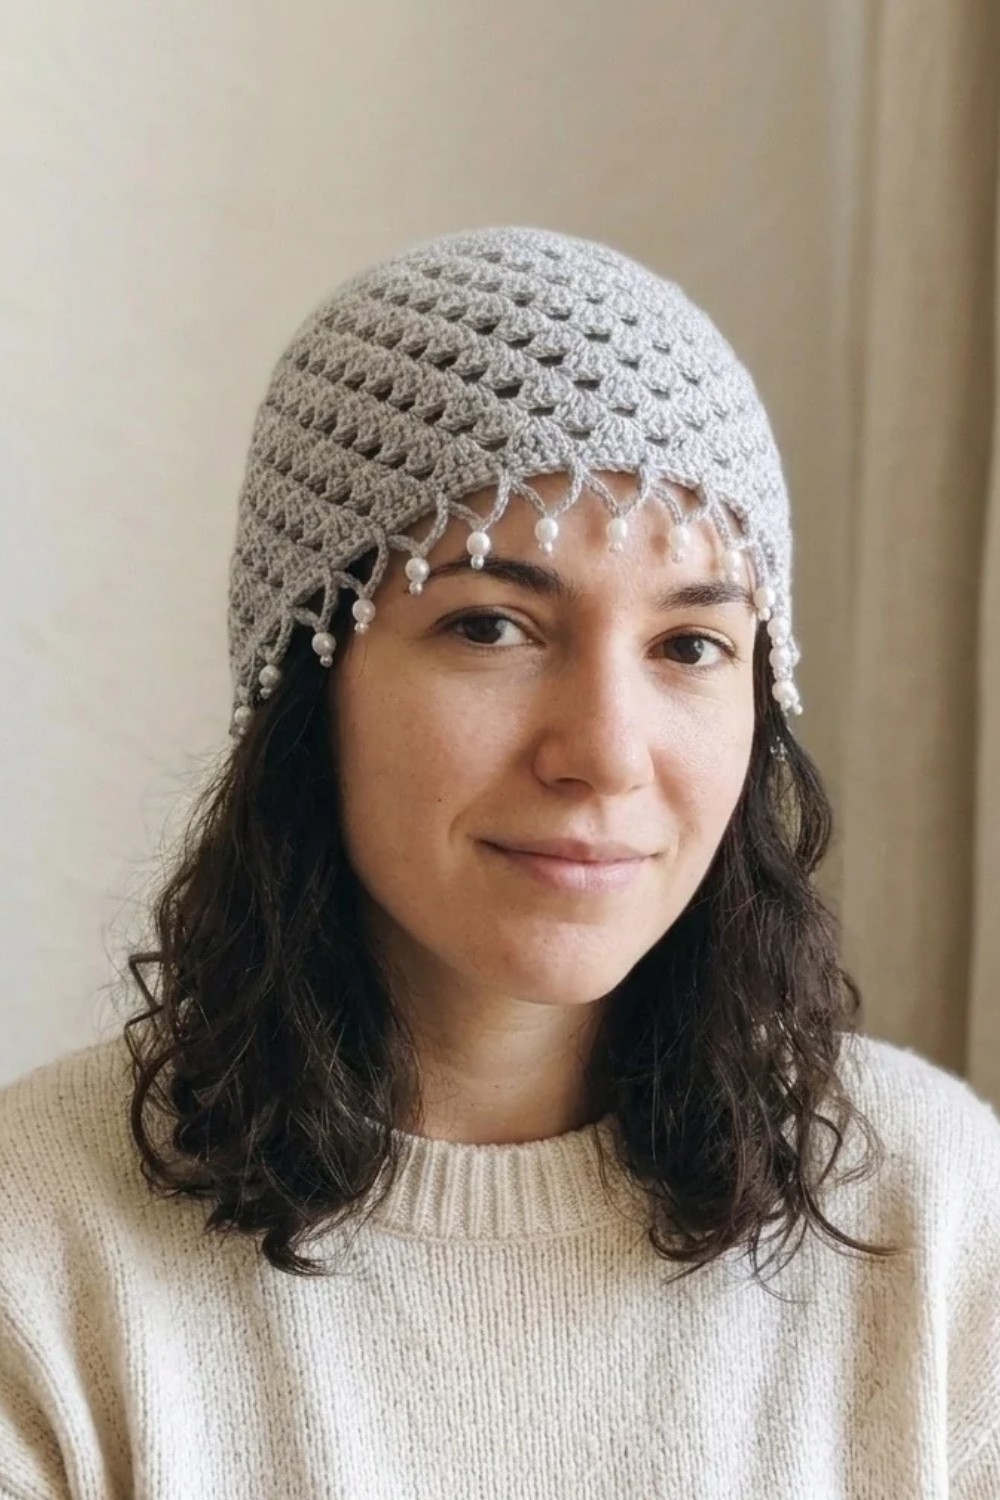
This hat features a beautifully textured design made with treble and double crochet stitches, creating a sturdy yet breathable fabric. The shape is classic with a rounded crown and a slightly flared brim that frames the face gracefully. What truly sets this piece apart are the delicate pearl details carefully sewn onto the brim, adding a touch of elegance and sparkle to the otherwise simple style.
Using medium-weight Anne yarn and a 4 mm nickel-plated crochet hook, the hat has a soft but firm texture ensuring comfort and durability. The pattern also includes a special stitch sequence that adds dimension and a lovely pattern to the fabric, making the hat visually interesting without being overly complicated.
Save
Circular Crochet Headpiece With Pearl Detailing
This crochet headpiece features a beautiful circular design adorned with pearl accents, creating an elegant accessory perfect for special occasions. With its structured foundation and decorative finishing, this pattern combines traditional crochet techniques with delicate embellishments.
Skill Level
Intermediate
This project is ideal for crocheters who are proficient in working in the round, increasing stitches, and adding decorative details, such as pearls.
Materials Required
- Yarn:
- Anne yarn in the color of your choice (lightweight and suitable for fine details).
- Hooks:
- Nickel crochet hook size 4: For the main pattern construction.
- Fine crochet hook size 8: For threading and attaching pearls.
- Pearls:
- Larger white pearls for highlights.
- Smaller grey pearls for contrast.
Special Stitches Used
- Chain Stitch (Ch):
- Yarn over, pull through the loop on your hook to create a stitch.
- Slip Stitch (Sl St):
- Insert hook into stitch, yarn over, pull through the stitch and the loop already on your hook.
- Double Crochet (Dc):
- Yarn over, insert hook into stitch, yarn over again, pull through (3 loops on hook). Yarn over, pull through first 2 loops on hook. Yarn over again, pull through remaining 2 loops.
- Half Double Crochet (Hdc):
- Yarn over, insert hook into stitch, yarn over again, pull through (3 loops on hook). Yarn over, pull through all 3 loops at once.
- Single Crochet (Sc):
- Insert hook into stitch, yarn over, pull through (2 loops on hook). Yarn over again, pull through both loops.
Stitch Abbreviations
- Ch: Chain
- Sl St: Slip Stitch
- Dc: Double Crochet
- Hdc: Half Double Crochet
- Sc: Single Crochet
Useful Tips
- Tension Control: Maintain consistent tension throughout to avoid distortion in the circular shape. Secure your stitches tightly when attaching pearls to prevent gaps.
- Pearl Application: Use the finer crochet hook to effortlessly thread pearls onto the yarn. Pre-thread several pearls in advance to streamline the process.
- Increment Pattern: Carefully count increasing stitches to maintain symmetry in the circular construction. Use stitch markers to designate important points if needed.
- Resulting Diameter: Ensure the circle reaches approximately 11.5 cm as a guide for proper size before transitioning to the main body pattern.
Pattern Instructions
Phase 1: Foundation Circle
Round 1:
- Ch 5, join the ends with a Sl St to create a small circle.
- Work 12 Dc stitches into the center loop, completing the foundation circle. Save
Phase 2: Increasing Rows
Each row will add increments to expand the size of the circle.
Round 2:
- Make 2 Dc stitches into each stitch from the previous round (increase in every stitch).
