
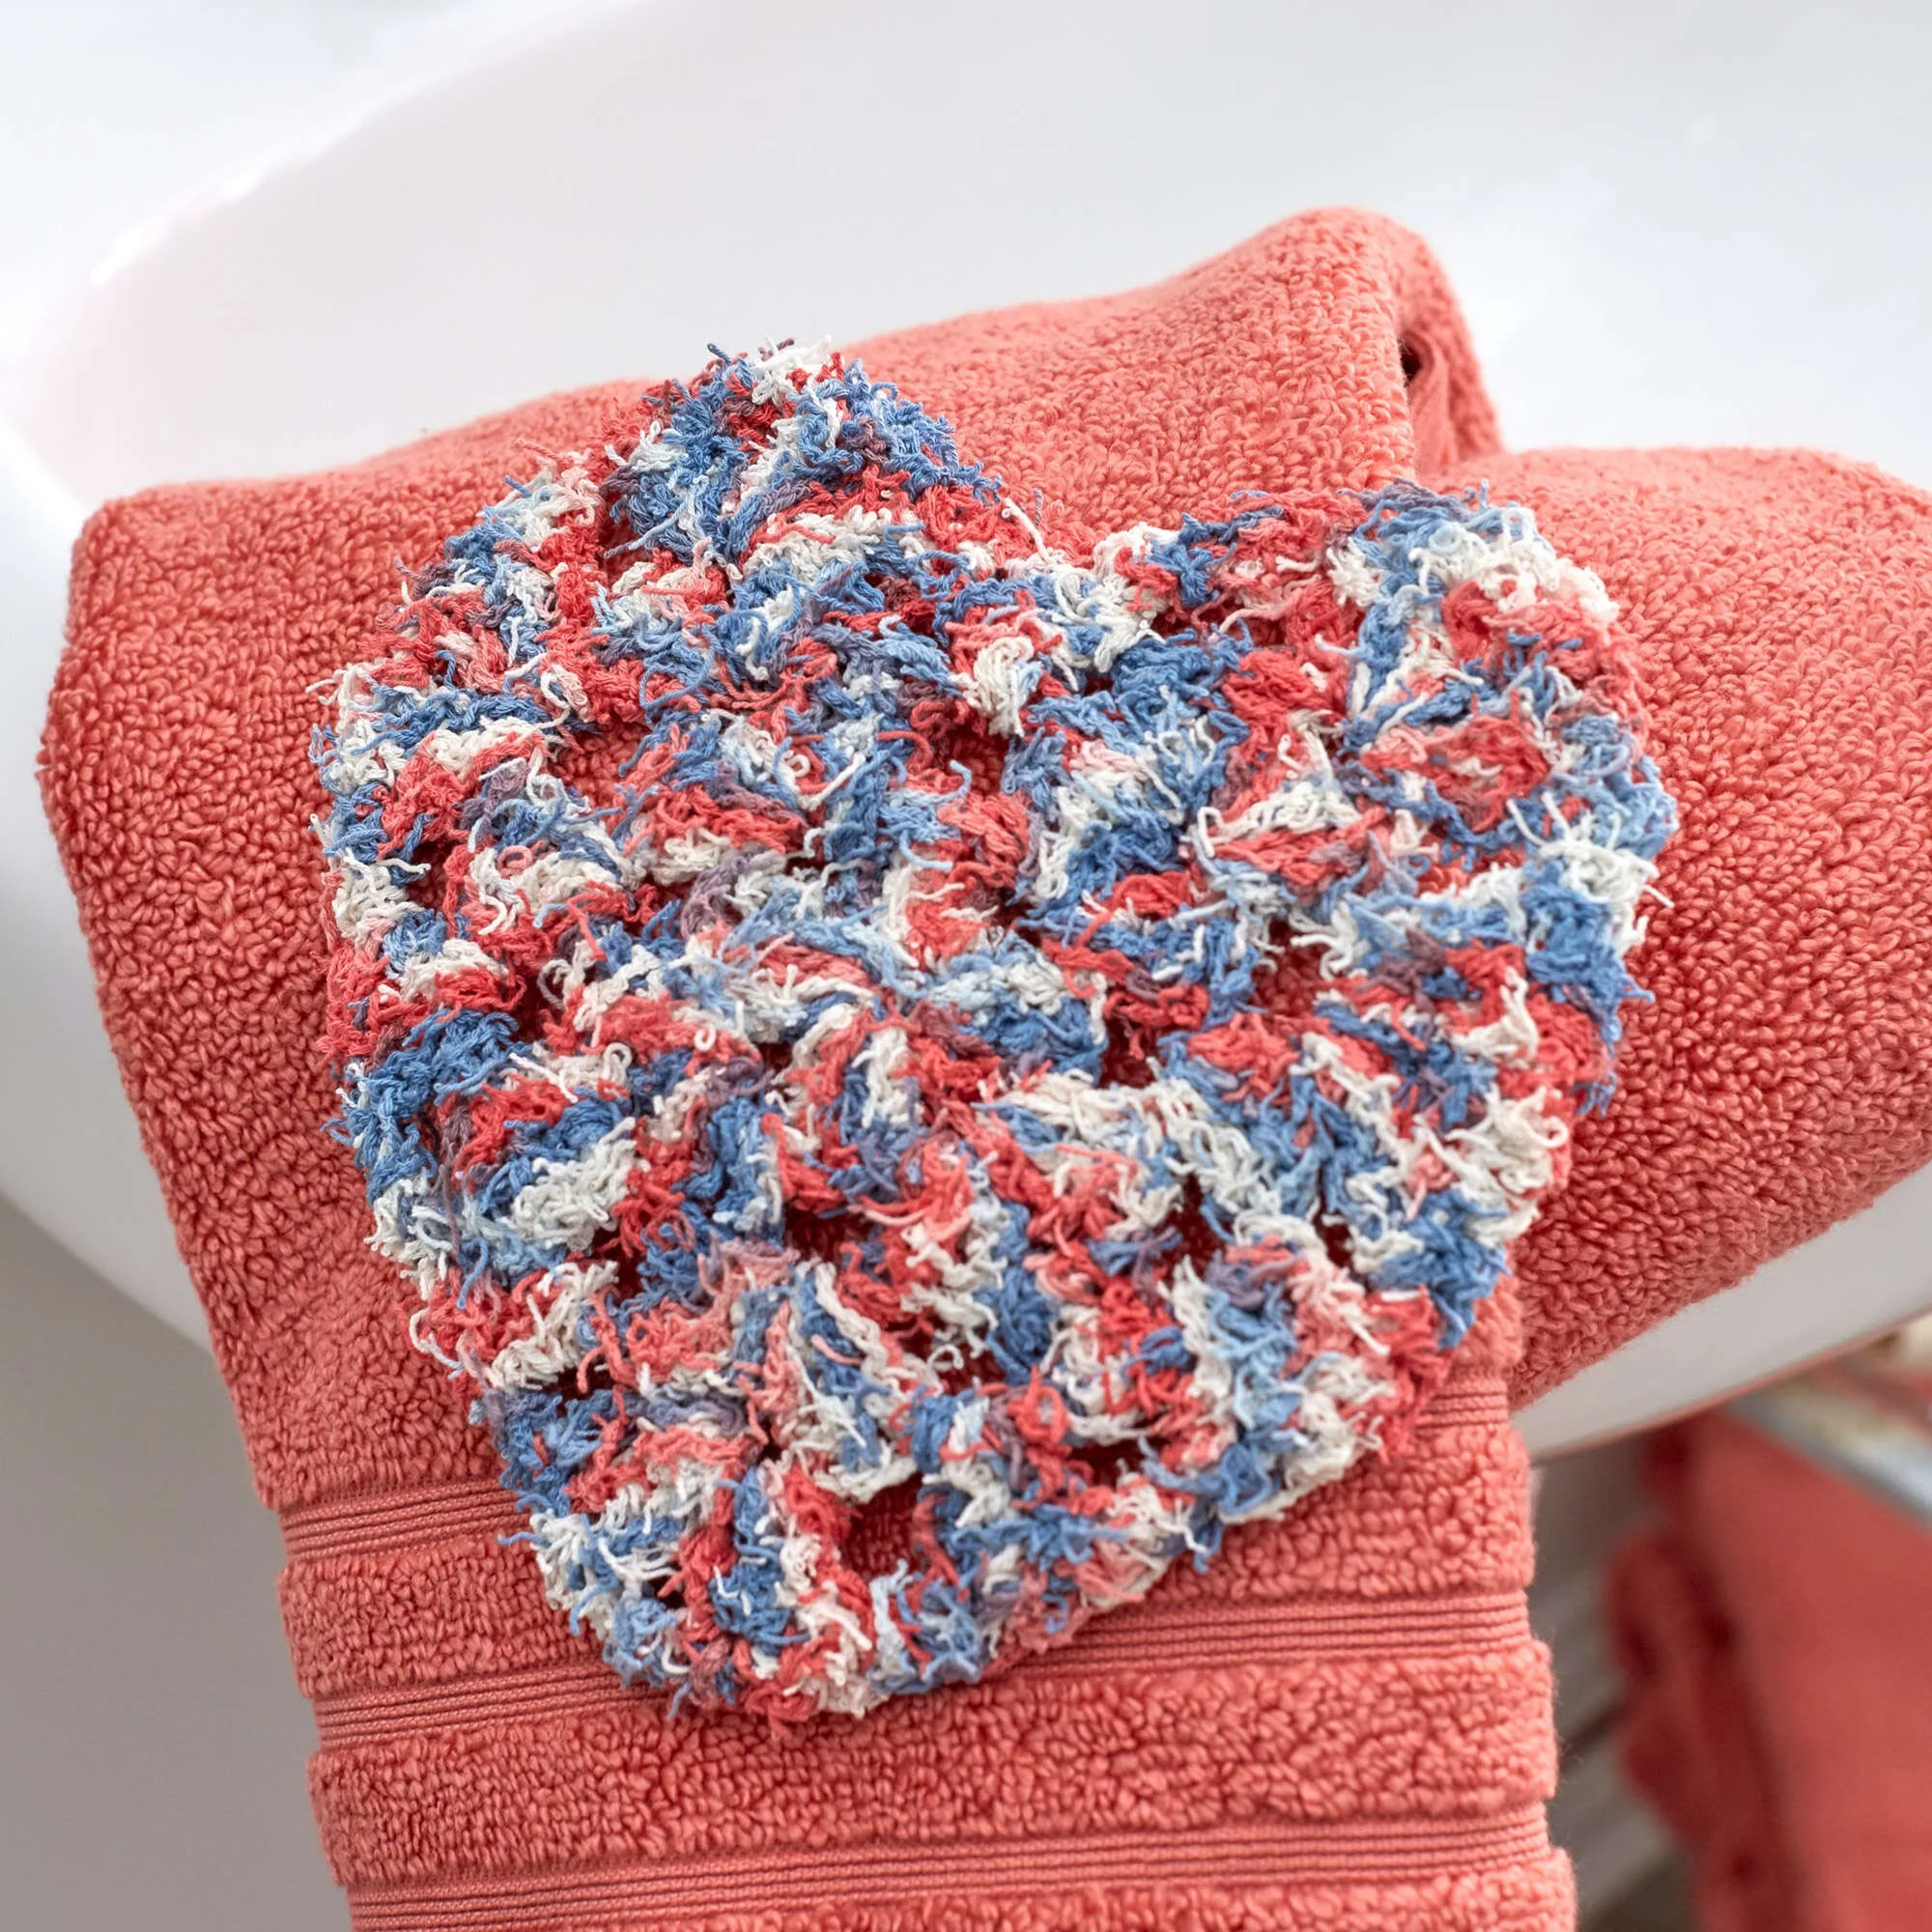
The Crochet Heart-Shaped Granny Scrubby is a delightful and functional addition to your home, ideal for kitchen chores or bath time. Made using RED HEART® Scrubby Cotton™, this heart-shaped scrubby combines aesthetic charm with practicality. The pattern features a circular construction using double and single crochet stitches, resulting in a textured surface that effectively cleans surfaces while being gentle on your dishes and skin.
This project is suitable for crocheters with basic skills like chaining and working in the round. You’ll find that following the written directions is straightforward, especially with the accompanying photographs. Let’s dive into the details!
Project Details
- Crochet terminology: US terms
- Skill level: Easy
- Finished size: Approximately 8” wide
- Construction method: Worked in rounds
- Gauge: Not specified
Materials and Tools
| Yarn option | Yarn and specifications | Amount |
|---|---|---|
| RED HEART® Scrubby Cotton™ | Art. E854: Solid color or Prints | 1 ball (3.5 oz / 100 g, 145 yd / 133 m for solids; 3 oz / 85 g, 121 yd / 110 m for prints) |
- Susan Bates® Crochet Hook: 5.5mm (US I-9)
- Yarn needle
Crochet Patterns — No Ads. No Clutter.
Browse the Crochet Library →
Abbreviations
| Abbreviation | Meaning |
|---|---|
| ch | chain(s) |
| dc | double crochet |
| sc | single crochet |
| st(s) | stitch(es) |
| tr | treble (triple) crochet |
| ( ) | work directions in parentheses into same st |
| [ ] | work directions in brackets the number of times specified |
| * | repeat whatever follows the * as indicated |
Preparation and Techniques
Working in Rounds
This pattern is worked in joined rounds, meaning at the end of each round, you will join your last stitch to the top of the initial stitch with a slip stitch. This ensures a flat circular shape without visible seams.
Complete Pattern Instructions
Scrubby (worked in rounds)
| Round | Instructions | Stitches |
|---|---|---|
| 1 | Ch 4; join with slip st in first ch to form a ring. | – |
| Row 1 | Ch 3 (counts as first dc), 2 dc in ring, 3 times; ch 1; join with slip st in top of beginning ch. | 12 dc and 4 ch-1 spaces |
| Row 2 | Slip st in next 2 dc, slip st in first ch-1 space; (ch 3, 2 dc, ch 1, 3 dc) in same space, twice in each ch-1 space around, ch 1; join with slip st in top of beginning ch. | 24 dc and 8 ch-1 spaces |
| Row 3 | Slip st in next 2 dc, slip st in first ch-1 space; (ch 3, 2 dc, ch 1, 3 dc) in same space; *(ch 1, 3 dc) in next 2 ch-1 spaces, twice in next ch-1 space; repeat from * once; ch 1, 2 sc in next ch-1 space, ch 1; join with slip st in top of beginning ch. | 2 sc, 30 dc, and 11 ch-1 spaces |
| Row 4 | Slip st in next 2 dc, slip st in first ch-1 space; (ch 3, 2 dc, ch 1, 3 dc) in same space; twice in next ch-1 space; (ch 1, 3 dc) in next 2 ch-1 spaces; twice in next ch-1 space; (ch 1, 3 dc) in next 2 ch-1 spaces; twice in next 2 ch-1 spaces; ch 1, sc in last 2 ch-1 spaces; ch 1; join with slip st in top of beginning ch. | 2 sc, 42 dc, 15 ch-1 spaces |
| Row 5 | Ch 1, sc in each st and ch-1 space around; join with slip st in first sc. | 59 sc |
Assembly and Finishing
Weave in the Ends
Once you have completed the scrubby, take your yarn needle and weave in any loose ends from your starting and finishing stitches. This will give your scrubby a clean look and ensure no loose threads are left to catch on dishes or skin.
Practical Tips
- Choosing Your Hook: Use a 5.5mm hook for the best texture. A different size may alter the overall scrubbiness.
- Color Combinations: Feel free to experiment with color changes in your scrubby to create a playful design that matches your kitchen theme.
- Testing for Scratchiness: Before using your scrubby, run it against a smooth surface to check the scrub texture. Adjust your tension in future projects if necessary.
