
- Fold the rectangle in half so the short ends meet.
- Using your tapestry needle and the long tail, sl st or whipstitch the two short ends together to form a tube.
- Weave the yarn through the top edge of the tube, passing the needle in and out of every other row end.
- Pull the yarn tail tightly to close the hole at the crown, securing it with several knots on the inside of the hat.
- Turn the hat right side out and fold up the bottom edge to create a brim.
Care & Washing Instructions
- Hand wash in cool water using a gentle detergent specifically formulated for wool or synthetic fibers.
- Lay the beanie flat on a clean towel to air dry, reshaping it while damp to ensure the ribbing retains its elasticity.
- Avoid using a tumble dryer or harsh bleach, as these can felt the fibers or destroy the structural integrity of the stitches.
Pro Tips & Common Mistakes to Avoid
Maintain consistent tension throughout the project by keeping your yarn flow steady; if the stitches look uneven, try switching to a slightly smaller hook. Use a stitch marker on the very first stitch of every row to ensure you do not accidentally skip the final stitch, which often causes the rectangle to taper into a triangle. Weave your ends in by running the tapestry needle through the bases of the stitches on the inside of the seam to keep the repair invisible. To adjust the size, add or subtract foundation chains to change the height, or add more rows to increase the circumference, keeping in mind that each additional row will require approximately three extra yards of yarn.
Frequently Asked Questions
Can I use a larger hook for this pattern?
Using a larger hook will make the fabric loose and significantly larger in circumference. If you change the hook size, you must adjust the starting chain and the total row count to maintain the fit.
Is this pattern suitable for complete beginners?
Yes, this is an ideal first project. It requires only the single crochet stitch and teaches basic techniques like working in the back loop and finishing a seam.
How do I adjust the hat to fit a child?
To make the hat smaller, reduce the number of starting chains to 35 for a shorter height and stop after 50 rows instead of 60 to reduce the total circumference.
Am I allowed to sell hats made from this pattern?
You are welcome to sell finished items created from this pattern. Please provide credit to the designer whenever possible.
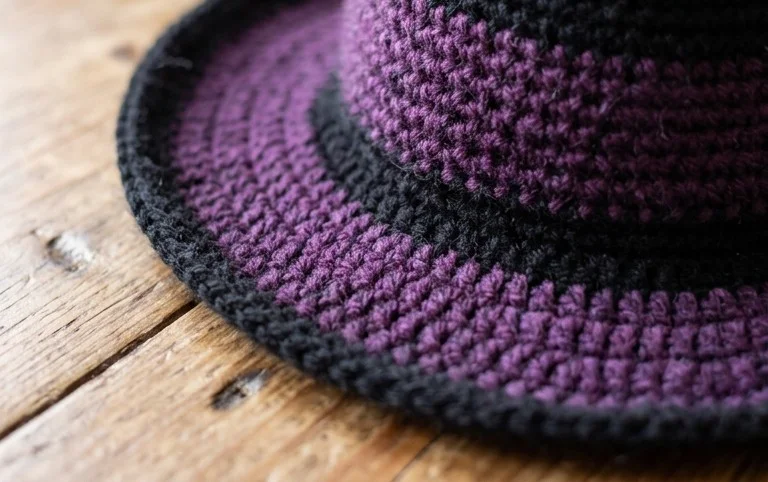 Pin for later!
Seeing your cat wear their tiny, handcrafted hat brings a smile to any pet lover, and it makes for a fantastic conversation starter at holiday gatherings. You might consider working this in a vibrant purple yarn or adding a small felt star to the side for a personalized touch. Share a photo of your finished work on social media so others can see how your pet looks in their new attire. Visit the rest of our blog for more free patterns to keep your hooks busy.
PinterestFacebookWhatsAppFlipboardShare
