
333
new link ads
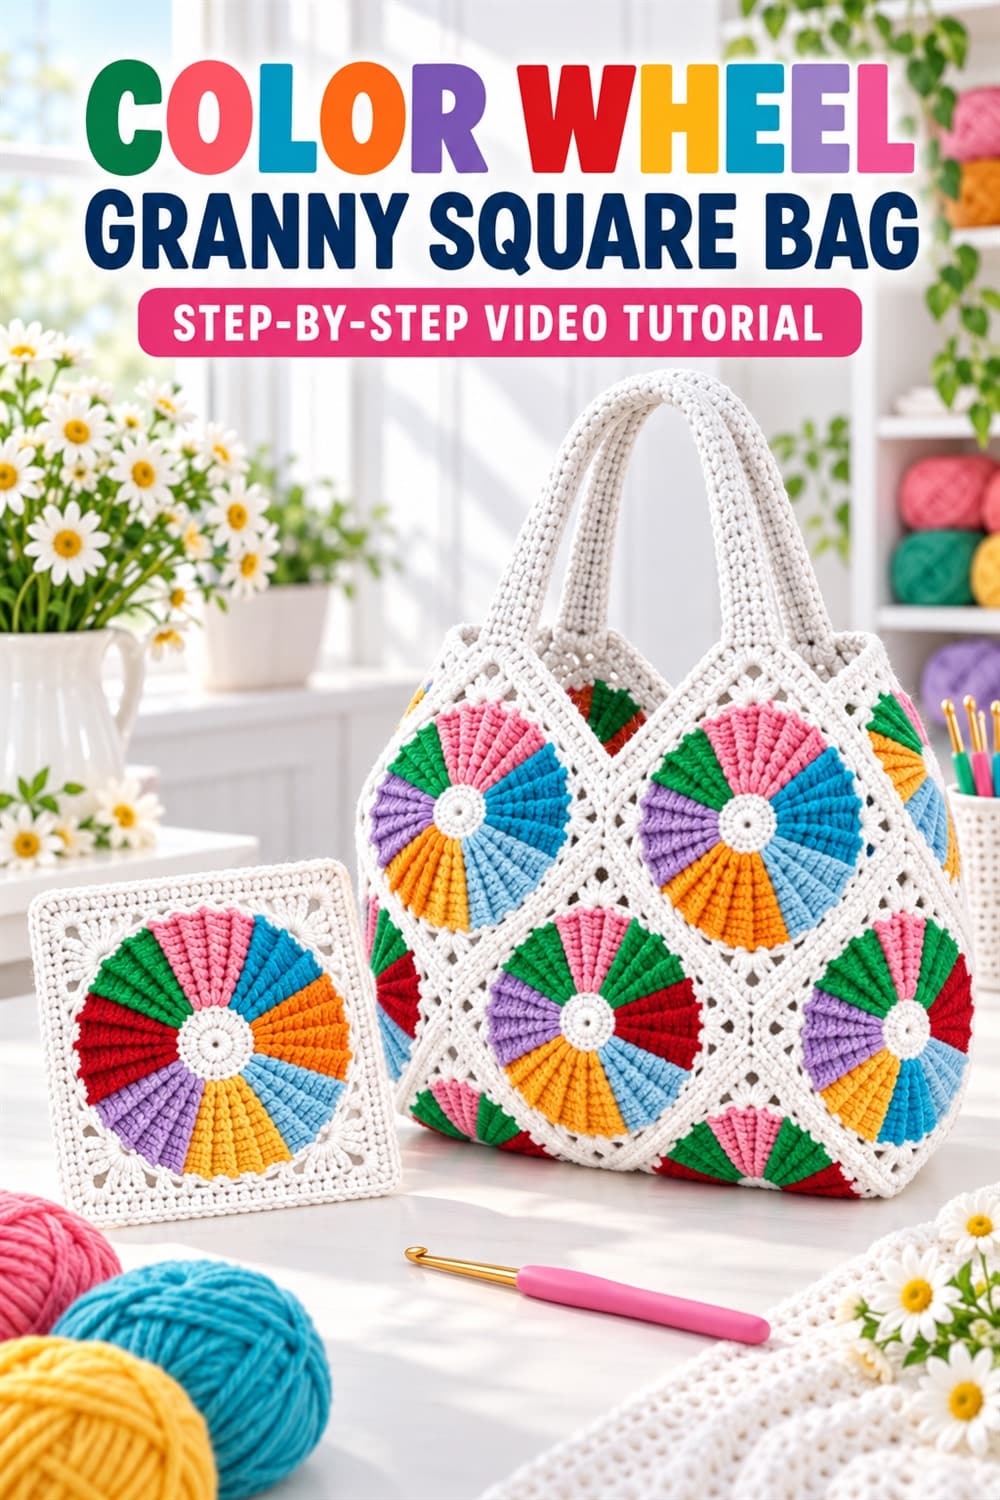
This color wheel granny square bag brings together joyful color, bold texture and practical modular construction. Each square begins with a circular center divided into ribbed wedges of green, pink, turquoise, orange, lavender, red, blue and yellow. A crisp white border turns the wheel into a square, and multiple motifs join to form a bright, roomy tote.
The English guide below explains the techniques that help the design look polished: planning colors, keeping wedge tension consistent, shaping a square around the circle, joining motifs cleanly and reinforcing the handles and base. Follow the embedded video for the designer’s exact stitch counts, color-change points and assembly layout.
Color Wheel Granny Square Bag Video Tutorial
Why This Radial Granny Square Stands Out
The motif combines circular movement with a traditional square outline. Raised wedge ridges lead the eye from the small center toward the border, creating a pinwheel or color-wheel effect. The white frame gives every bright shade space to breathe and provides a consistent joining color.
Because the bag is modular, each motif can be worked separately and carried as a portable project. The repeated squares also make it easy to use leftover yarn, provided the yarns have compatible weight and fiber behavior.
Materials and Color Planning
- Smooth yarn in several bright colors
- White or cream yarn for centers, borders, joins and handles
- A crochet hook suitable for the chosen yarn
- Scissors, tapestry needle and stitch markers
- Optional lining fabric and interfacing
- Optional base insert, pocket or closure
Arrange yarn colors before beginning. Repeat the same sequence for a coordinated bag, or rotate the order among motifs for playful variety. Photograph the planned palette so it remains consistent. Select yarns with similar thickness, twist and wash requirements.
Create a Neat Circular Center
Start the center exactly as demonstrated in the video. Keep the opening small and secure the initial tail thoroughly. Count each group around the circle because the wedge layout depends on an even foundation.
Lay the center flat after completing the setup. If it cups, relax the tension or review the increases. If it ruffles, check for extra stitches before adding more color sections.
Crochet Consistent Ribbed Color Wedges
The dimensional ribs give the motif its distinctive texture. Insert the hook into the location shown in the tutorial and maintain the same loop height across every wedge. Work each colored section to matching width so the circle remains balanced.
When changing yarn, complete the transition cleanly and secure the tails on the back. Avoid pulling them tightly, which can pinch the center. Weave ends as you go if the construction allows, because a multi-color motif produces many tails.
Turn the Color Wheel Into a Square
The white outer rounds bridge the circular motif and square corners. Mark each corner before continuing. Corners need sufficient stitches or chain space to turn cleanly, while the sides should remain flat and equal.
Measure the square diagonally and side to side. If one corner extends farther than the others, recount that section. Gentle blocking can refine small differences, but large variations should be corrected before joining.
Keep Every Motif the Same Size
Use the first finished square as a reference template. Compare subsequent motifs after the same stage of blocking. Changes in mood, hand position or yarn can alter tension, so measure rather than relying only on row count.
If a square is slightly smaller, gentle blocking may be enough. If the difference is significant, adjust the hook or remake the motif. Uniform squares create smoother seams and a more symmetrical bag.
Plan the Tote Layout
Arrange all motifs on a table and distribute the colors evenly. Decide which squares will appear on the front, back, sides and base. Rotate any motifs as desired, then photograph the finished layout and mark important edges with removable markers.
Refer to the video for the exact number and orientation of squares. Changing the layout can alter the bag’s width, depth, opening and handle placement.
