
Make a little piece of moonlight with this Crescent Moon and Star Crochet Pattern. The flat sky-blue moon curves around a small ivory star that hangs from its upper tip. Open spaces between the fan stitches give the moon a light texture, while a simple border frames both points.
Use it as a hanging ornament, a gift topper, or part of a celestial garland. Crochet the moon and star separately, then join them with a short blue chain.
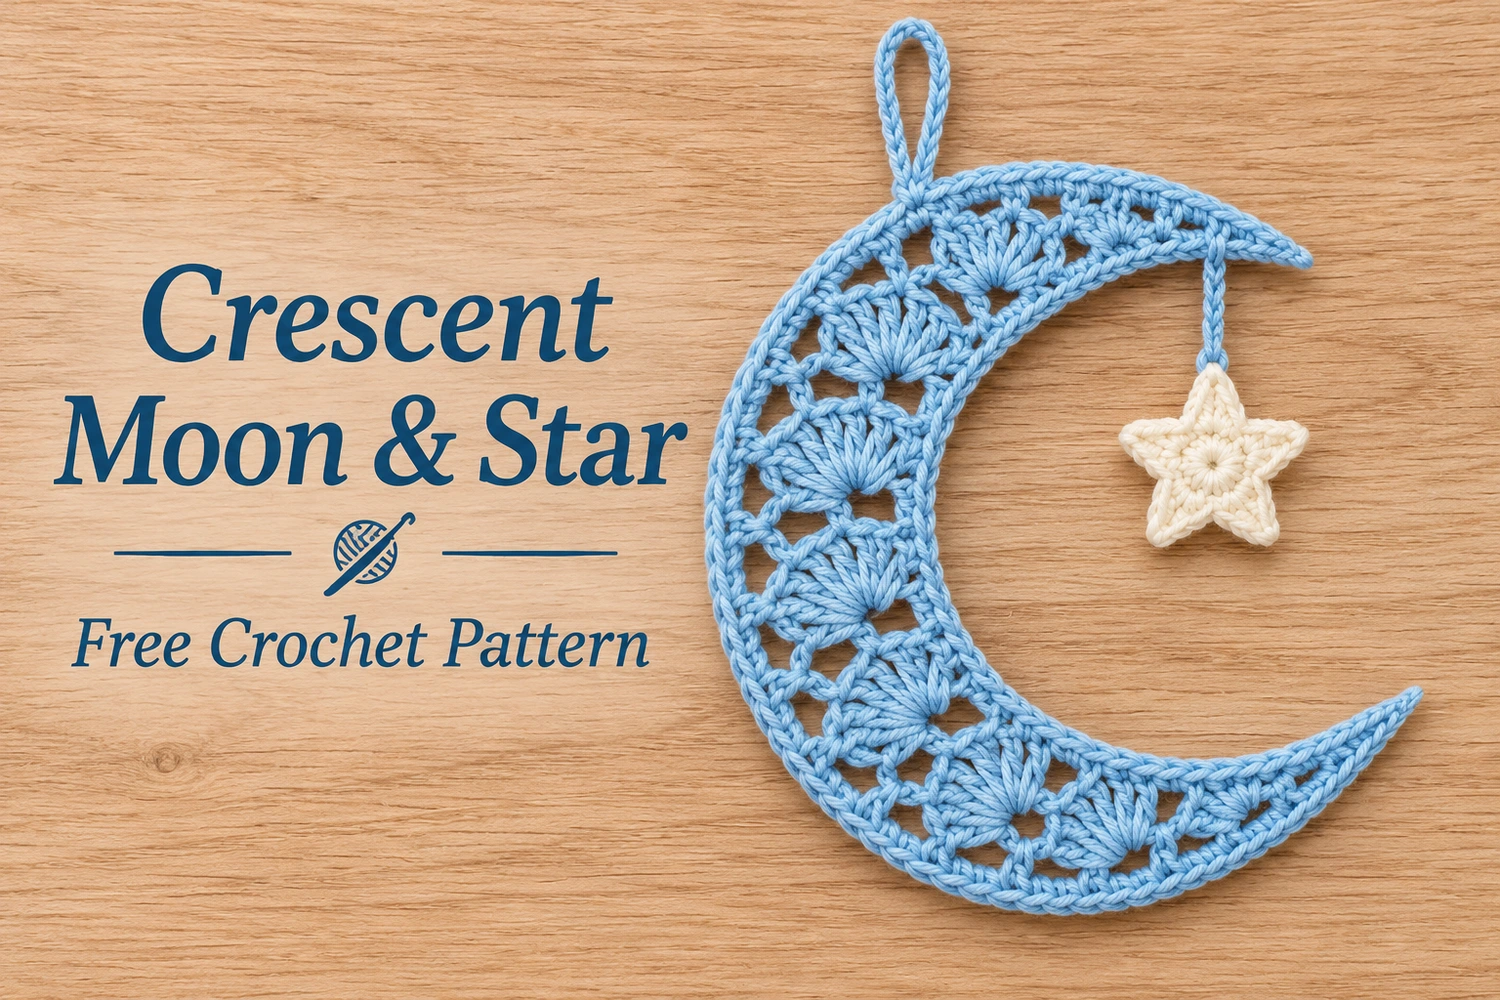
Project Details
- Skill level: Confident beginner. You will work into chain spaces, shape a curved piece, and sew two small attachments.
- Terminology: US crochet terms.
- Size: Varies with the yarn, tension, and blocking. A finer yarn makes a smaller ornament.
This pattern is an adaptation of a visual reference. The stitch counts were checked on paper. The pattern has not been physically tested. The gallery diagrams show the construction and placement. Use the written directions for the stitch counts.
Materials
- Sky-blue and ivory DK cotton yarn.
- 3.25 mm crochet hook, or a size that gives you firm stitches without stiffening the fabric.
- Tapestry needle, scissors, and two removable stitch markers.
- Rustproof pins and a blocking mat.
US Crochet Abbreviations
- ch: chain
- sl st: slip stitch
- sc: single crochet
- hdc: half double crochet
- dc: double crochet
- st(s): stitch(es)
- ch-1 sp: space under one chain
- MR: magic ring
1. Crochet the Blue Crescent
With blue, ch 32 loosely. The foundation chain forms the inner edge of the moon. Work into the back bumps if you want a tidy, braided edge to show on the inside curve.
Responsivo Post 01 – P1
Row 1: Starting in the second ch from the hook, sl st in the first ch, sc in the next ch, and hdc in the next ch. Repeat 8 times. Work 3 dc in the next ch, hdc in the next ch, sc in the next ch, and sl st in the final ch. You have 9 fans and 8 ch-1 spaces, plus 3 taper stitches at each end.
Row 2: Ch 1 and turn. This turning chain does not count. Sl st in the first sl st, sc in the next sc, and hdc in the next hdc. Number the 9 fans in the order you meet them across this row. Work 1 dc in each dc of fans 1–3 and 7–9. Work 2 dc in each dc of fans 4–6. As you come to each of the eight ch-1 spaces, work 2 dc into the space before moving on to the next fan. Finish with hdc in the next hdc, sc in the next sc, and sl st in the final sl st. 58 sts.
The middle of Row 2 gains the most width. Lay the strip down with the foundation on the inside, then bring both tapered ends around to the same side to form the crescent. The chain spaces in Row 1 should stay visible.
Outer edge: Ch 1 and turn. Sl st loosely in each Row 2 stitch, including the end slip stitches. Keep the loops relaxed so the border follows the curve without pulling it flat. Fasten off and weave in the ends. Leave the foundation edge as it is.
2. Make the Ivory Five-Point Star
Round 1: Work 10 sc in an MR. Pull the ring closed, then join with a sl st in the first sc. (10 sc)
