
333
new link ads
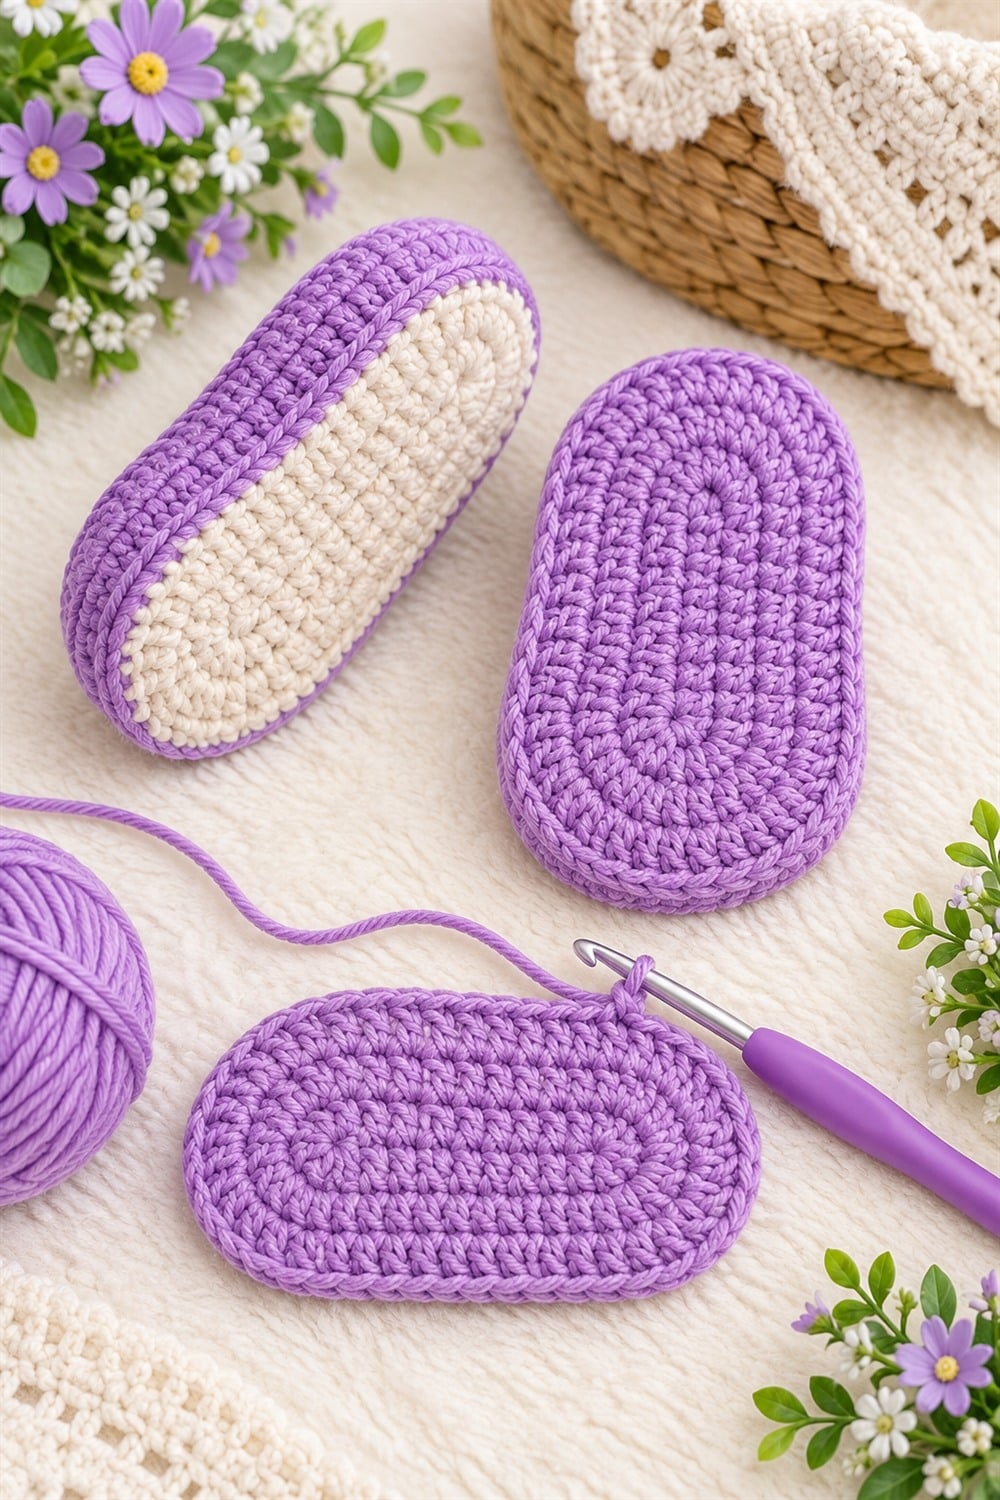
Would you like to make a neat, comfortable foundation for handmade baby shoes? This crochet baby slipper sole for 6–9 months is a useful starting point for booties, slippers, sandals, and other small footwear projects. The oval construction creates a rounded toe, a narrower heel, and a clean outer edge that is ready for an upper or decorative border.
Watch the Crochet Baby Slipper Sole Video Tutorial
The video tutorial below lets you watch the shaping process closely. Follow the maker’s demonstrated stitch counts and placement, pause after each section, and compare both soles as you work. The original thumbnail identifies the size as 6 to 9 months; because babies grow at different rates and crochet tension varies, always compare the finished sole with the intended baby’s foot or a well-fitting shoe.
Why This Baby Sole Is a Useful Crochet Basic
A well-shaped sole makes the rest of a baby footwear project easier. This style is worked as a smooth oval, with increases placed around the ends to form the toe and heel. Once you understand that construction, you can reuse the technique for many baby shoe designs and experiment with different colors, cuffs, straps, flowers, bows, or simple textured uppers.
- Compact project that uses a small amount of yarn
- Practical foundation for baby booties, slippers, and sandals
- Easy to customize with coordinated or contrasting colors
- A thoughtful handmade baby shower or nursery gift
- Helpful practice for working evenly around both sides of a foundation chain
Suggested Materials
Use the yarn weight and crochet hook shown or recommended by the video creator for the closest result. If that information is not available, choose a soft baby-friendly yarn and make a small test swatch before completing both soles.
- Soft yarn suitable for baby garments
- A crochet hook appropriate for the selected yarn
- Scissors
- Yarn needle for weaving in ends
- Stitch markers for identifying the first stitch and increase points
- A ruler or flexible measuring tape
How the Oval Slipper Sole Is Built
Begin with the foundation chain demonstrated in the tutorial. Work along one side of the chain, place the required increases at the end, then continue along the opposite side. Additional rounds expand the oval. The toe end normally receives more shaping than the heel so the finished piece follows the natural outline of a baby shoe.
Count every round carefully. Mark the beginning of the round and check that the sole remains flat after each increase section. If the fabric cups, the round may need more ease or your tension may be too tight. If it ripples, check the stitch count and make sure extra increases have not been added.
Getting the 6–9 Month Size Right
Age labels are only a guide. Yarn thickness, hook size, and personal tension can change the finished dimensions, so measure before starting the slipper upper. Make one sole first, compare its length and width with the intended fit, and adjust only if necessary. When the size is correct, use the same yarn, hook, and tension for the second sole.
