
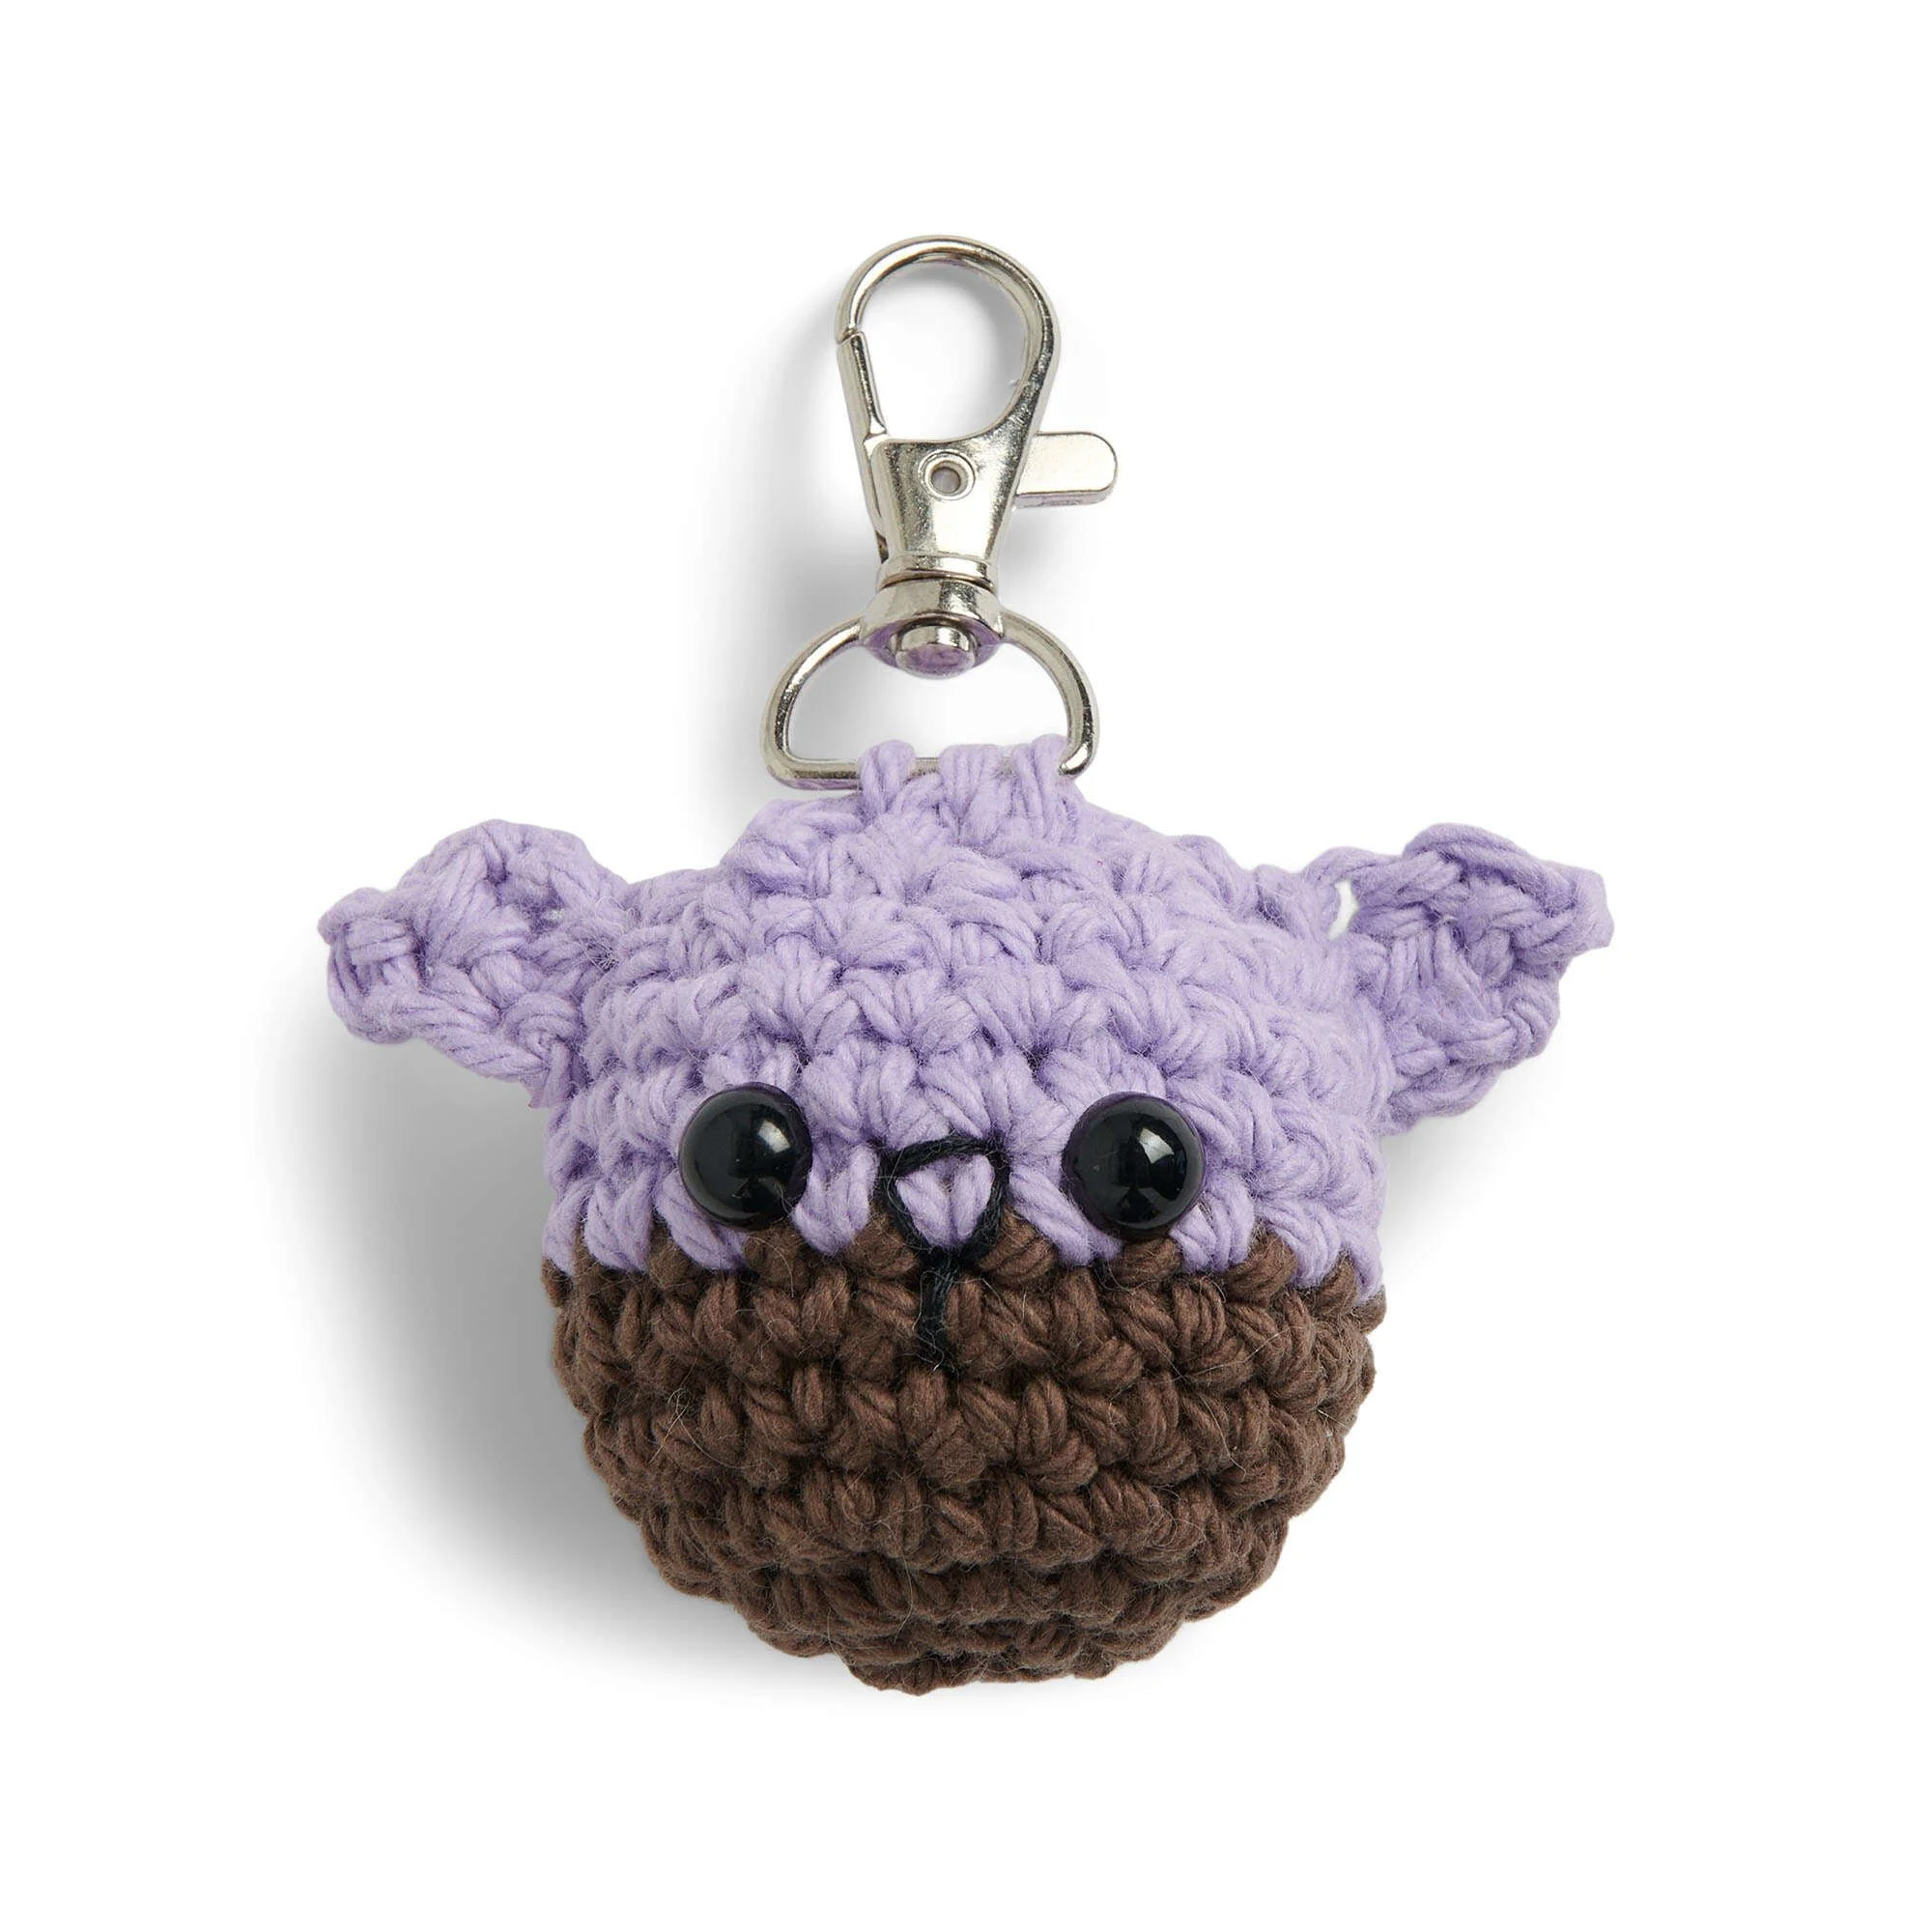
Get ready to create adorable crochet backpack charms that stand out! These charming little amigurumi characters are perfect for adding personality to your bags, keys, or even as thoughtful gifts. Made using Lily® Sugar’n Cream® yarn, these crochet charms are not only stylish but also quite easy to make.
This tutorial will guide you step-by-step through the process of crocheting the head and ears, followed by assembly and finishing details. Utilizing basic crochet techniques like working in rounds and color changes, this project is suitable for all skill levels — whether you are a beginner or an experienced crocheter. Don’t forget to consult the provided images as you follow along!
Project Details
- Crochet terminology: U.S. terminology
- Skill level: Easy
- Finished size: Approximately 3 inches (7.5 cm) height
- Construction method: Worked in continuous rounds
Materials and Tools
| Yarn Option | Yarn and Specifications | Amount |
|---|---|---|
| Version 1 | Lily® Sugar’n Cream® in Ecru (00004) and Rose Pink (00046) | 1 ball each or 10 yds (9 m) |
| Version 2 | Lily® Sugar’n Cream® in Warm Brown (01130) and Soft Violet (00093) | 1 ball each or 10 yds (9 m) |
| Version 3 | Lily® Sugar’n Cream® in Ecru (00004) and Blueberry (01725) | 1 ball each or 10 yds (9 m) |
- Anchor® Embroidery Floss in Black (0403)
- Embroidery needle
- Pair of safety eyes
- Keychain clasp
- Stuffing
- Yarn needle
- Size U.S. H/8 (5 mm) crochet hook or size needed to obtain gauge
Crochet Patterns — No Ads. No Clutter.
Browse the Crochet Library →
Abbreviations
| Abbreviation | Meaning |
|---|---|
| ch | chain |
| sc | single crochet |
| sc2tog | single crochet two together (decrease) |
| join | join with a slip stitch |
| rep | repeat |
Preparation and Techniques
Working in a Spiral
This pattern uses continuous rounds to create the head, so there’s no need to join after each round. Use a stitch marker to mark the beginning of each round for easy reference.
Changing Yarn Colors
When changing colors, complete the last step of the previous round with the new color. Ensure to secure your color change to maintain a clean transition.
Complete Pattern Instructions
Head (worked in rounds)
With Color 1, ch 2.
| Round | Instructions | Stitches |
|---|---|---|
| 1 | 6 sc in 2nd ch from hook. Join. | 6 sc |
| 2 | Ch 1. 2 sc in each sc around. Join. | 12 sc |
| 3 | Ch 1. *1 sc in next sc. 2 sc in next sc. Rep from * around. Join. | 18 sc |
| 4 | Ch 1. 1 sc in each sc around. Join. | 18 sc |
| 5 | Ch 1. 1 sc in each sc around. Break Color 1. Join with Color 2. | 18 sc |
| 6 | With Color 2, ch 1. 1 sc in each sc around. Join. | 18 sc |
| 7 | Ch 1. 1 sc in each sc around. Join. | 18 sc |
| 8 | Ch 1. 1 sc in each sc around. Join. | 18 sc |
| 9 | Ch 1. *1 sc in next sc. sc2tog. Rep from * around. Join. | 12 sc |
| 10 | Ch 1. (sc2tog) 6 times. Join. Fasten off, leaving a long end. Draw end tightly through rem sts. | 6 sc |
Placement / Stuffing and Eyes
Fasten safety eyes following manufacturer’s directions. Stuff the head firmly.
Ears (make 2)
With Color 2, ch 3, leaving a long end to sew ears to head.
| Row | Instructions | Stitches |
|---|---|---|
| 1 | 1 sc in 2nd ch from hook. 1 sc in last ch. Turn. | 2 sc |
| 2 | Ch 1. Sc2tog. Fasten off. | 1 sc |
