
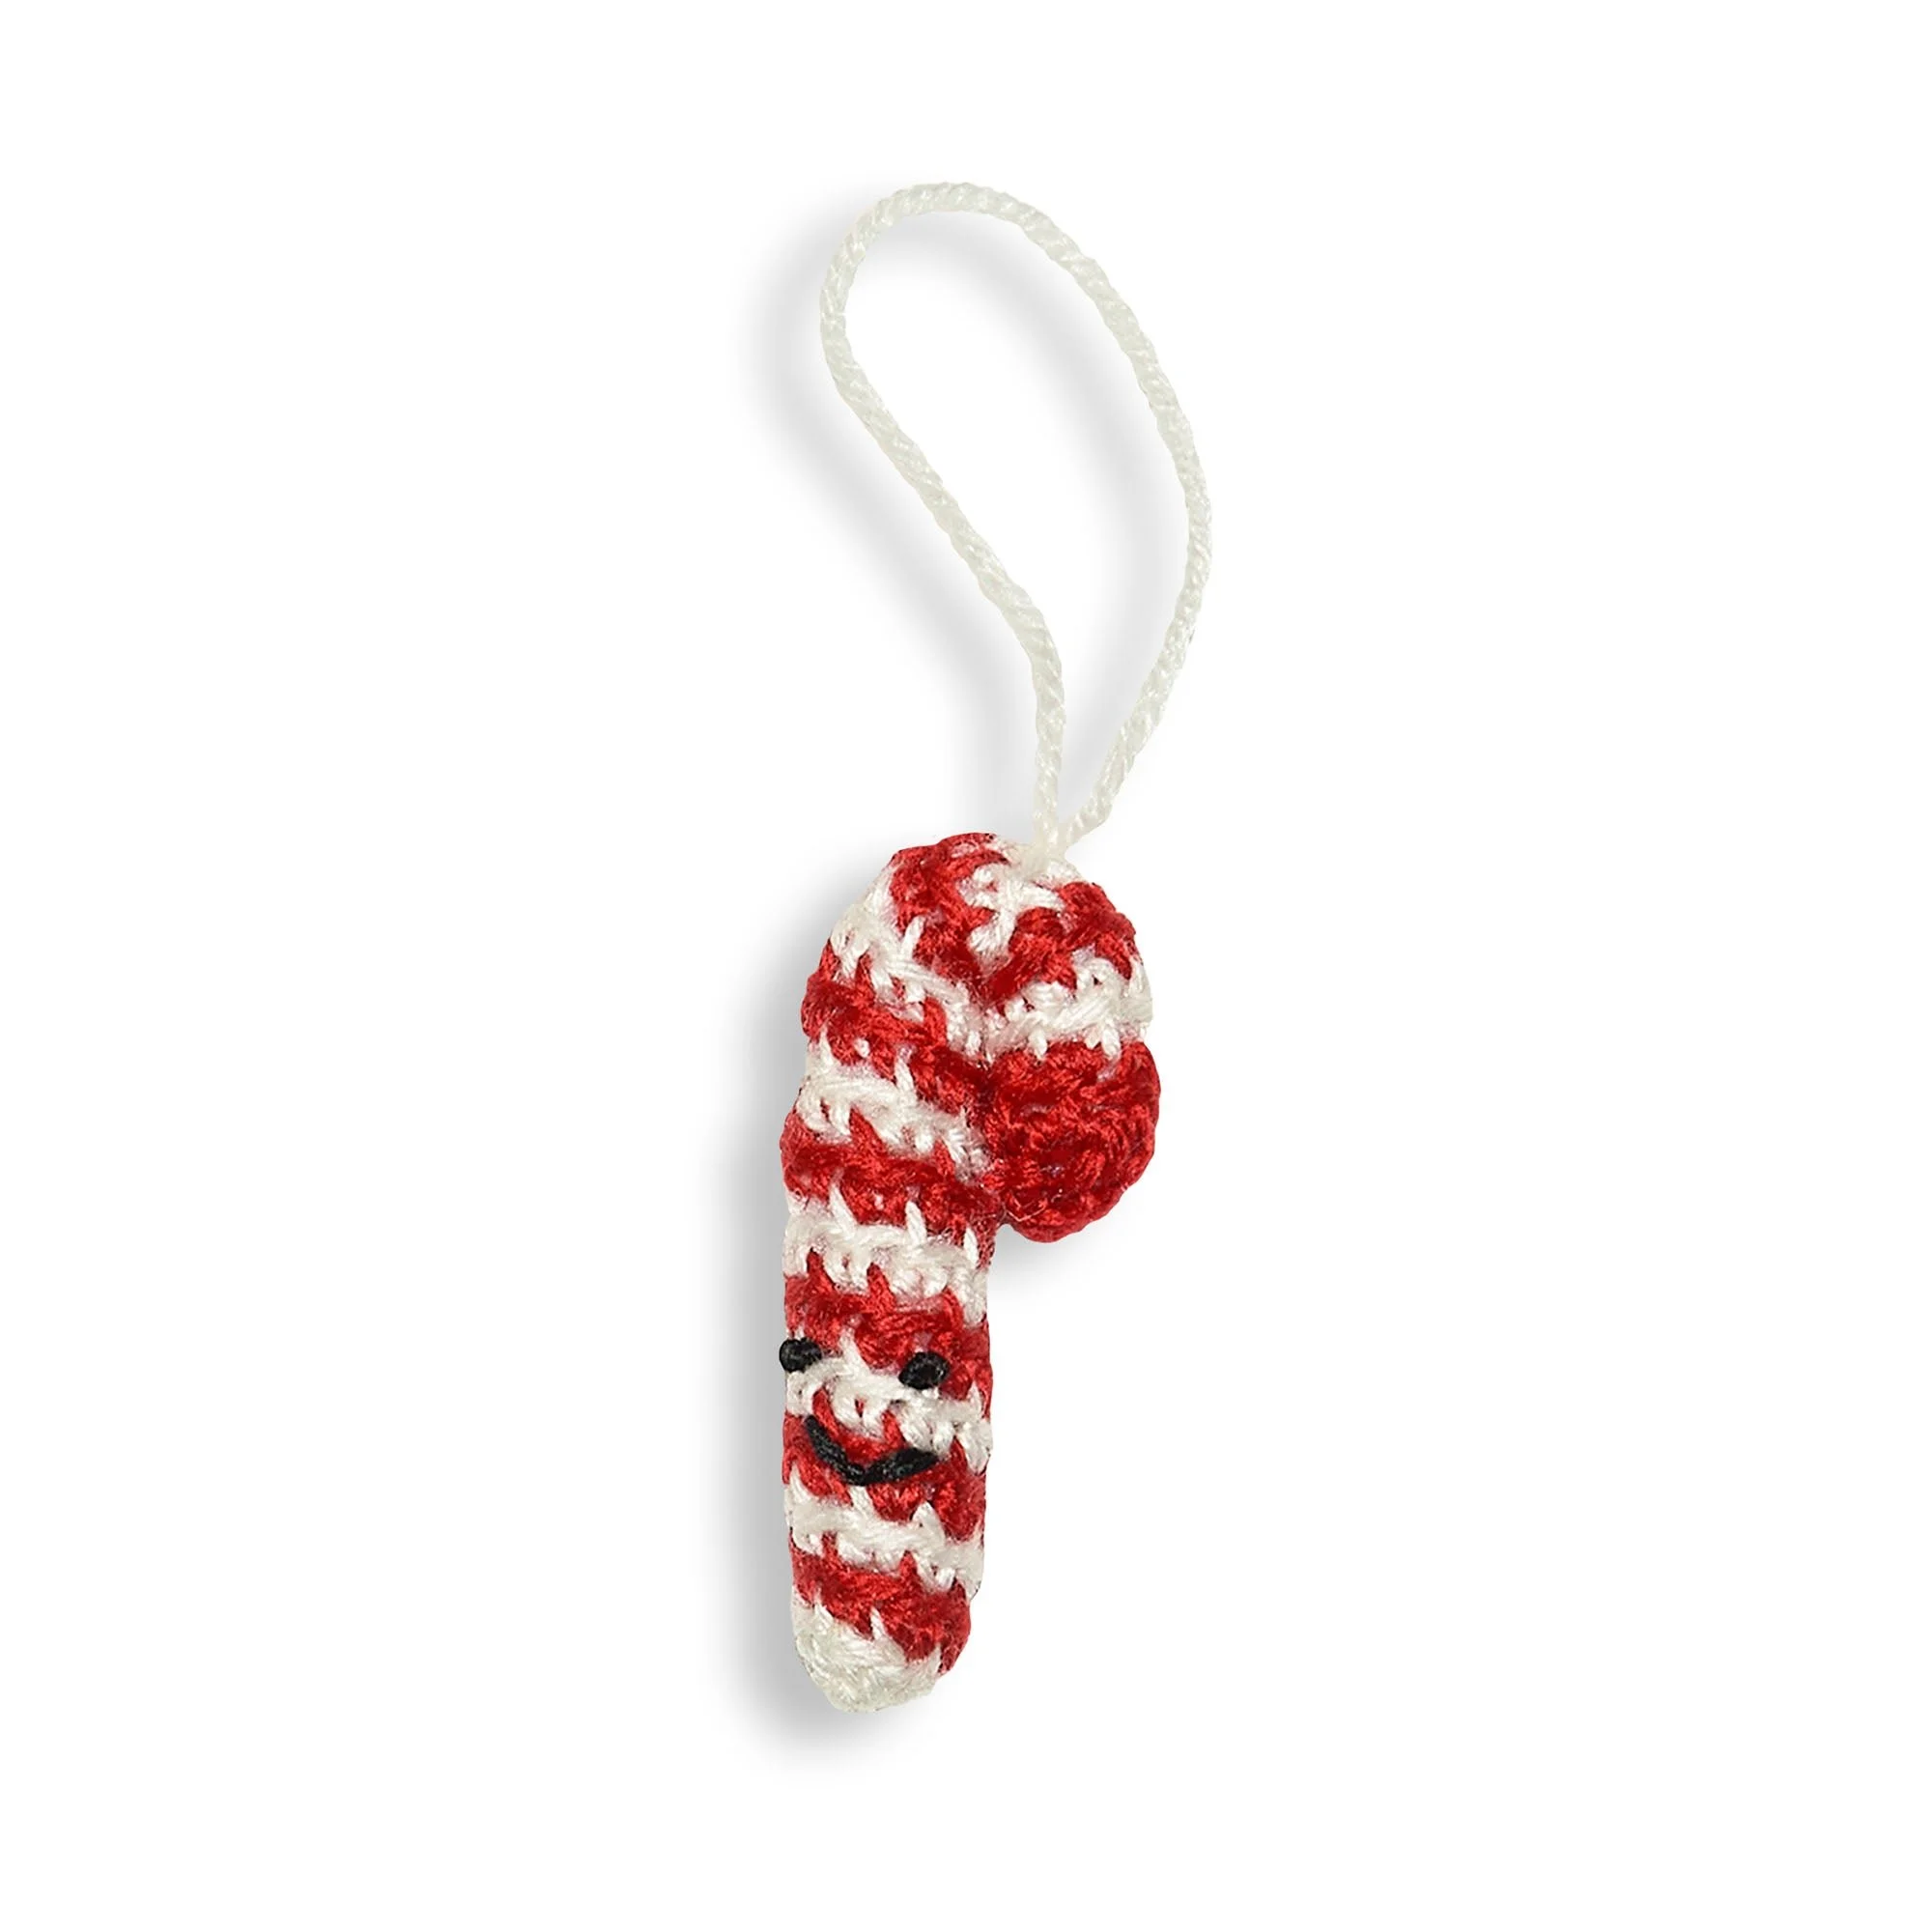
Create a delightful 2024 Advent Calendar Crochet Candy Cane Ornament that adds a charming touch to your holiday décor. This amigurumi project features the classic red and white stripes of a candy cane, and while it may seem daunting at first, it utilizes simple techniques like working in continuous rounds and color changes. With its compact size, this pattern is perfect for using up leftover yarn and can even be adorned with a keychain clasp for versatility.
Follow along with the detailed instructions and any accompanying photographs to bring this festive decoration to life. It’s an excellent project for crocheters looking to celebrate the advent season with handmade ornaments!
Project Details
- Crochet terminology: U.S. terms
- Skill level: Intermediate
- Finished size:Approximately 4”
- Construction method: Amigurumi, continuous rounds
Materials and Tools
| Yarn option | Yarn and specifications | Amount |
|---|---|---|
| Contrast A | Medium Weight (#4) yarn – White | 1 ball or 5 yds / 4.5 m |
| Contrast B | Medium Weight (#4) yarn – Red | 1 ball or 5 yds / 4.5 m |
- Size U.S. G/6 (4 mm) Susan Bates® Silvalume® crochet hook, or size needed to obtain gauge
- Susan Bates® yarn needle
- Susan Bates® stitch marker
- Polyester stuffing
- Small amount of black worsted weight yarn
- Alternate: Key chain clasp
Crochet Patterns — No Ads. No Clutter.
Browse the Crochet Library →
Abbreviations
| Abbreviation | Meaning |
|---|---|
| ch | chain |
| sc | single crochet |
| sc2tog | single crochet 2 together |
| magic loop | technique to start a project in the round |
Preparation and Techniques
Working in a Spiral
This pattern uses continuous rounds, meaning there are no joined rounds. Use a stitch marker to identify the last stitch of each round to keep your work aligned.
Changing Yarn Colors
When changing colors, either drop the old color or carry it along the edge for a cleaner change. Ensure that you work in the back loops only when instructed for a more defined edge.
Candy Cane Instructions
Candy Cane (worked in continuous rnds)
| Round | Instructions | Stitches |
|---|---|---|
| 1st rnd |
With A, make a magic loop. Ch 1. 6 sc in loop. PM on last st. Pull magic loop tight, do not join. |
6 |
| 2nd rnd |
Working in back loops only, 1 sc in each of first 3 sc. Drop loop on hook, do not break A. Join B with sc in back loop of next sc. 1 sc in each of next 2 sc. Drop loop on hook, do not break B. |
6 total sc (3 + 1 + 2) |
| 3rd rnd |
Working in back loops only, pick up A and work 1 sc in each of next 3 sc. Drop loop on hook. Pick up B and work 1 sc in each of next 3 sc. Drop loop on hook. |
6 total sc |
| Rep next rnds | Repeat last rnd until work from beg measures 4” . | — |
| Last rnd |
Pick up B. (sc2tog) 3 times. Fasten off, leaving a long tail. Using long tail, weave through tops of sts in last rnd and pull tight to close. |
— |
Stuffing
Before breaking A at the end of the last round, stuff your Candy Cane lightly with polyester filling. To do this, roll the filling into small sausages and use the back of your crochet hook to push it into place.
Assembly
Fold the top 1” of the Candy Cane down to form the cane shape. Using the remaining long tail, sew the Candy Cane to itself to maintain the folded shape.
Hanging Loop
Cut a strand of A, 5” long. Fold this strand in half and tie the ends to form a hanging loop. Pull the loop halfway through the top of the Candy Cane, then pull the loop through itself and tighten to secure.
Optional: Instead of the tied loop, use A to pass through the top of the Candy Cane and the base of the keychain clasp. Whipstitch and tie securely as close to the top as possible, and weave in ends.
Face
Using the black worsted weight yarn, split it into 2 plies and embroider a face near the bottom of the Candy Cane. Refer to the diagram for placement.
