
333
new link ads
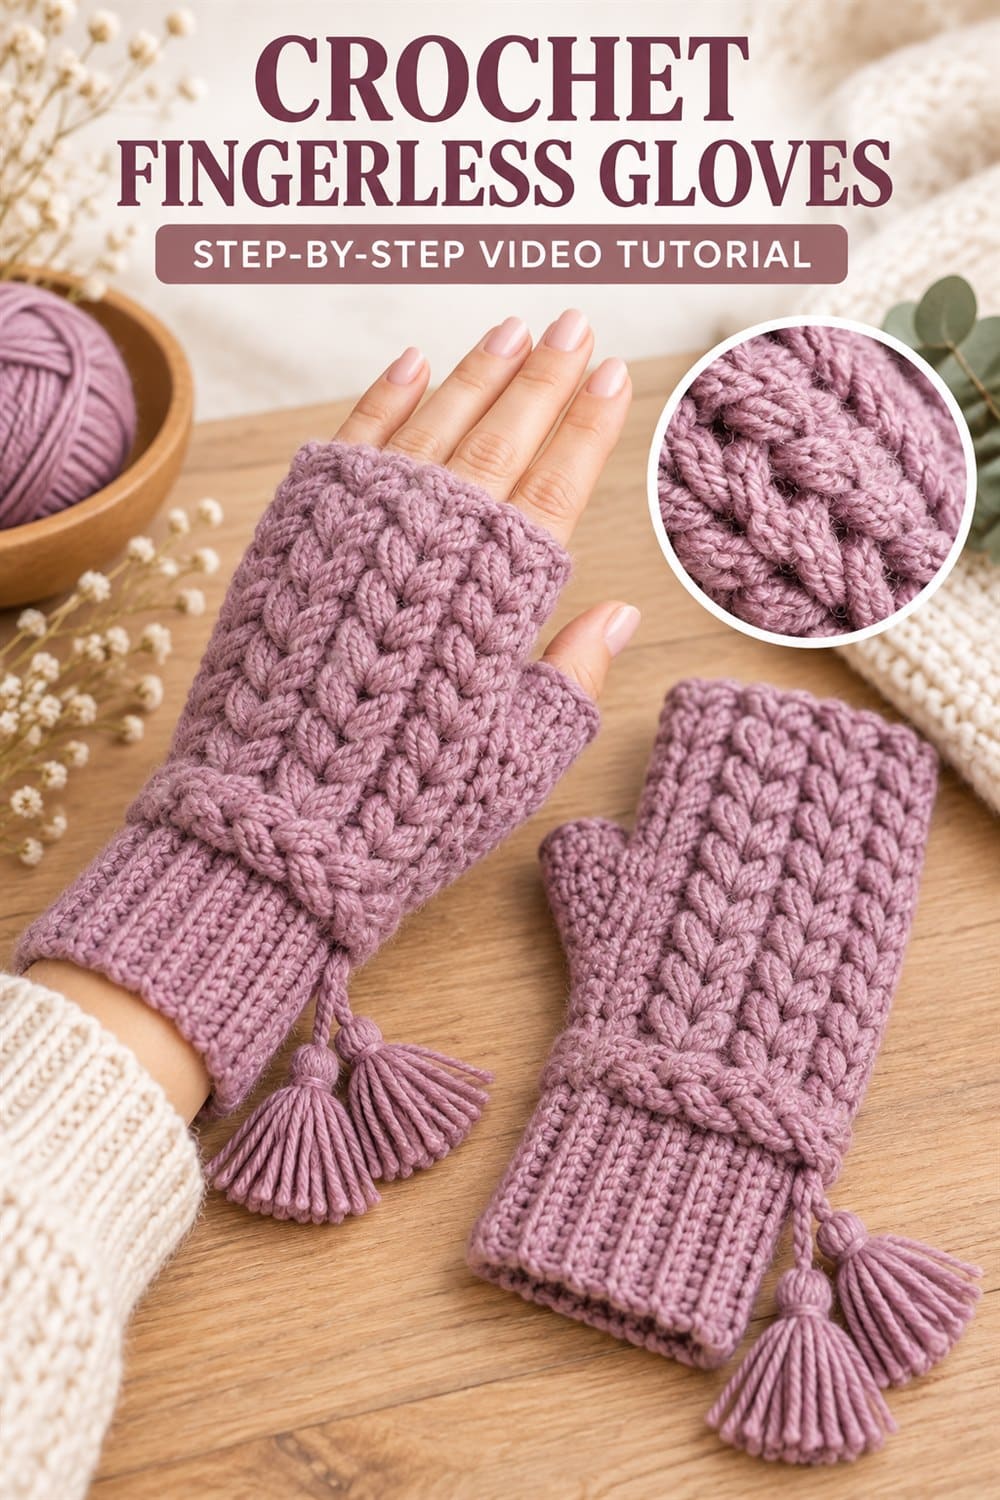
Crochet fingerless gloves are a practical cold-weather accessory when you want warm wrists and hands without covering your fingertips. This dusty mauve pair combines a close ribbed cuff, an open thumb, raised braided texture, and playful yarn tassels. The finished gloves feel cozy and decorative while leaving your fingers free for typing, crafting, using a phone, or handling everyday tasks.
This English guide accompanies the complete video tutorial below. It explains the construction sequence, yarn choices, fitting points, and finishing details to watch as you crochet. Exact stitch counts and repeats can vary with yarn weight, hook size, tension, and hand measurement, so use the instructor’s video demonstrations for the precise numbers used in the original project.
Crochet Fingerless Gloves Video Tutorial
Why Make These Textured Wrist Warmers?
The raised braided stitch is the main feature. It creates vertical movement across the back of the hand and gives a single-color project plenty of visual interest. A dense lower cuff helps the glove sit securely around the wrist, while the open thumb keeps the fit comfortable. Small tassels add a feminine, handmade finish and can be removed for a simpler look.
Fingerless gloves are also excellent gift projects. They use less yarn than many accessories, can be customized in favorite colors, and are useful through autumn, winter, and cool spring days. Make both gloves from the same dye lot so the pair matches.
Suggested Materials and Tools
- Soft medium-weight yarn in dusty mauve or your chosen color
- A crochet hook appropriate for the yarn and a firm fabric
- Stitch markers for the thumb opening and round joins
- Flexible measuring tape
- Yarn needle for joining and weaving in ends
- Sharp scissors
- Cardboard or a tassel maker for optional decorations
Choose yarn that feels pleasant against the skin. Wool blends provide warmth and elasticity, while acrylic is easy to care for and widely available. A smooth yarn makes the raised braid easier to see than a fuzzy novelty fiber. Check the label for washing instructions, especially when making a gift.
Check the Fit Before You Begin
Measure around the widest part of the hand below the fingers, around the wrist, and from the wrist to the desired upper edge. The fabric should stretch enough to slide over the hand but should not feel restrictive. Crochet a small swatch in the main stitch, relax it, and compare its width with your measurements. If the fabric is too stiff, move up a hook size; if it is loose and the braid lacks definition, try a smaller hook.
Construction Overview
- Make the cuff. Work a snug ribbed section long enough to fit comfortably around the wrist.
- Join or close the cuff. Keep the edge flat and avoid twisting before forming the tube.
- Establish the hand section. Work evenly around the cuff and mark the round beginning.
- Set up the texture. Follow the video carefully to place the raised braided columns in the correct sequence.
- Create the thumb opening. Skip or chain over the instructed section without pulling the opening too tight.
- Continue the upper hand. Maintain the same stitch count and align every textured repeat.
- Finish the top edge. Use an even border that stretches comfortably across the knuckles.
- Refine the thumb. Work around the opening if the design calls for extra edging.
- Make the second glove. Compare measurements frequently so both pieces match.
- Add tassels and weave in ends. Secure decorations well and trim them evenly.
How to Crochet Neat Raised Braids
Textured stitches often require working around stitch posts or crossing elongated loops. Keep the working loops even so one braid does not appear tighter than the next. After completing each repeat, spread the fabric gently and check that the strands cross in the intended direction. Correct a misplaced stitch immediately; errors become harder to see once another textured row is added.
Avoid forcing the hook through crowded areas. Rotate the work slightly, use the hook tip to find the correct space, and pull each loop to a consistent height. Count the plain background stitches between braided columns because these spaces keep the texture separated and readable.
Making a Comfortable Thumb Opening
The thumb opening should be large enough for movement without leaving a wide gap. Try on the glove as soon as the opening is formed. If it pinches, adjust before continuing. When adding an edging, work evenly around the opening and place extra stitches only where needed to prevent puckering. The left and right pieces may require mirrored positioning, depending on the construction shown in the tutorial.
