
333
new link ads
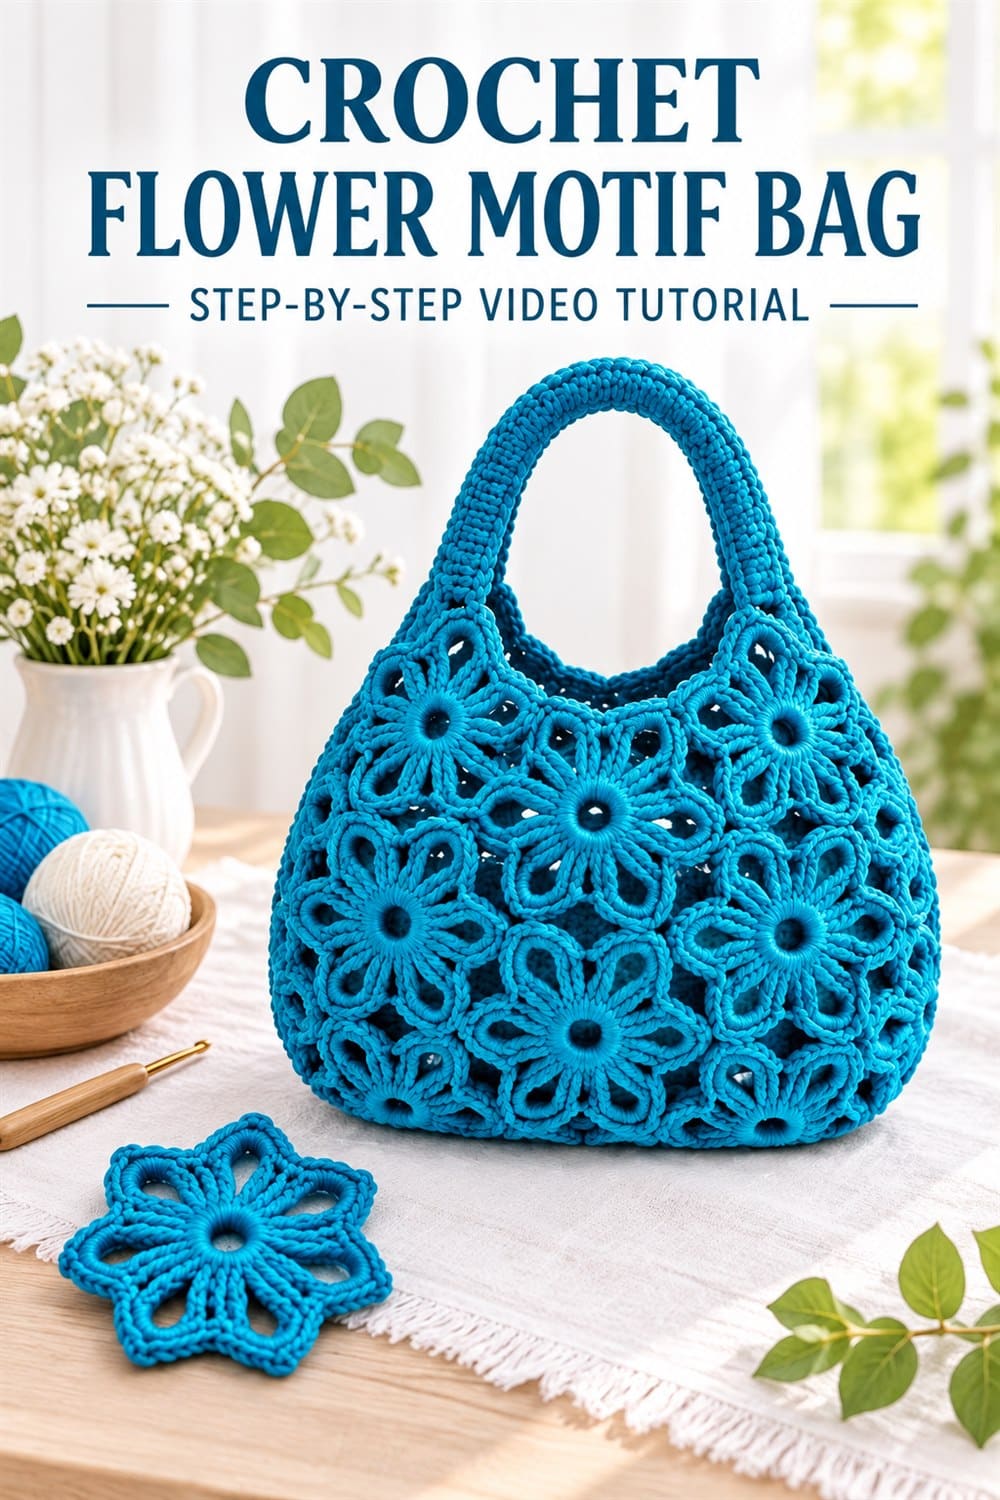
A crochet flower motif bag turns a simple handmade accessory into a striking display of texture. This turquoise handbag is built from connected openwork flowers, creating a rounded body with a light, dimensional look. Matching crocheted handles complete the design and keep the floral construction at the center of attention.
This English guide accompanies the complete video tutorial below. It explains how to plan the motifs, keep them consistent, join them neatly, shape the bag, and strengthen the handles. Yarn, hook size, tension, and the desired finished measurements can change the required counts, so follow the instructor’s demonstration for the exact numbers and joining order used in the original project.
Crochet Flower Motif Bag Video Tutorial
Why This Floral Crochet Handbag Is Special
Each large flower acts as both decoration and structure. Open petal loops create airy negative space, while reinforced centers and outer edges help neighboring motifs connect. Repeating one motif makes the project easy to organize: once the first flower is correct, the remaining pieces follow the same rhythm.
The saturated turquoise color gives the bag a fresh statement look, but the design also works beautifully in neutrals, pastels, or a multicolor arrangement. Because the fabric is openwork, an optional lining can provide privacy and prevent small items from slipping through the petals.
Suggested Materials and Tools
- Firm turquoise yarn or cord suitable for bags
- A crochet hook matched to the yarn and desired texture
- Stitch markers for petal repeats and joining points
- Yarn needle with an eye large enough for the material
- Sharp scissors
- Flexible measuring tape
- Optional fabric, thread, and interfacing for a lining
- Optional magnetic snap or zipper for closure
Select a smooth yarn with enough body to keep the petals defined. Cotton, cotton blend, or purpose-made bag yarn can work well. Very soft or stretchy fibers may allow the bag to sag, especially after it is filled. Make one test flower, relax it, and measure its widest points before committing to all of the motifs.
Understanding the Flower Motif
The visible motif has a compact center surrounded by long open petals. Consistent loop height is essential: short petals make the motif tight, while overly long petals create uneven gaps. Mark the beginning of each round and count petals before fastening off. Place every finished flower on a flat surface and gently shape it to the same size as the master motif.
When making many pieces, complete them in stages. Crochet all centers first, then all petal rounds, and finally the outer joining edges. This production-line method makes it easier to maintain tension and spot differences before assembly.
Step-by-Step Construction Overview
- Make a sample flower. Follow the video carefully and confirm that every petal is even.
- Measure and test the motif. Check how the flower behaves when gently stretched and decide whether the hook size is suitable.
- Crochet the remaining flowers. Count each round and compare completed pieces with the first motif.
- Arrange the bag panels. Lay motifs in the demonstrated order with all petals facing consistently.
- Join neighboring flowers. Connect the indicated petal tips or outer spaces without pulling them out of shape.
- Build the side and base. Add motifs or joining sections in the sequence shown in the tutorial.
- Shape the upper opening. Reinforce the top edge so it supports regular use.
- Crochet the handles. Keep both handles equal in length and dense enough to resist stretching.
- Attach and reinforce the handles. Distribute stitches across several strong points rather than one delicate loop.
- Finish the interior. Weave in every end and add an optional lining and closure.
How to Join Crochet Flower Motifs Neatly
Arrange the full layout before joining. Photograph it or place removable markers on the upper, lower, and side motifs. Join corresponding spaces so the flowers remain aligned. If sewing, use small secure stitches in the same color. If crocheting motifs together, keep the joining loops relaxed enough to preserve the open petals.
Pause after every few joins and lift the panel. It should drape naturally without puckering. A tight join can make the body curve too early, while a loose join leaves weak gaps. Correcting the tension during assembly produces a stronger and more symmetrical handbag.
