
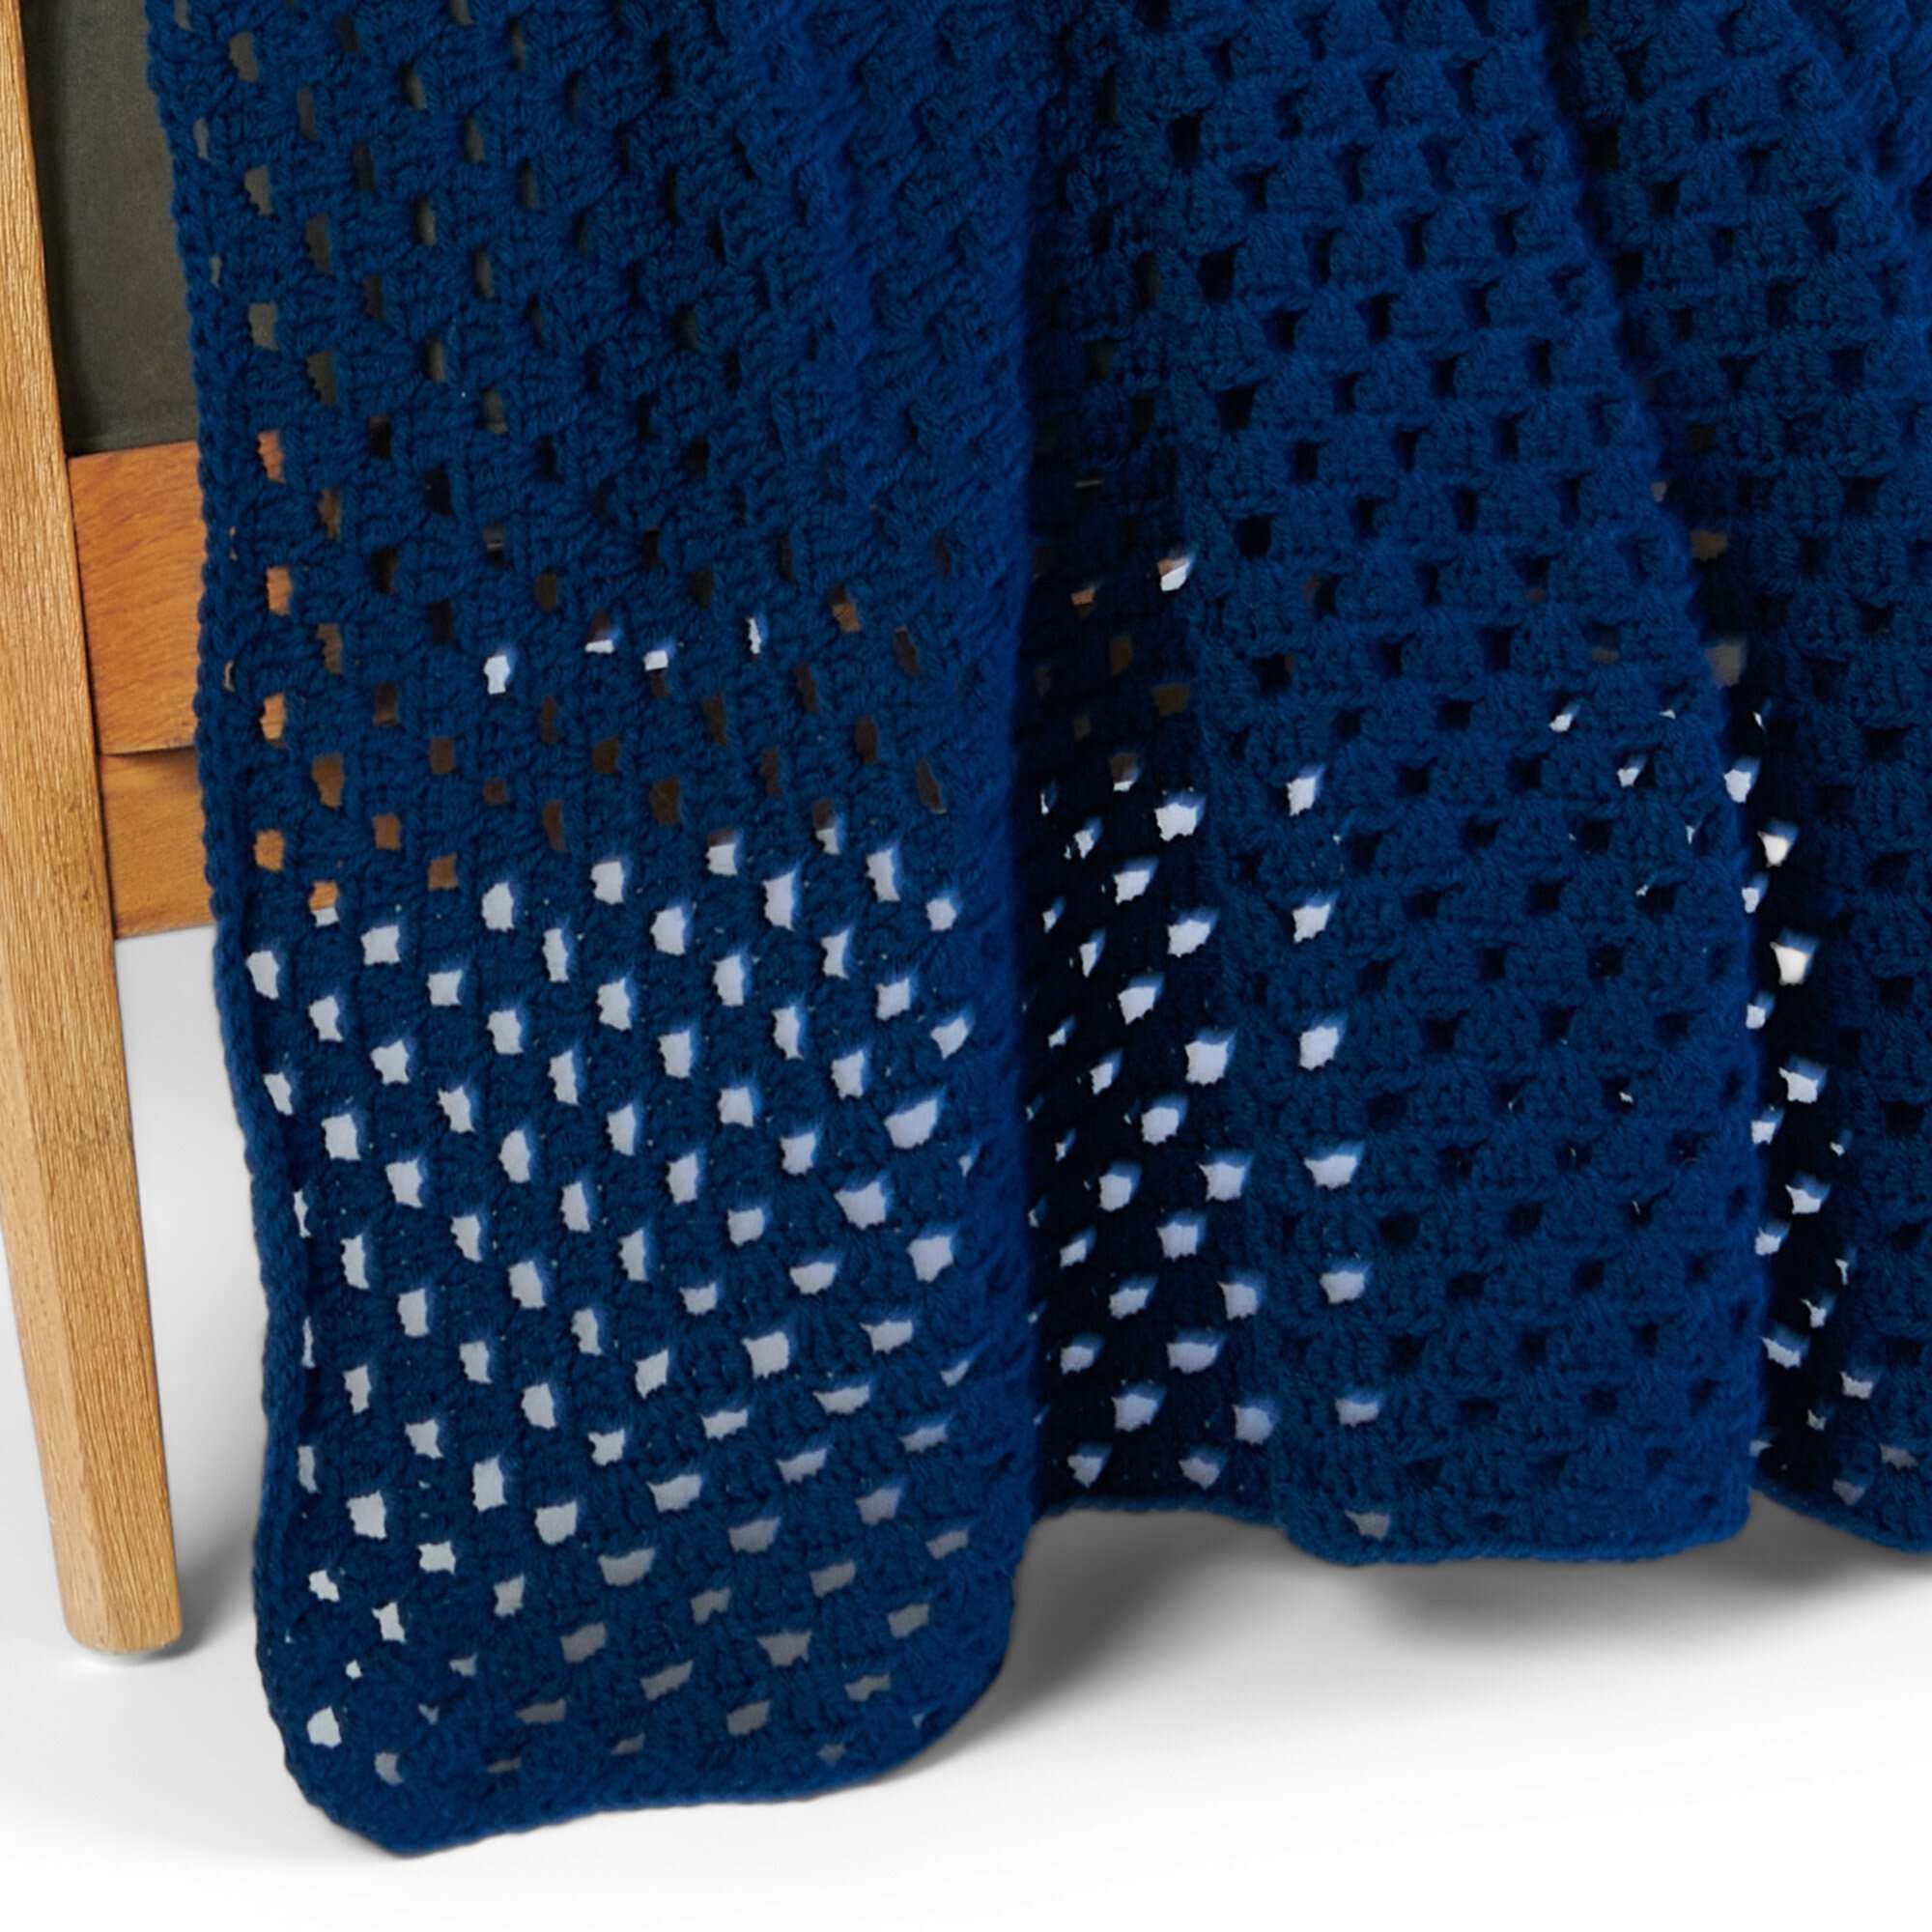
The Crochet Classic Granny Square Throw is a timeless project that combines the classic granny square technique with a modern touch. This throw features a beautiful textured pattern, making it a perfect addition to any home decor. The construction involves creating multiple granny squares that are then joined together, allowing for endless customization in color and size. This project is ideal for crocheters familiar with basic stitches and looking to expand their skills.
As you work through the pattern, refer to the accompanying photographs to guide you through each step. Let’s get started on creating your very own cozy throw!
Project Details
- Crochet terminology: U.S.
- Skill level: Intermediate – requires knowledge of basic crochet stitches.
- Finished size:Approximately 52″ square.
- Construction method: Traditional granny squares joined together.
Materials and Tools
| Yarn option | Yarn and specifications | Amount |
|---|---|---|
| Red Heart® Super Saver® | Soft Navy (0387) | 1 ball (1000 g; 1855 yds) |
- Crochet hook: Size U.S. I/9 (5.5 mm) Susan Bates® Silvalume® crochet hook or size needed to obtain gauge
- Other tools: Susan Bates® yarn needle

Crochet Patterns — No Ads. No Clutter.
Browse the Crochet Library →
Abbreviations
| Abbreviation | Meaning |
|---|---|
| ch | Chain |
| sl st | Slip stitch |
| dc | Double crochet |
| sp | Space |
| *…* | Repeat from |
Preparation and Techniques
Starting Round / Ring Formation
Chain 5 and join with a slip stitch (sl st) to the first chain to form a ring. This forms the base for your granny square.
Working in Rounds
The granny squares are constructed in continuous rounds, with each round worked into the chain spaces and stitches established in the previous rounds.
Complete Pattern Instructions
Starting Round
- Ch 5. Join with sl st to first ch to form a ring.
1st Round
| Round | Instructions | Stitches |
|---|---|---|
| 1 | Ch 6. (3 dc, ch 3) 3 times in ring. 2 dc in ring. Join with sl st to 3rd ch of ch 6. | 4 groups of 3 dc, 4 ch-3 sps |
2nd Round
| Round | Instructions | Stitches |
|---|---|---|
| 2 | Sl st in next ch-3 sp. Ch 6. 3 dc in same sp as last sl st. *Ch 1, (3 dc, ch 3, 3 dc) in next ch-3 sp. Repeat from * twice more. Ch 1. 2 dc in first ch-3 sp. Join with sl st to 3rd ch of ch 6. | 1 ch-1 sp between, 3 groups of (3 dc) |
3rd Round
| Round | Instructions | Stitches |
|---|---|---|
| 3 | Sl st in next ch-3 sp. Ch 6. 3 dc in same sp as last sl st. Ch 1. 3 dc in next ch-1 sp. *Ch 1, (3 dc, ch 3, 3 dc) in next ch-3 sp, Ch 1, 3 dc in next ch-1 sp. Repeat from * twice more. Ch 1. 2 dc in first ch-3 sp. Join with sl st to 3rd ch of ch 6. | 1 ch-1 sp between, 3 groups of (3 dc) |
4th Round
| Round | Instructions | Stitches |
|---|---|---|
| 4 | Sl st in next ch-3 sp. Ch 6. 3 dc in same sp as last sl st. (Ch 1, 3 dc) in each ch-1 sp to next corner ch-3 sp. *Ch 1, (3 dc, ch 3, 3 dc) in corner ch-3 sp. (Ch 1, 3 dc) in each ch-1 sp to next corner ch-3 sp. Repeat from * twice more. Ch 1, 2 dc in first ch-3 sp. Join with sl st to 3rd ch of ch 6. | Various |
