
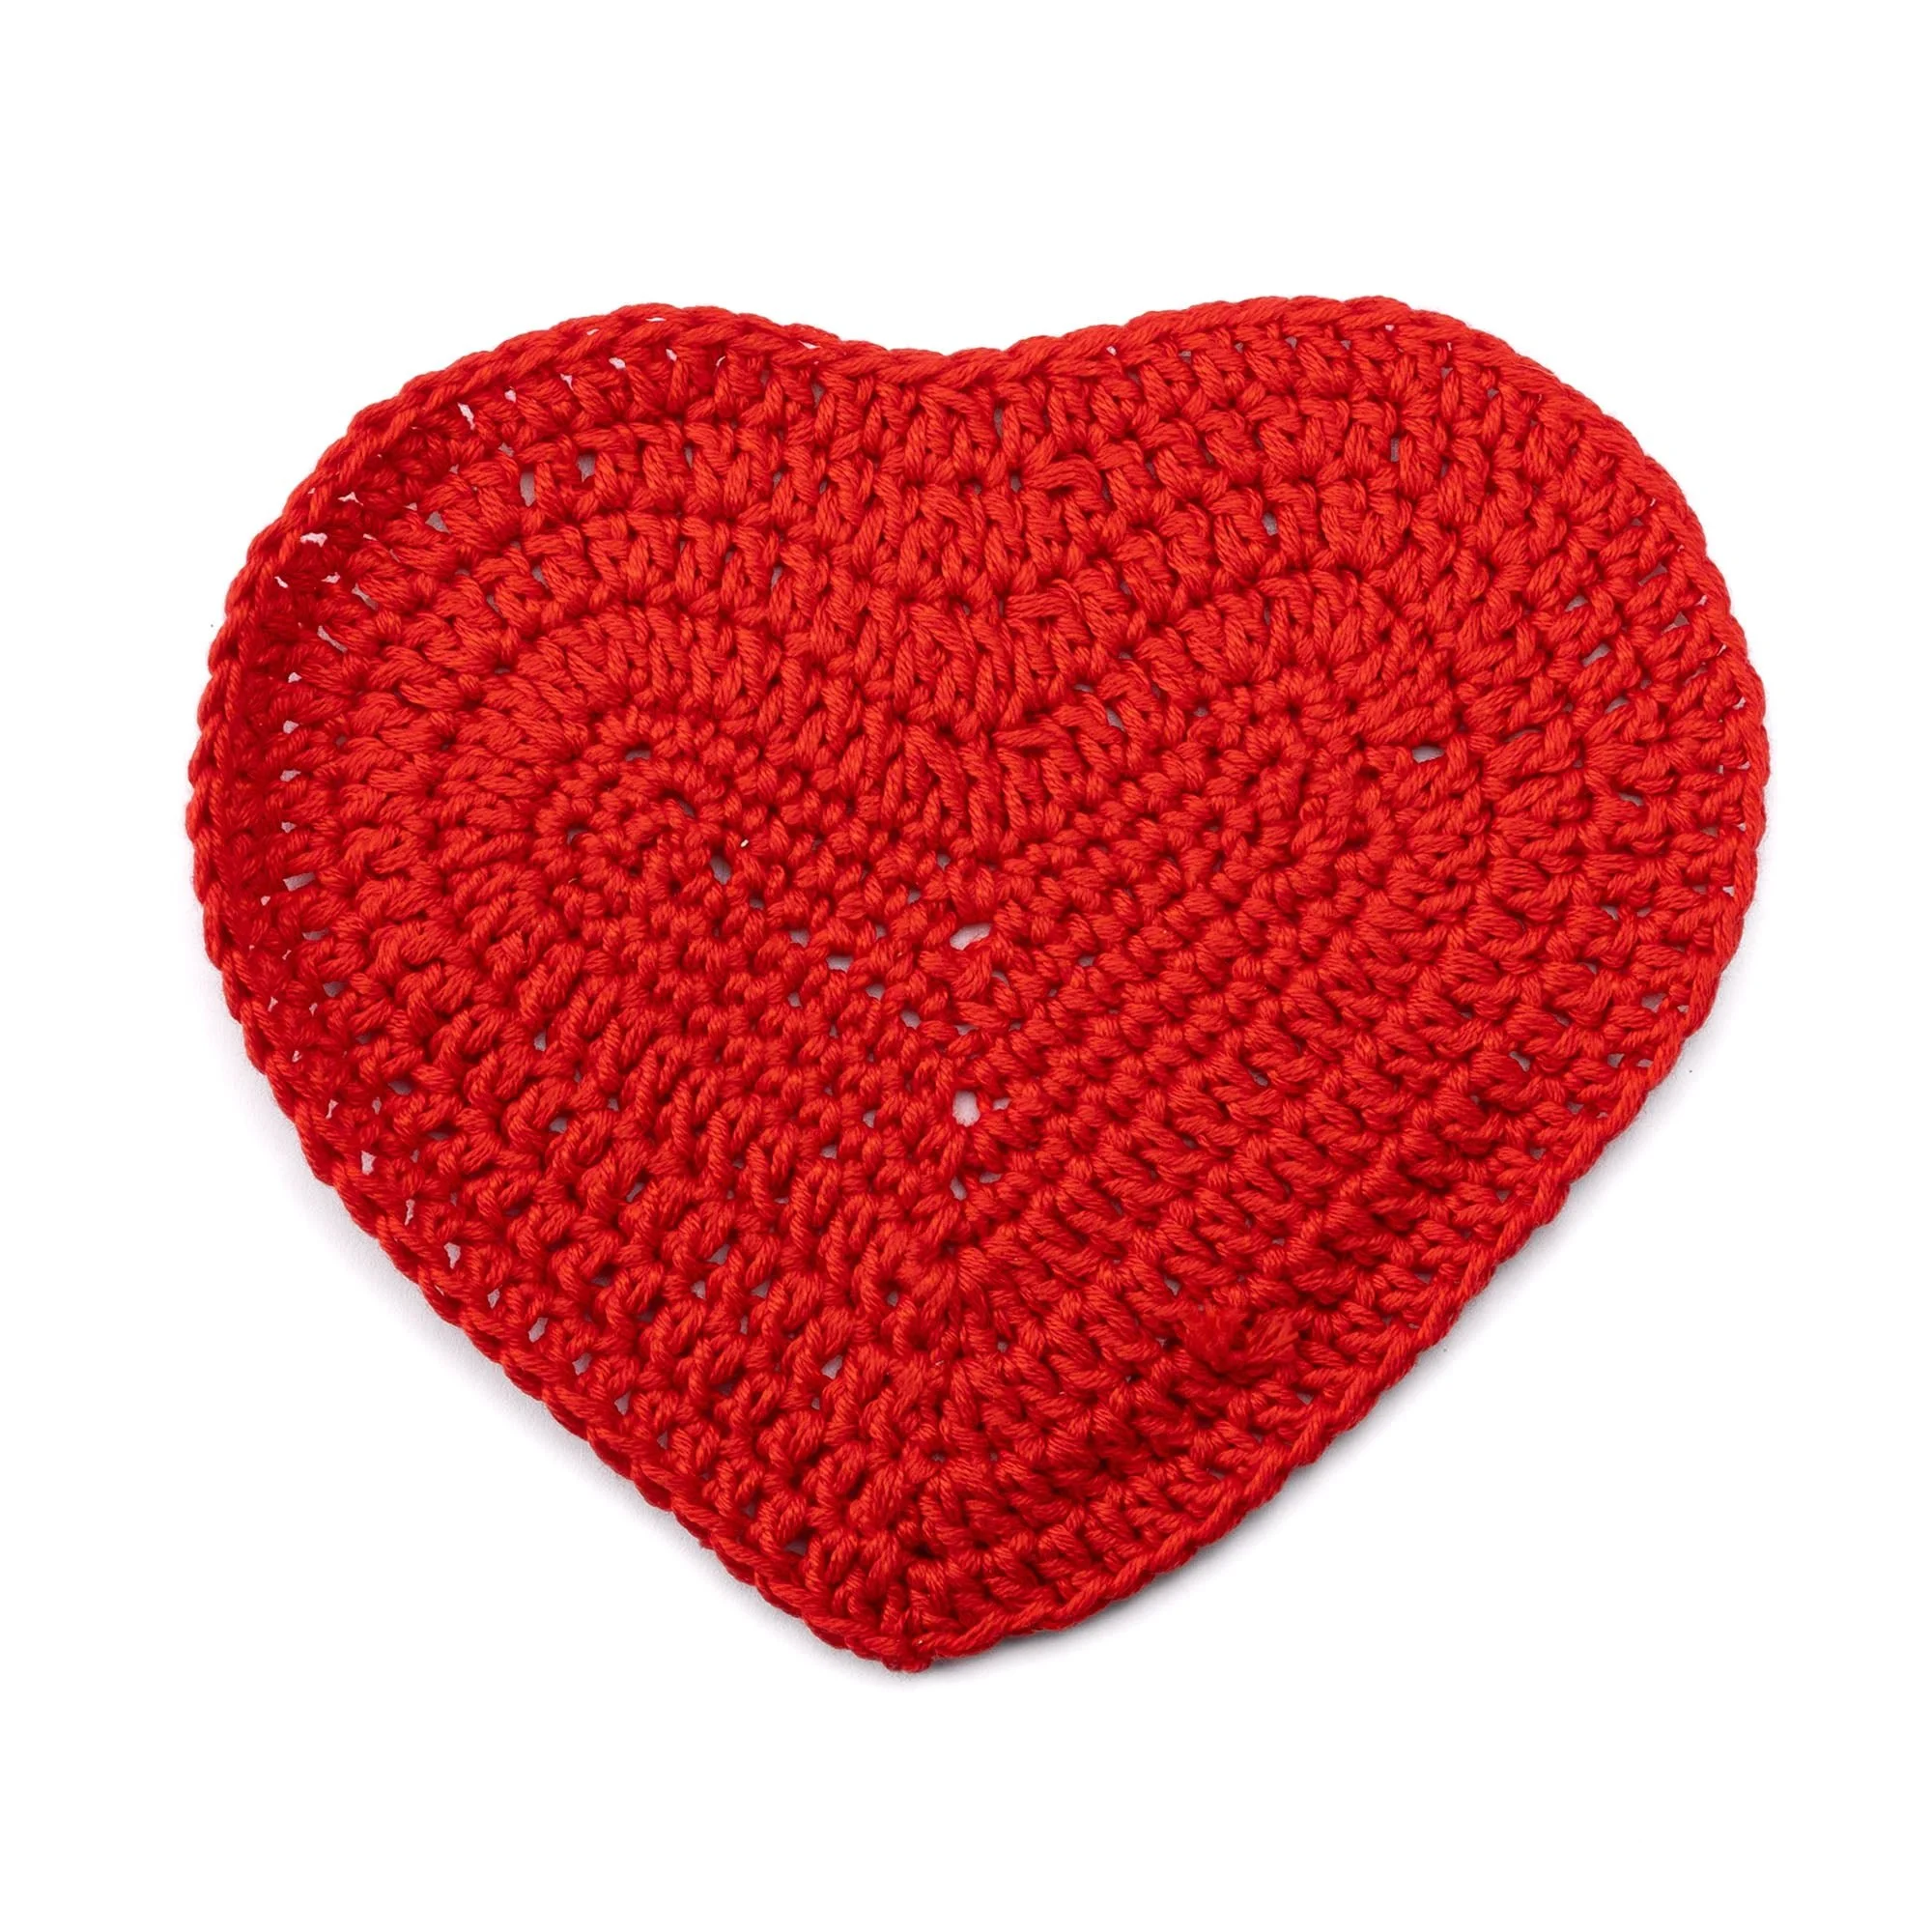
Create a beautiful and charming Crochet Heart Applique featuring the rich color of Red Heart® With Love Better Half™ yarn in Poppy. This crochet heart makes a delightful embellishment for any project, perfect for decorating cards, gifts, or clothing. The heart is constructed starting at the center, building outward with a combination of single and double crochet stitches. You’ll find that this simple pattern is enjoyable for crocheters at various skill levels. Follow along with the written instructions and any accompanying photos to bring this heartfelt design to life.
Project Details
- Crochet Terminology: U.S.
- Skill Level: Intermediate – Requires knowledge of basic crochet stitches and working in the round.
- Finished Size: Approximately 5 inches wide, varying based on tension.
- Construction Method: Worked in the round, beginning from the center.
Materials and Tools
| Yarn Option | Yarn and Specifications | Amount |
|---|---|---|
| Red Heart® With Love Better Half™ | Poppy (0004) | 1 ball (3.5 oz/100 g; 174 yds/159 m) |
- Size U.S. I/9 (5.5 mm) Susan Bates® Silvalume® crochet hook or size needed to obtain gauge
- Susan Bates® yarn needle
Abbreviations
| Abbreviation | Meaning |
|---|---|
| ch | chain |
| sl st | slip stitch |
| dc | double crochet |
| sc | single crochet |
Preparation and Techniques
Working in Rounds
Crochet Patterns — No Ads. No Clutter.
Browse the Crochet Library →
This pattern is worked in rounds, beginning with a foundation chain and then continuing in a circular manner. Make sure to join each round properly by following the joining instructions.
Complete Pattern Instructions
Heart Component
Begin at the center of the heart:
| Round | Instructions | Stitches |
|---|---|---|
| 1 | Ch 17. 2 sc in 2nd ch from hook. 1 sc in each of next 6 ch. Skip next 2 ch. 1 sc in each of next 6 sc. 3 sc in last ch. Working in opposite side of foundation ch, 1 sc in each of next 7 ch. Ch 2. 1 sc in each of next 7 ch. 1 sc in same ch as first 2 sc. Join. | 32 sc and 1 ch-2 sp |
| 2 | Ch 1. 1 sc in first sc. 3 sc in next sc. 1 sc in each of next 5 sc. Skip next 2 sc. 1 sc in each of next 5 sc. 3 sc in next sc. 1 sc in next sc. 3 sc in next sc. 1 sc in each of next 7 sc. (1 sc, ch 2, 1 sc) in next ch-2 sp. 1 sc in each of next 7 sc. 3 sc in last sc. Join. | 40 sc and 1 ch-2 sp |
| 3 | Ch 1. 1 sc in first sc. 3 sc in next sc. 1 sc in each of next 6 sc. Skip next sc. 1 sc in sp between skipped sc and next sc. Skip next sc. 1 sc in each of next 6 sc. 3 sc in next sc. 1 sc in next sc. 3 sc in next sc. 1 sc in each of next 10 sc. (1 sc, ch 2, 1 sc) in next ch-2 sp. 1 sc in each of next 10 sc. 3 sc in last sc. Join. | 49 sc and 1 ch-2 sp. Pattern Note: Written total is 49 sc while source states 50. |
| 4 | Join yarn with sl st to ch-2 sp. Ch 2. 2 dc in same sp as sl st. 1 dc in each of next 10 sc. (2 dc in next sc, 1 dc in next sc) 5 times. 1 dc in each of next 2 sc. Dc2tog. 1 dc in next sc. Dc2tog. 1 dc in each of next 3 sc. (2 dc in next sc, 1 dc in next sc) 5 times. 1 dc in each of next 9 sc. 1 dc in first ch-2 sp. Join. | 60 sts |
| 5 | Ch 2. 2 dc in same sp as sl st. 1 dc in each of next 15 dc. (2 dc in next dc, 1 dc in each of next 2 dc) 3 times. 1 dc in each of next 3 dc. Dc2tog. 1 dc in next dc. Dc2tog. 1 dc in each of next 5 dc. (2 dc in next dc, 1 dc in each of next 2 dc) 3 times. 1 dc in each of next 13 dc. 1 dc in first dc. Join. | 66 sts |
| 6 | Ch 2. 2 dc in same sp as sl st. 1 dc in each of next 18 dc. (2 dc in next dc, 1 dc in each of next 3 dc) 3 times. Dc2tog. 1 dc in next dc. Dc2tog. 1 dc in each of next 3 dc. (2 dc in next dc, 1 dc in next dc) 3 times. 1 dc in each of next 15 dc. 1 dc in first dc. Join. | 72 dc |
| 7 | Ch 2. 2 dc in same sp as sl st. 1 dc in each of next 20 dc. (2 dc in next dc, 1 dc in each of next 3 dc) 3 times. (1 dc in next dc, dc2tog) twice. 1 dc in each of next 4 dc. (2 dc in next dc, 1 dc in each of next 3 dc) 3 times. 1 dc in each of next 17 dc. 1 dc in first dc. Join. Fasten off. | 78 sts |
Assembly and Finishing
Fasten off after completing the 3rd round and again after completing the 7th round according to the stated stitch counts. This ensures secure ends without any loose threads.
