
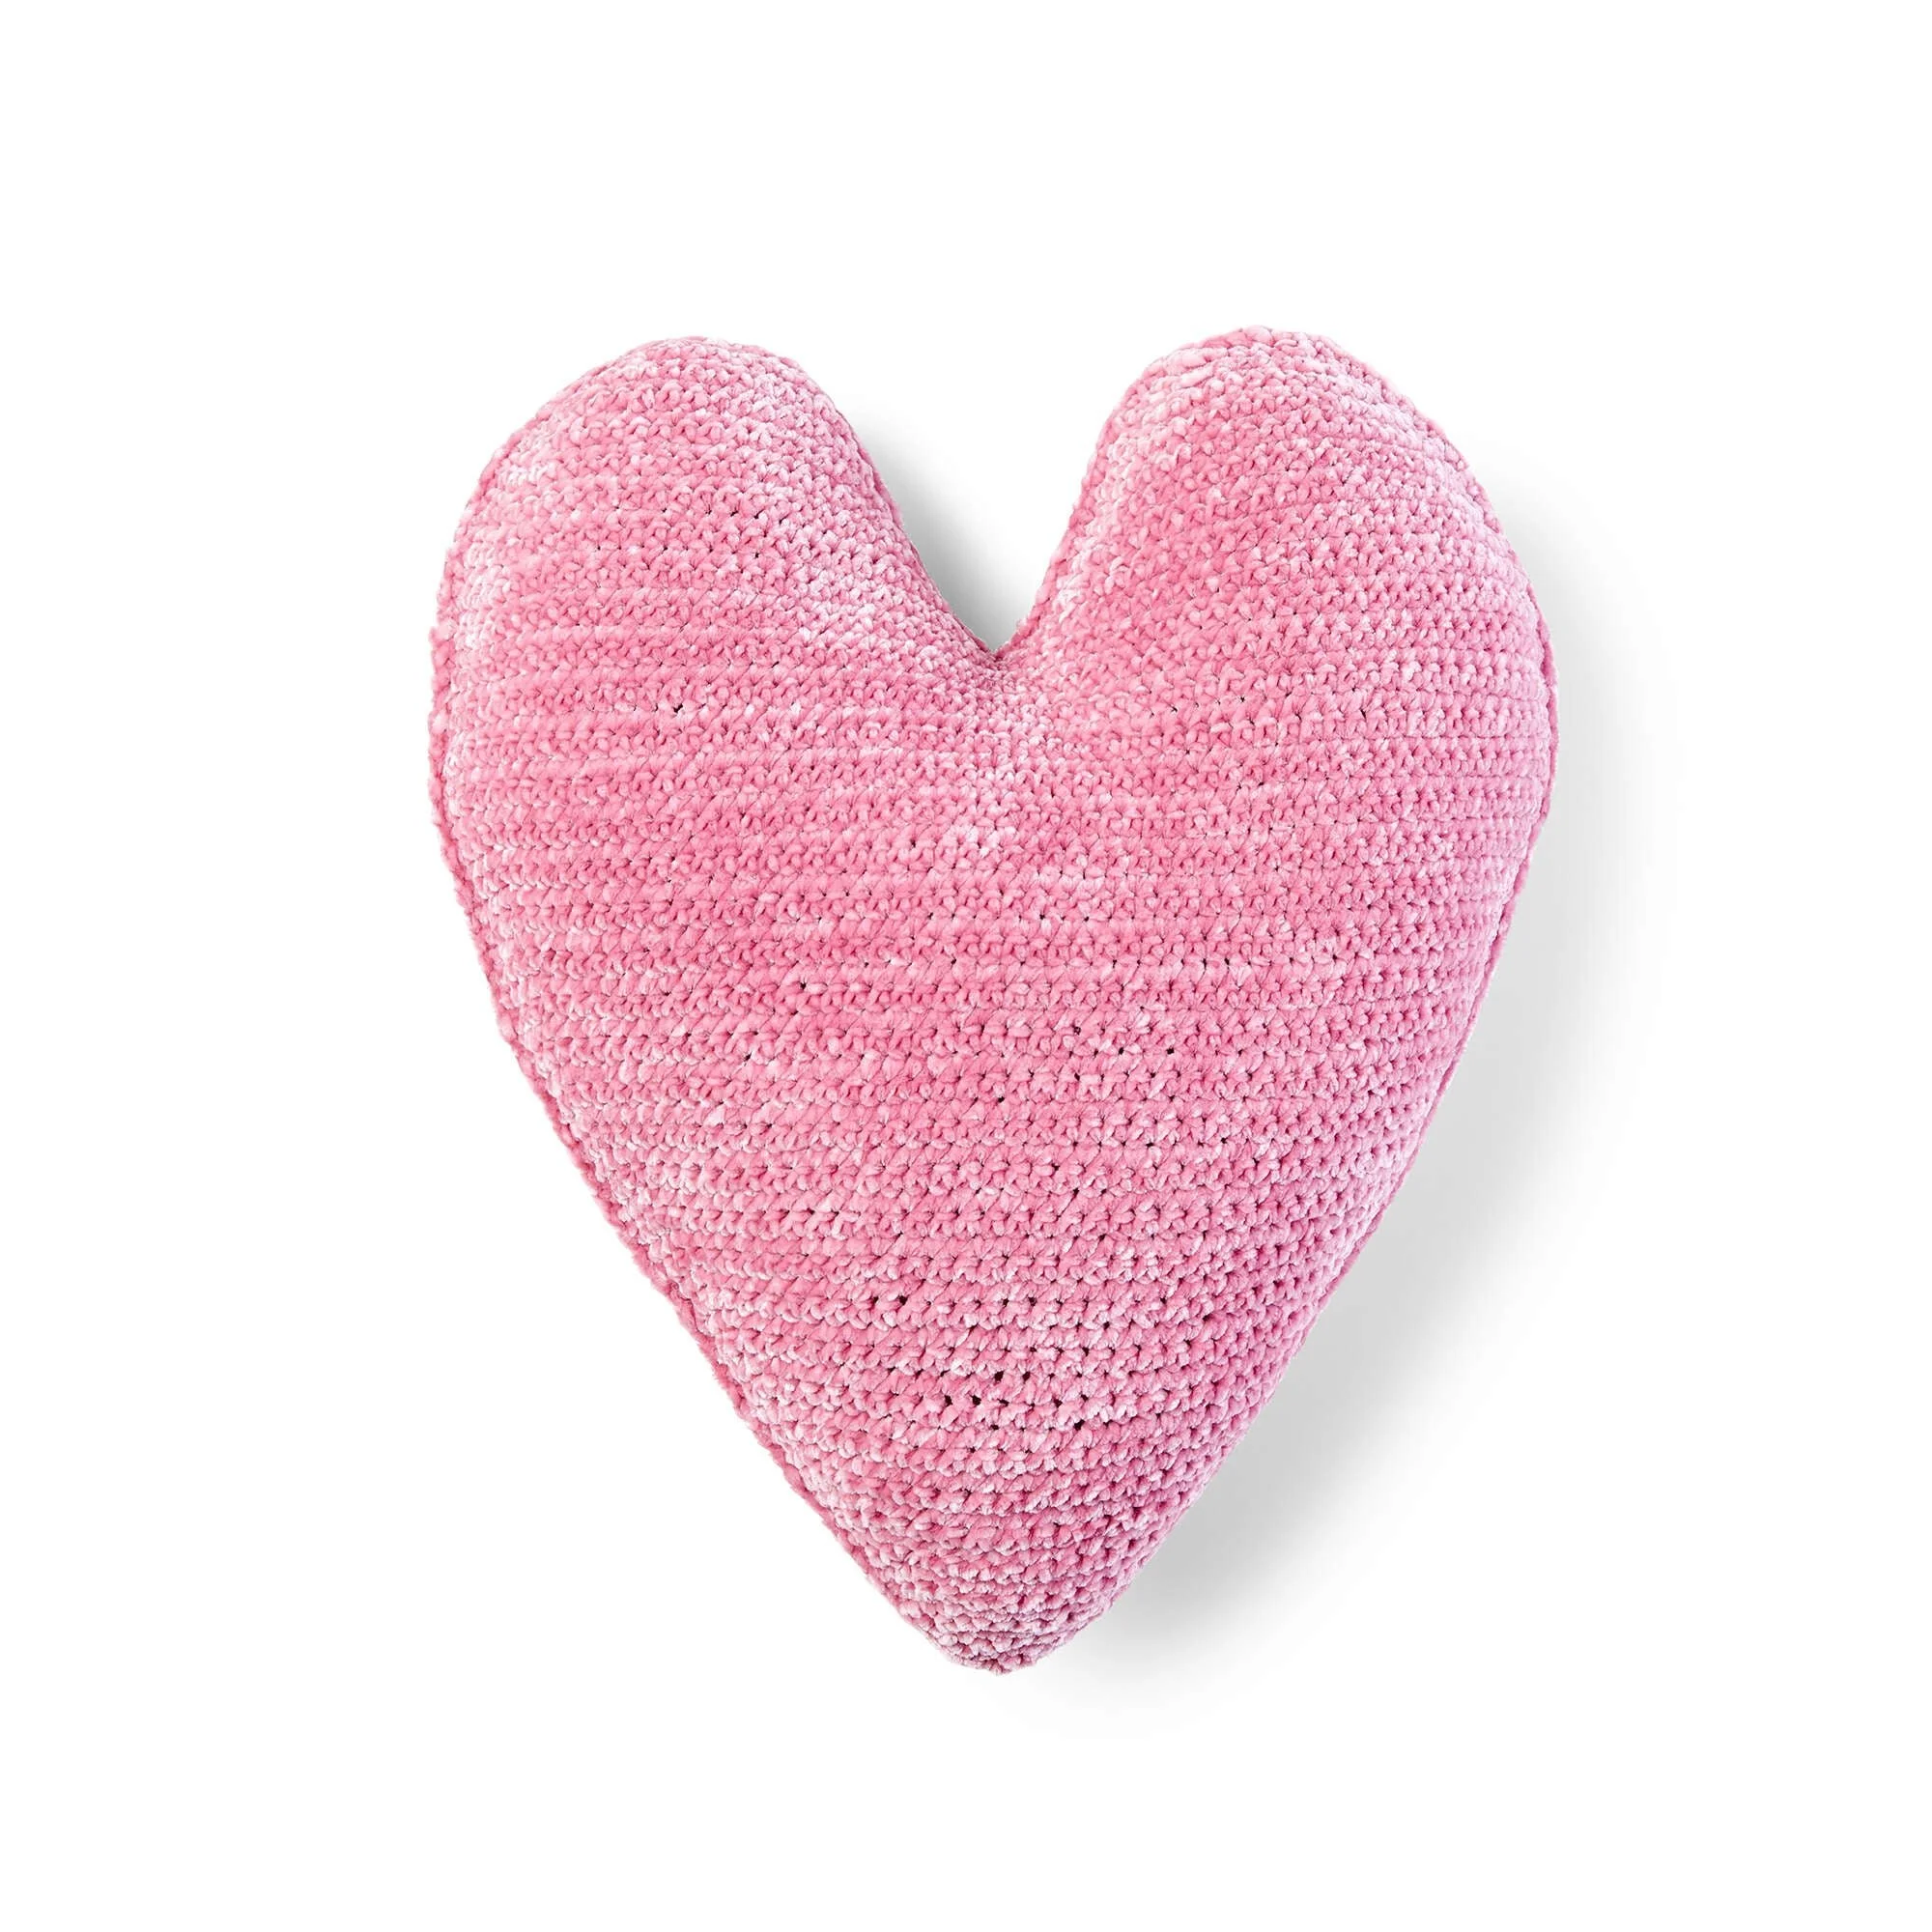
Craft a delightful crochet heart pillow that adds a touch of charm to any room! This soft and plush pillow is made with Bernat® Baby Velvet™ yarn, providing a lovely texture that’s perfect for cuddling. The construction begins by creating two identical pieces for the front and back, followed by shaping the top to form the heart. This project is well-suited for those with intermediate crochet skills who are looking to enhance their technique in shaping and assembly.
As you follow along with the written pattern, be sure to reference any photographs provided to visualize each step along the way.
Project Details
- Crochet terminology: U.S.
- Skill level: Intermediate (requires knowledge of single crochet and shaping techniques)
- Finished size:Approximately 13″ wide
- Construction method: Pieces are worked individually and assembled
Materials and Tools
| Yarn option | Yarn and specifications | Amount |
|---|---|---|
| Bernat® Baby Velvet™ | 10.5 oz / 300 g; 492 yds / 450 m – Pink Mist (86013) | 1 ball |
- Crochet hook: U.S. H/8 (5 mm) or size needed to obtain gauge
- Stitch markers
- Stuffing
Crochet Patterns — No Ads. No Clutter.
Browse the Crochet Library →
Abbreviations
| Abbreviation | Meaning |
|---|---|
| ch | Chain |
| sc | Single crochet |
| sc2tog | Single crochet 2 together (decrease) |
| sc3tog | Single crochet 3 together (decrease) |
| WS | Wrong side |
| RS | Right side |
Preparation and Techniques
Shaping the Pillow
This pattern focuses on shaping the heart at the top, involving decreases to create the desired contour. Keep your tension consistent, especially when working with plush yarn like Bernat® Baby Velvet™, as this will help maintain an even appearance. Marking your stitches as you go will also aid in tracking your progress.
Complete Pattern Instructions
Front and Back (Make 2)
- Ch 2.
- 1st row: (WS). 3 sc in 2nd ch from hook. Turn. Stitch count: 3 sc
- 2nd row: Ch 1. 1 sc in first sc. 2 sc in next sc. 1 sc in next sc. Turn. Stitch count: 4 sc
- 3rd row: Ch 1. 1 sc in first sc. 2 sc in each of next 2 sc. 1 sc in next sc. Turn. Stitch count: 6 sc
- 4th to 6th rows: Ch 1. 1 sc in each of the first 2 sc. 2 sc in next sc. 1 sc in each sc to last 3 sc. 2 sc in next sc. 1 sc in each of last 2 sc. Turn.
- 7th row: (WS). Ch 1. 1 sc in each sc to end of row. Turn. Stitch count note: Rep 4th to 7th rows 6 times more. 48 sc.
- 8th row: (RS). Ch 1. 1 sc in each of first 2 sc. 2 sc in next sc. 1 sc in each sc to last 3 sc. 2 sc in next sc. 1 sc in each of last 2 sc. Turn. Stitch count: 50 sc.
- 9th row: (WS). Ch 1. 1 sc in each sc to end of row. Turn. Stitch count after this row: 50 sc.
- 10th row: Rep these 2 rows 6 times more. 62 sc.
- 11th row: Ch 1. 1 sc in each sc to end of row. Turn.
- 12th row: Rep last row until work from beg measures 13″ , ending on a WS row.
Shape Top: Right Side Shaping
- 1st row: (RS). Ch 1. 1 sc in each of first 2 sc. Sc2tog. 1 sc in each of next 23 sc. Sc2tog. 1 sc in each of next 2 sc. Place marker on next st. Turn. Stitch count: 29 sc.
- 2nd and alt rows: Ch 1. 1 sc in each sc to end of row. Turn.
- 3rd row: Ch 1. 1 sc in each of first 2 sc. Sc2tog. 1 sc in each of next 21 sc. Sc2tog. 1 sc in each of next 2 sc. Turn. Stitch count: 27 sc.
- 5th, 7th, 9th, 11th and 13th rows: Ch 1. 1 sc in each of first 2 sc. Sc2tog. 1 sc in each sc to last 4 sc. Sc2tog. 1 sc in each of last 2 sc. Turn.
- 14th row: 17 sc at end of 13th row.
- 15th row: Ch 1. 1 sc in each of first 2 sc. Sc3tog. 1 sc in each of next 7 sc. Sc3tog. 1 sc in each of last 2 sc. Turn. Stitch count: 13 sc.
- 17th row: Ch 1. 1 sc in each of first 2 sc. Sc3tog. 1 sc in each of next 3 sc. Sc3tog. 1 sc in each of last 2 sc. Stitch count: 9 sc.
- 19th row: Ch 1. Sc3tog. 1 sc in each of next 3 sc. Sc3tog. Fasten off.
Left Side Shaping
- Join yarn with sl st to marked st.
- Work from 1st row to 19th row as given for Right Side Shaping, beginning in the same st as last sl st.
