
333
new link ads
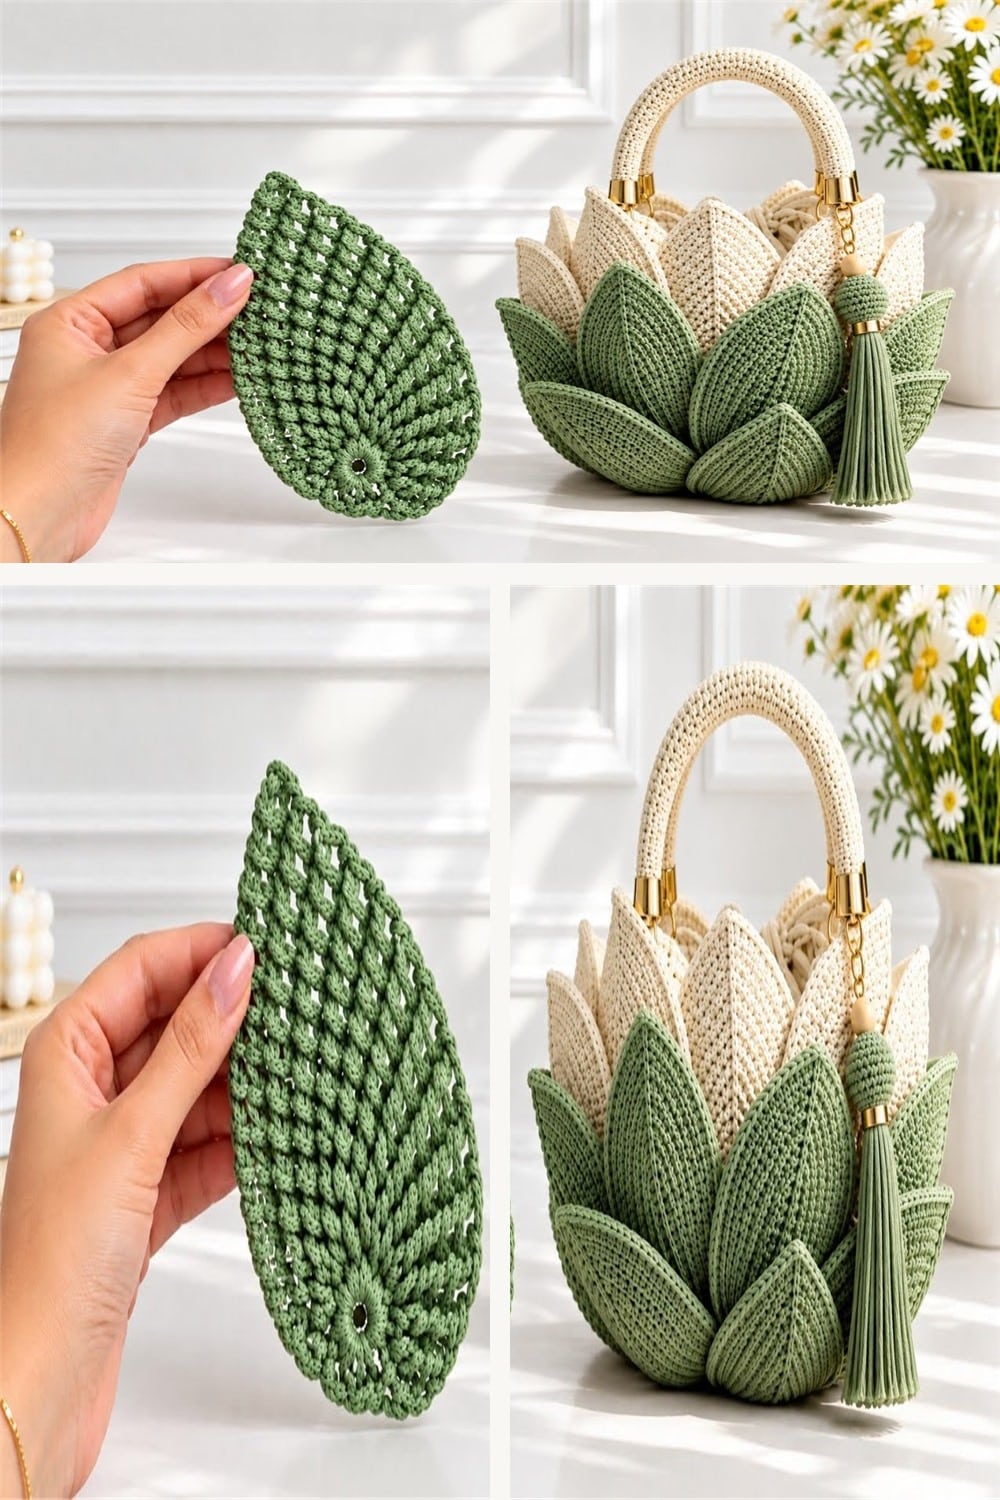
Create a sculptural accessory with this elegant crochet lotus handbag tutorial. The design combines layered leaf-shaped motifs in soft sage and warm cream, a rounded wrapped handle, gold-tone details and a coordinating tassel. Its dimensional flower-inspired silhouette looks sophisticated while remaining unmistakably handmade. Follow the embedded video for the demonstrated construction, pausing whenever you need to compare your motif shape or placement.
Why Make a Crochet Lotus Handbag?
The overlapping petals transform a practical crochet bag into wearable fiber art. Sage green creates the outer leaves, cream motifs form the inner blossom, and the neutral handle keeps the palette refined. Because the design is assembled from repeated pieces, you can perfect one motif before producing the complete set. The project is especially appealing for crocheters who enjoy texture, careful finishing and accessories that become conversation pieces.
Suggested Materials
- Firm cotton, cotton-blend or smooth cord yarn in cream and sage green
- A crochet hook suited to the yarn and the tension shown in the video
- Stitch markers, scissors, measuring tape and a yarn needle
- A sturdy rounded handle or materials for a wrapped crochet handle
- Optional gold-tone connectors, beads and tassel hardware
- Optional fabric lining, interior pocket and magnetic closure
Choose yarn with enough body to help each petal retain its shape. A very soft yarn may create beautiful drape but can make the flower silhouette collapse. Work a test motif, block it gently and compare the finished dimensions with the tutorial before committing to all the pieces.
Understanding the Lotus Construction
The handbag’s dramatic shape comes from arranging pointed crochet motifs in overlapping rows. Each piece contributes both structure and decoration. Consistency matters more than speed: motifs that match in height, width and stitch tension will nest together cleanly. Lay every finished component on a flat surface and group similar sizes before assembly.
Crocheting Consistent Leaf Motifs
Begin with one practice leaf and pay close attention to the center, increases and tapered point. Mark the right side so every motif faces the same direction during assembly. Count stitches at the end of each section and compare new leaves against the first approved sample. If a piece differs noticeably, correct it before moving on; small variations become more obvious when several leaves sit side by side.
Planning the Cream and Sage Layout
Arrange the sage motifs around the lower outside edge and use cream pieces to build the inner flower. Photograph the arrangement before sewing so you can restore the placement if the pieces shift. Check the bag from the front, sides and back, making sure the layers appear balanced. You can also try blush and ivory, emerald and champagne, or a single monochrome shade for a different mood.
Building a Stable Bag Interior
Decorative petals need a secure foundation. Follow the video to form the inner bag body, then test whether it holds its shape before attaching the outer motifs. Reinforce areas that will support the handle. If the crochet fabric contains openings, add a lining so keys and small objects cannot escape. A lining also reduces stretching and hides the reverse side of assembly stitches.
Attaching the Layered Petals
Pin or clip the motifs temporarily and step back to inspect the silhouette. Sew each piece at several strong points while allowing the upper edges to remain dimensional. Keep attachment stitches discreet and match the sewing yarn to the motif. Work symmetrically from the center outward so one side does not become fuller than the other.
