
- Fold the rectangle in half, matching the short ends together with the right side facing inward.
- Using your tapestry needle and a length of matching yarn, sew the short ends together using a whip stitch to create a tube.
- Tie off the yarn but do not cut the tail too short. Turn the tube inside out so the seam is on the inside.
- With the long tail, weave the yarn in and out through the stitches along the top edge of the beanie.
- Pull the yarn tail tightly to gather the top closed. Secure with a knot and weave in your ends on the inside of the hat.
Care & Washing Instructions
- Hand wash in cool water using a mild wool-safe detergent to preserve fiber integrity.
- Lay the beanie flat on a dry towel and reshape it while damp to ensure it retains its original rectangular dimensions.
- Avoid using a tumble dryer, as heat can shrink natural fibers and cause the acrylic components to lose their shape permanently.
Pro Tips & Common Mistakes to Avoid
Maintain consistent tension by holding your yarn with a steady grip throughout the entire row; if your stitches are too tight, your beanie will not have the necessary stretch to fit comfortably. Always use a stitch marker on the first stitch of every row to ensure you do not accidentally skip the final stitch, which often looks hidden in BLO patterns. Weave in your yarn tails by running them through the thickness of the ribbing on the inside, which keeps them secure and invisible from the outside. If you decide to adjust the size, add or subtract rows in increments of two to maintain the ribbing pattern, keeping in mind that each additional row will require approximately 3 yards of extra yarn.
Frequently Asked Questions
Can I substitute a different yarn weight for this pattern?
While you can use different weights, this pattern is specifically calibrated for worsted weight. Using a lighter weight will result in a smaller hat, while a heavier yarn will result in a much bulkier, stiffer fabric that may lose its stretch.
Is this pattern suitable for someone who has never crocheted before?
Yes, this pattern is highly accessible for beginners because it uses only one basic stitch, the half double crochet, and requires no complicated increases or decreases.
How do I know if the beanie will fit before I finish seaming?
Before you sew the final seam, wrap the rectangular panel around your head. It should feel snug but not restrictive. If it feels too loose, you can undo the last few rows to decrease the width.
Am I allowed to sell hats made from this pattern?
You are welcome to sell finished items made from this pattern on a small scale, provided you credit the designer and use your own original photographs for your listings.
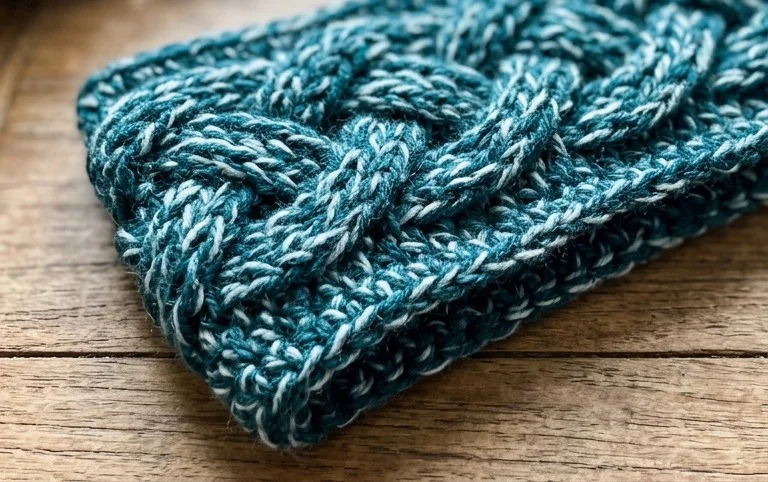 Pin for later!
Your finished ear warmer provides a snug layer of protection that will last through many cold seasons. For a more colorful look, consider using a variegated yarn that shifts tones as you work through the rows. If you want a wider fit, simply add five more foundation chains to your starting row before you begin. Please upload a photo of your work to your favorite social media profile so others can see your progress. Feel free to browse our collection of winter projects for more inspiration.
46PinterestFacebookWhatsAppFlipboardShare46SHARES
