
After Row 39, fasten off, leaving a tail of about 6 in (15 cm). Pull the tail through the final loop. Thread it onto a tapestry needle and weave it through the stitches on the wrong side, changing direction once so it is less likely to work loose. Weave in the starting tail the same way. Do not pull the ends so tightly that the edge puckers.
Lay the cloth flat and check its shape. If it measures noticeably less than about 7.5 × 6.5 in, your stitches may be tighter than the pattern gauge. For a finished cloth, wash it according to the yarn label and let it dry fully before using it.
Care & Washing Instructions
- For cotton yarn, machine-wash in cool or warm water, up to 40°C (104°F), with similar colors; follow the yarn label if it gives different instructions.
- Dry flat or tumble-dry on low heat, checking the label first; high heat can cause some cottons to shrink.
- While damp, smooth the edges and reshape the cloth flat. Blocking is optional for this practical project.
Pro Tips & Common Mistakes to Avoid
- Keep tension steady: Make the foundation chain a little looser than your usual stitches if it looks tight. A tight chain can draw the bottom edge in.
- Count every row: Check for 30 stitches before turning. A removable marker in the first or last stitch can help you see the edge stitch, especially when you set the work down.
- Hide ends without bumps: Weave each tail through the wrong side of several stitches, then change direction. Avoid carrying a bulky tail along the edge where it can show or feel rough.
- Adjust size with a plan: To make the cloth wider, add chains to the starting chain, keeping one chain for the turning space. To make it longer, work extra rows. Both changes use more yarn; a larger hook also makes a looser, often larger fabric.
Frequently Asked Questions
Can I use acrylic yarn instead of cotton?
You can, but acrylic usually absorbs less water and may feel less suitable for wiping dishes. A cotton or cotton-blend yarn is a closer match. Check the care label because washing and drying instructions vary by fiber.
How do I make the dishcloth smaller or larger?
Change the starting chain to adjust the width and the number of rows to adjust the length. Work one sc into each chain after the turning chain, and keep the stitch count consistent across every row. A different yarn weight or hook will also affect the final size.
Is this pattern suitable for a first crochet project?
Yes. It uses only chains and single crochet stitches, with no shaping, color changes, or seams. The main thing to watch is the edge stitch at the beginning and end of each row, so count 30 stitches before turning.
May I sell dishcloths made from this pattern?
Check the designer’s terms for permission and any selling or credit requirements. If you sell finished cloths, describe the fiber accurately and include appropriate care instructions.
 Pin for later!
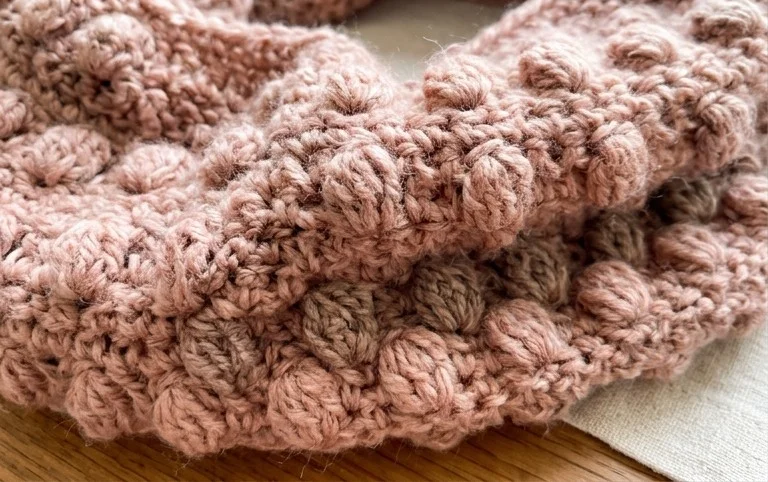
A finished bobble cowl has a pleasing mix of raised texture and soft warmth, and it’s satisfying to see the bobbles form row by row. For a simple variation, work it in a second color or choose a lighter yarn for a less bulky drape, checking your gauge as you go. If you make one, share a photo on Pinterest or your favorite social media account so other crocheters can see your color choice and finished texture. You can also explore more free crochet patterns on the blog for another practical project to keep your hook busy.
PinterestFacebookWhatsAppFlipboardShare
