
- Rnd 9:6 times (12 sts).
- Rnd 10:6 times (6 sts).
Fasten off, leaving a 6-inch tail. Thread the tail through a tapestry needle and weave it through the front loops of the remaining 6 stitches. Pull tight to close the opening completely and hide the yarn tail inside the body.
Care & Washing Instructions
- Hand wash in cool water using a gentle detergent specifically formulated for knit and crochet items.
- Lay the item flat on a clean towel and reshape it while damp to ensure it retains its intended dimensions.
- Do not wring out or machine dry, as high heat and friction can distort the shape and cause the fiberfill to clump.
Pro Tips & Common Mistakes to Avoid
Use a stitch marker at the beginning of every round to keep track of your progress, as continuous rounds make it easy to lose your place. Maintain even tension throughout the project; if your tension is too loose, the fiberfill will poke through the gaps between your stitches. Weave in all loose ends by running the yarn tail through the interior of the stitches multiple times in different directions to ensure they do not come undone. If you decide to increase the size of the project by adding more increase rounds, remember that each additional round will exponentially increase the amount of yarn required to complete the piece.
Frequently Asked Questions
Can I substitute the worsted weight yarn for bulky yarn?
Yes, you can use bulky yarn, but you will need to increase your hook size to 6.0 mm or larger to prevent the fabric from becoming too stiff. Note that the final dimensions will be significantly larger than the original pattern.
How do I know if I am stuffing it enough?
The piece should feel firm to the touch but still retain its soft texture. If you can easily compress the item and it does not spring back to its original shape, add more stuffing.
Is this pattern appropriate for a total beginner?
This pattern is suitable for beginners who are comfortable with the basic single crochet stitch and working in the round. If you find the magic ring difficult to master, you can start by chaining 2 and working the first round of stitches into the second chain from the hook.
Am I allowed to sell items made from this pattern?
You are welcome to sell finished items created from this pattern. I simply ask that you credit the designer and include a link to the original tutorial whenever possible.
 Pin for later!
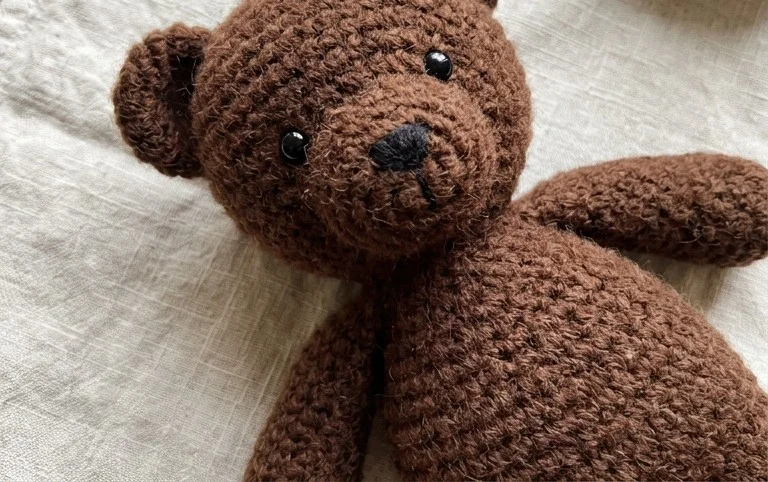
Your small bear is ready for a new home after you securely fasten off the final yarn tail. You can swap the standard brown cotton for a fuzzy chenille yarn if you want a softer, larger result that feels more like a plush toy. Sharing a photo of your completed creation online helps others find the motivation to start their first project. Browse the rest of the blog for additional free patterns that use similar basic techniques to help you grow your handmade collection.
52PinterestFacebookWhatsAppFlipboardShare52SHARES
