
Finishing
Cut the yarn leaving an 8-inch tail. Thread the tail through a tapestry needle and weave it through the remaining 8 stitches. Pull tightly to close the hole at the top of the hat. Secure the yarn on the inside and trim any excess. Attach a pom-pom to the top center if desired.
Care & Washing Instructions
- Hand wash the finished hat in cool water using a mild wool-safe detergent.
- Lay the item flat on a clean towel to air dry, reshaping it while damp to ensure the ribbing sits correctly.
- Avoid wringing or twisting the fabric, as this can distort the stretch of the post stitches.
Pro Tips & Common Mistakes to Avoid
- Maintain consistent tension when working post stitches; if your hands feel tight, take a short break to prevent the hat from becoming too stiff.
- Use a stitch marker at the beginning of every round to avoid losing your place, especially when working the ribbing.
- Weave in your ends by traveling through the underside of the stitches in two different directions to ensure they do not pull out over time.
- To adjust the size, add or subtract stitches in multiples of two during the foundation chain; note that larger hats will require an extra 10–20 yards of yarn.
Frequently Asked Questions
Can I use a different yarn weight?
Changing the yarn weight will significantly alter the finished size. If you use a thinner yarn, you will need to increase your starting chain count to match the circumference requirements.
How do I make this hat smaller for a child?
Start your foundation chain with 48 stitches instead of 60. Follow the same pattern repeats, but monitor the height to ensure it fits the intended head size before beginning the crown decreases.
Is this pattern suitable for complete beginners?
Yes, as long as you are comfortable with basic double crochet stitches. The post stitches are simple to learn with a little practice and create a professional look quickly.
Can I sell the hats I make from this pattern?
You are welcome to sell finished items made from this design. Please credit the original pattern design when listing your products online or in person.
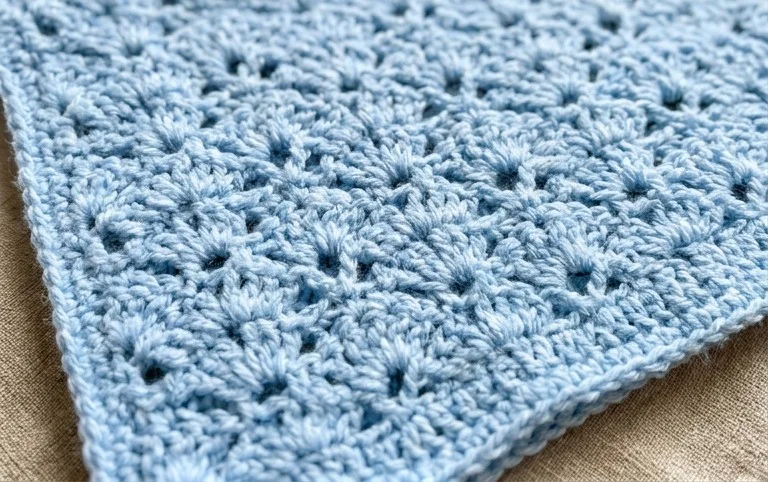 Pin for later!
Your finished beanie now serves as a soft, reliable staple that keeps you cozy throughout the winter months. If you want to experiment, try holding two strands of a lighter weight wool together for a unique color-blocked effect. Seeing how your stitches turned out is always a highlight, so please share a photo of your work on Instagram or Pinterest to show off your progress. You can browse my full archive for more free patterns to continue your craft journey and discover your next favorite project today.
PinterestFacebookWhatsAppFlipboardShare
