
After Row 34, fasten off, leaving a tail of about 6 in (15 cm). Pull the tail through the final loop and thread it onto a tapestry needle. Weave each end through several stitches on the wrong side, changing direction once so the end is less likely to work loose. Trim the remaining yarn close to the fabric without cutting into the stitches.
Lay the cloth flat and check that it measures about 8.5 in (21.5 cm) on each side. Cotton can shift slightly after its first wash. If your cloth is noticeably wider or narrower, use the gauge and sizing tips below when you make another one.
Care & Washing Instructions
- Wash cotton in warm water, up to 40°C (104°F), with similar colors; follow the yarn label if it gives a lower temperature.
- Air-dry flat when possible, or tumble-dry on low if the yarn label permits it.
- After washing, smooth the edges and reshape the cloth flat; blocking is optional for this everyday item.
Pro Tips & Common Mistakes to Avoid
- Check your tension: Keep the chain relaxed. A tight foundation chain can pull the bottom edge inward even when the rows above are even. If needed, make the foundation chain with a hook 0.5 mm larger, then switch to the listed hook for Row 1.
- Count every row: Each row should have 30 single crochet stitches. Mark the first stitch if you tend to miss the last stitch at the far edge; the turning chain is not included in the count.
- Hide ends securely: Weave each tail through the back of several stitches, then change direction. Do not pull so tightly that the edge puckers, and avoid leaving a short tail that can slip free in the wash.
- Change the size thoughtfully: For a wider cloth, add chains to the foundation, keeping one extra chain for the turning chain. For a longer cloth, add rows. Each added stitch or row uses more yarn, so allow extra yardage and check the new dimensions as you work.
Frequently Asked Questions
Can I use a different yarn fiber?
Yes, but the cloth’s feel and use will change. Cotton or a cotton blend is absorbent and easy to wash. Acrylic is less absorbent and can feel slick for cleaning. Check the yarn label for washing instructions before substituting.
How can I make the dishcloth larger or smaller?
Change the foundation chain to adjust the width, remembering that one chain is used for turning and does not become a stitch. Change the number of rows to adjust the length. Measure your work as you go, since yarn thickness and personal tension affect the finished size.
Is this pattern suitable for a first crochet project?
Yes. It uses only chains and single crochet worked in flat rows. The main challenge is finding the first and last stitch consistently. Count the 30 stitches at the end of each row until the edges look even.
May I sell dishcloths made from this pattern?
Check the designer’s terms before selling finished items, and follow any attribution or selling limits that apply. If you sell the cloth, describe its fiber accurately and include care details from the yarn label.
 Pin for later!
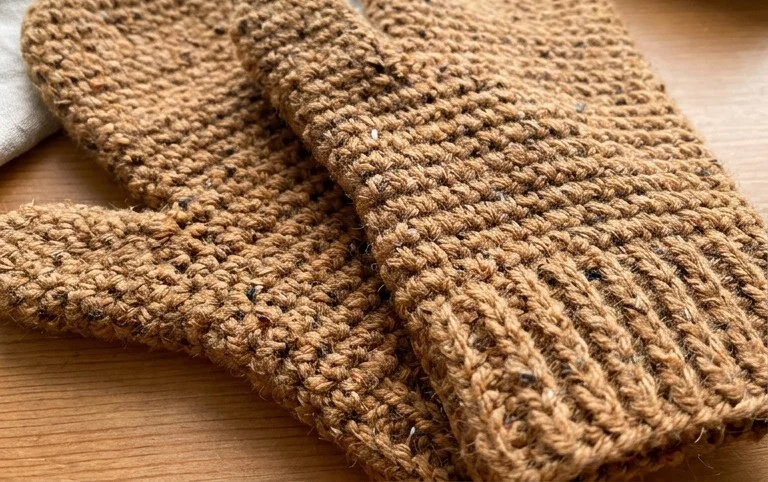
Once the shaping is finished, you’ll have a warm handmade pair that is ready to wear, wrap as a gift, or tuck into a winter bag. Try a single deep shade for a classic look, or use two coordinating colors if you want the cuffs and mitten bodies to stand apart. Before making a second pair, check the fit around the palm and wrist so you can adjust the size where needed. Share a photo of your finished mittens on Pinterest or social media; seeing how different yarns and colors turn out is part of the fun. When you’re ready for another project, explore more free crochet patterns on the blog for practical makes to work on at home.
PinterestFacebookWhatsAppFlipboardShare
