
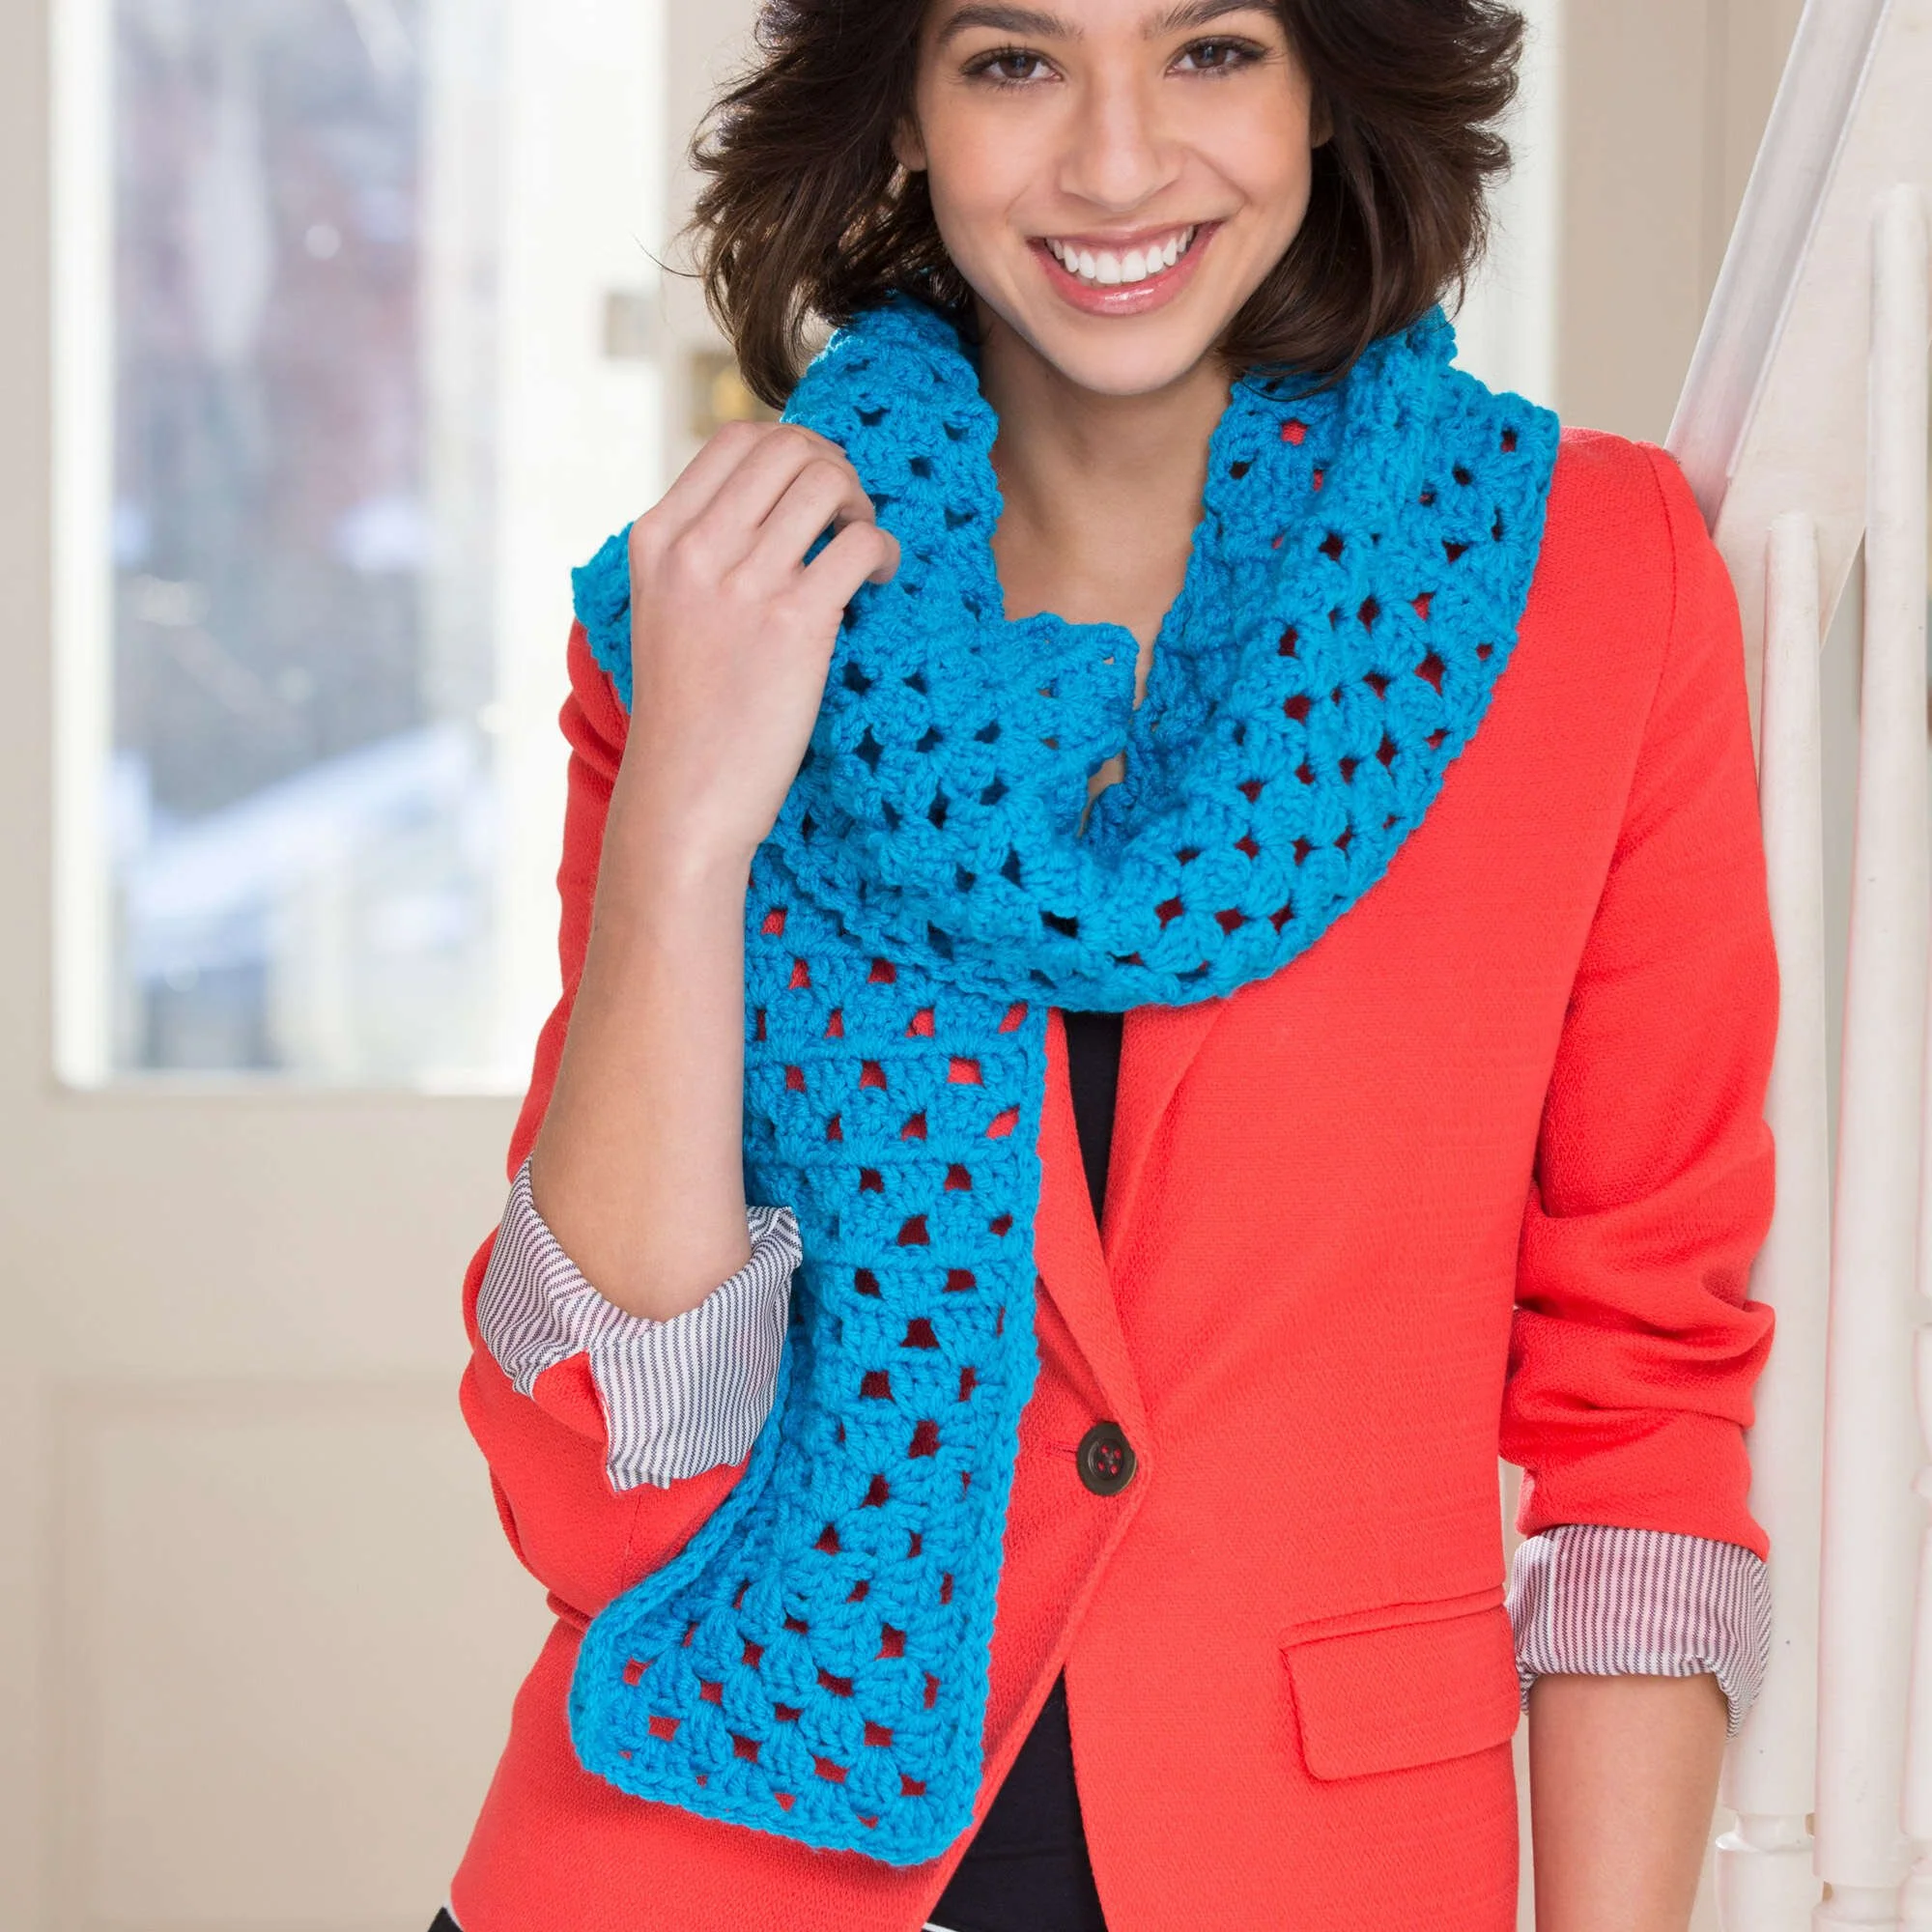
Create a cozy scarf that showcases the beauty of granny squares with this Beginner Granny Square Scarf Pattern. This scarf features a central granny square flanked by two extensions, making it a fun project for crafters looking to enhance their skills. Working with vibrant RED HEART® With Love® yarn, this pattern combines textured stitches and cheerful colors to create a lovely accessory perfect for chilly days. Follow the written directions alongside any supplied project photographs to guide your crochet journey.
Project Details
- Crochet terminology: US terms
- Skill level: Beginner
- Finished size: Approximately 60 inches long
- Construction method: Straight rows and granny squares
Materials and Tools
| Yarn option | Yarn and specifications | Amount |
|---|---|---|
| Main Yarn | RED HEART® With Love®, Art. E400 – 1803 Blue Hawaii | 1 skein |
- Susan Bates® Crochet Hook: 6.5mm
- Yarn needle
Abbreviations
| Abbreviation | Meaning |
|---|---|
| ch | chain |
| dc | double crochet |
| sl st | slip stitch |
| * … * | repeat from … |
Preparation and Techniques
Working in Rounds
Crochet Patterns — No Ads. No Clutter.
Browse the Crochet Library →
This pattern involves working in joined rounds for the granny squares. Each round is completed by slip stitching into the top of the beginning chain to form a seamless finish.
Complete Pattern Instructions
Center Granny Square
Make 1
| Round | Instructions | Stitches |
|---|---|---|
| Foundation | Ch 3; join with slip st in first ch to form a ring. | – |
| Round 1 | Ch 3 (counts as first dc here and throughout), 2 dc in ring, 3 times, ch 3; join with slip st in top of beginning ch. | 12 dc |
| After Round 1 | Slip st across to ch-3 space. | – |
| Round 2 | Slip st in next 2 dc, (slip st, ch 3, 2 dc, ch 3, 3 dc) in first ch-3 space (first corner made), *ch 1, (3 dc, ch 3, 3 dc) in next ch-3 space (corner made); repeat from * twice, ch 1; join with slip st in top of beginning ch. | 4 corners |
| Round 3 | Slip st in next 2 dc, (slip st, ch 3, 2 dc, ch 3, 3 dc) in first ch-3 space (first corner made), ch 1, 3 dc in next ch-1 space, *ch 1, (3 dc, ch 3, 3 dc) in next ch-3 space, ch 1, 3 dc in next ch-1 space; repeat from * twice, ch 1; join with slip st in top of beginning ch. | 4 corners and four 3-dc groups |
| Round 4 | Slip st in next 2 dc, (slip st, ch 3, 2 dc, ch 3, 3 dc) in first corner ch-3 space, *ch 1, 3 dc in next ch-1 sp; repeat from * to next corner ch-3 space, 3 times, ch 1; join with slip st in top of beginning ch. | 4 corners and two 3-dc groups on each side |
| Round 5 | Repeat Round 4. | 4 corners and three 3-dc groups |
End Granny Square and Extension
Make 2 (work same as center granny square but do not fasten off).
| Row | Instructions | Stitches |
|---|---|---|
| Row 1 | Slip st in next 2 dc, (slip st, ch 3, 2 dc) in first ch-3 space, *ch 1, skip next 3 dc, 3 dc in next ch-1 space; repeat from * across to last ch-3 space, ch 1, 3 dc in last ch-3 space, turn. | 6 3-dc groups and 5 ch-1 spaces |
| Row 2 | Ch 4 (counts as first dc, ch 1), ch 1, skip first 3 dc, 3 dc in next ch-1 space, *ch 1, skip next 3 dc, 3 dc in next ch-1 space; repeat from * across to last 3 dc, ch 1, skip next 2 dc, dc in top of beginning ch, turn. | 5 3-dc groups, 2 dc, and 6 ch-1 spaces |
| Row 3 | Ch 3, 2 dc in first ch-1 space, *ch 1, skip next 3 dc, 3 dc in next ch-1 space; repeat from * across, turn. | 6 3-dc groups and 5 ch-1 spaces |
| Rows 4–27 | Repeat Rows 2 and 3 twelve times. | – |
