
333
new link ads
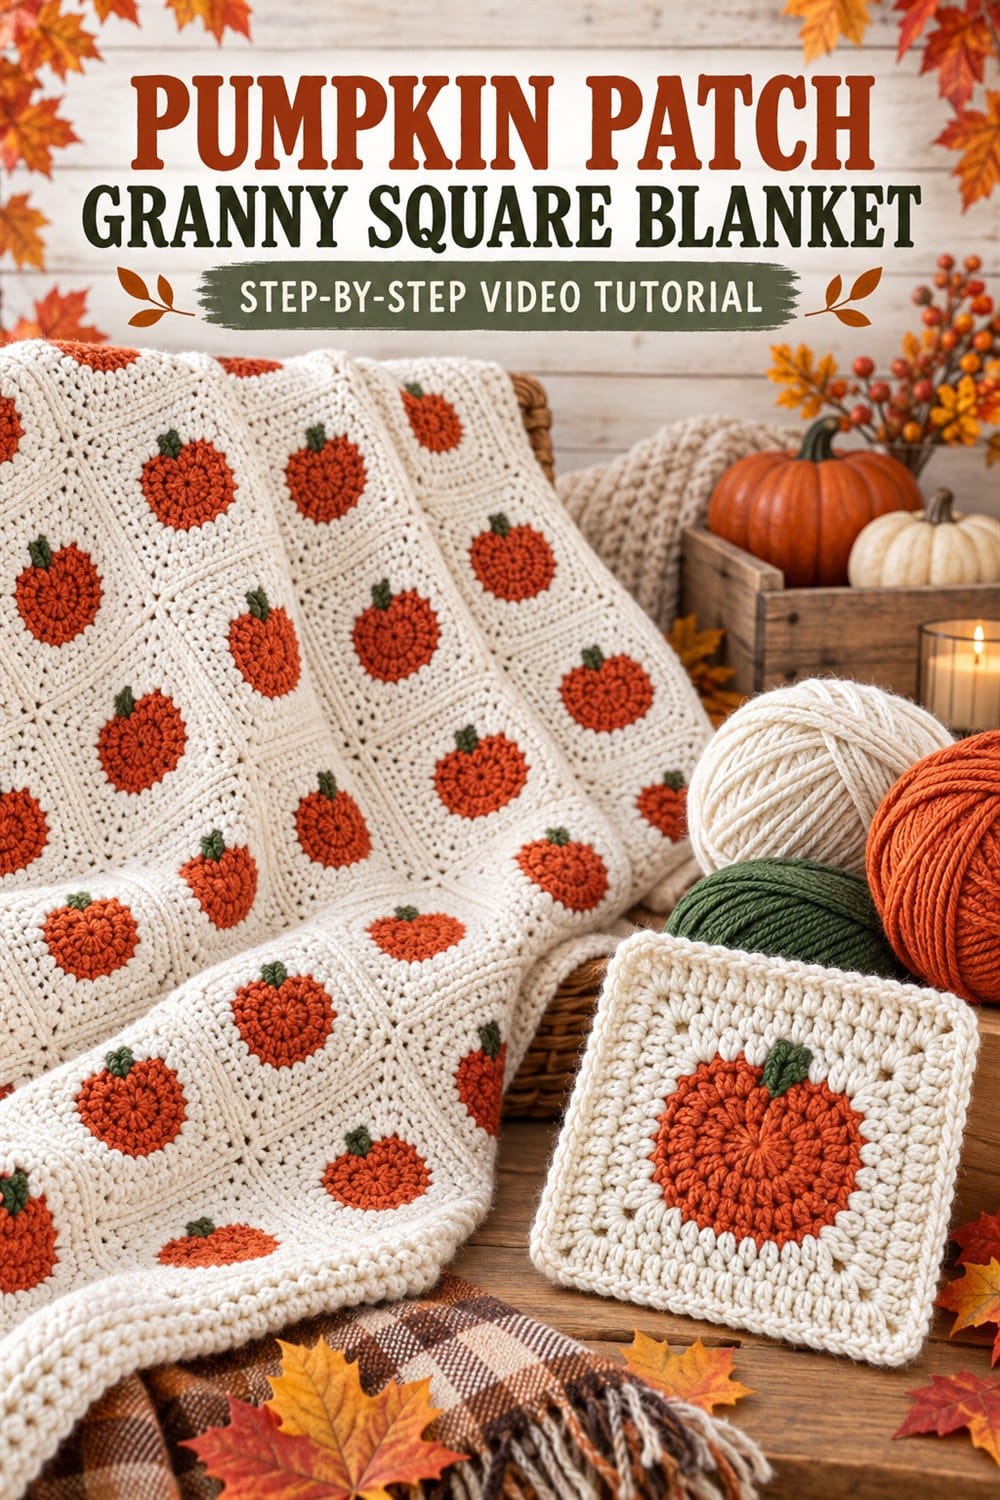
This pumpkin patch granny square blanket brings warm autumn color to a classic crochet motif. Cream squares create a soft neutral background, while burnt-orange pumpkins and small green stems turn the blanket into seasonal décor that feels cheerful rather than overly themed. The finished design works beautifully on a sofa, reading chair, guest bed, or fall porch display.
This English guide accompanies the embedded video tutorial. It offers a practical overview of planning the motifs, keeping squares consistent, arranging the pumpkin pattern, joining panels, and adding a polished border. Follow the video for the designer’s exact yarn, hook, stitch counts, and round-by-round instructions.
Pumpkin Patch Granny Square Blanket Video Tutorial
Why Make a Pumpkin Granny Square Blanket?
Motif blankets are portable and flexible. You can crochet one square at a time, carry a small project with you, and decide on the final blanket size later. Pumpkin squares also provide useful practice with color changes, circular shaping, squaring a motif, and joining repeated pieces.
The cream background gives the orange pumpkins plenty of contrast. Solid cream squares can be mixed with pumpkin motifs to create breathing room, reduce the number of color changes, or build a custom pattern. A consistent neutral border ties everything together.
Suggested Materials
- Warm cream yarn for backgrounds, joining, and border
- Burnt-orange or pumpkin-colored yarn for motifs
- Small amount of olive or forest-green yarn for stems
- Crochet hook appropriate for the chosen yarn
- Yarn needle, scissors, and stitch markers
- Blocking mats and rust-resistant pins
A soft anti-pilling acrylic, wool blend, or washable cotton blend can work well for a blanket. Choose yarns with similar fiber content and thickness so the squares behave consistently. Before beginning, crochet a sample motif, wash it as you plan to wash the blanket, and measure it after drying.
Planning the Blanket Layout
Decide whether every square will feature a pumpkin or whether you will alternate pumpkin motifs with solid cream blocks. Sketch the arrangement on graph paper or place finished squares on the floor. Balanced spacing keeps the design easy to read and helps distribute the orange color across the blanket.
The total number of squares depends on the desired dimensions and the blocked size of one motif. Multiply the square width by the number of columns and the height by the number of rows, then allow for joining and the outer border. Making a few spare squares is helpful in case one differs in tension.
How the Pumpkin Motif Is Constructed
The pumpkin begins as a round orange center. Textured groups or increases create the ribbed pumpkin shape before the motif transitions into a cream square. A small green detail at the top suggests a stem or leaf. The exact method can vary, so watch the placement demonstrated in the video.
When changing from orange to cream, complete the last pull-through with the new color for a cleaner transition. Keep yarn tails long enough to weave in securely. If the pumpkin center begins to cup, check the stitch count and relax the tension. If it waves, look for accidental extra stitches.
Step-by-Step Project Overview
- Choose the palette. Gather matching yarn weights in cream, orange, and green.
- Make a test pumpkin square. Follow the video and confirm the finished size after blocking.
- Crochet the required motifs. Count every round and keep color placement consistent.
- Add solid squares if desired. Match their final stitch count and measurements to the pumpkin blocks.
- Weave in yarn tails. Secure ends before joining so finishing does not become overwhelming.
- Block the squares. Pin each one to the same dimensions and allow it to dry completely.
- Arrange the layout. Check motif direction and color balance before seaming.
- Join rows and columns. Use the tutorial’s method or a compatible crochet seam.
- Add the border. Work evenly around the blanket, adjusting at corners as demonstrated.
- Finish and wash. Inspect joins, weave remaining ends, and follow the yarn-care label.
Tips for Matching Granny Squares
Use the same hook and yarn line for every square. Measure regularly rather than waiting until the entire stack is complete. If your tension changes during a long project, compare each new motif with the original blocked sample.
Mark the first stitch of every round and count corners carefully. A missing stitch near a corner can make the motif lean, while an extra chain may cause rippling. Turn the work only when directed by the tutorial, because changing direction can alter the surface texture.
