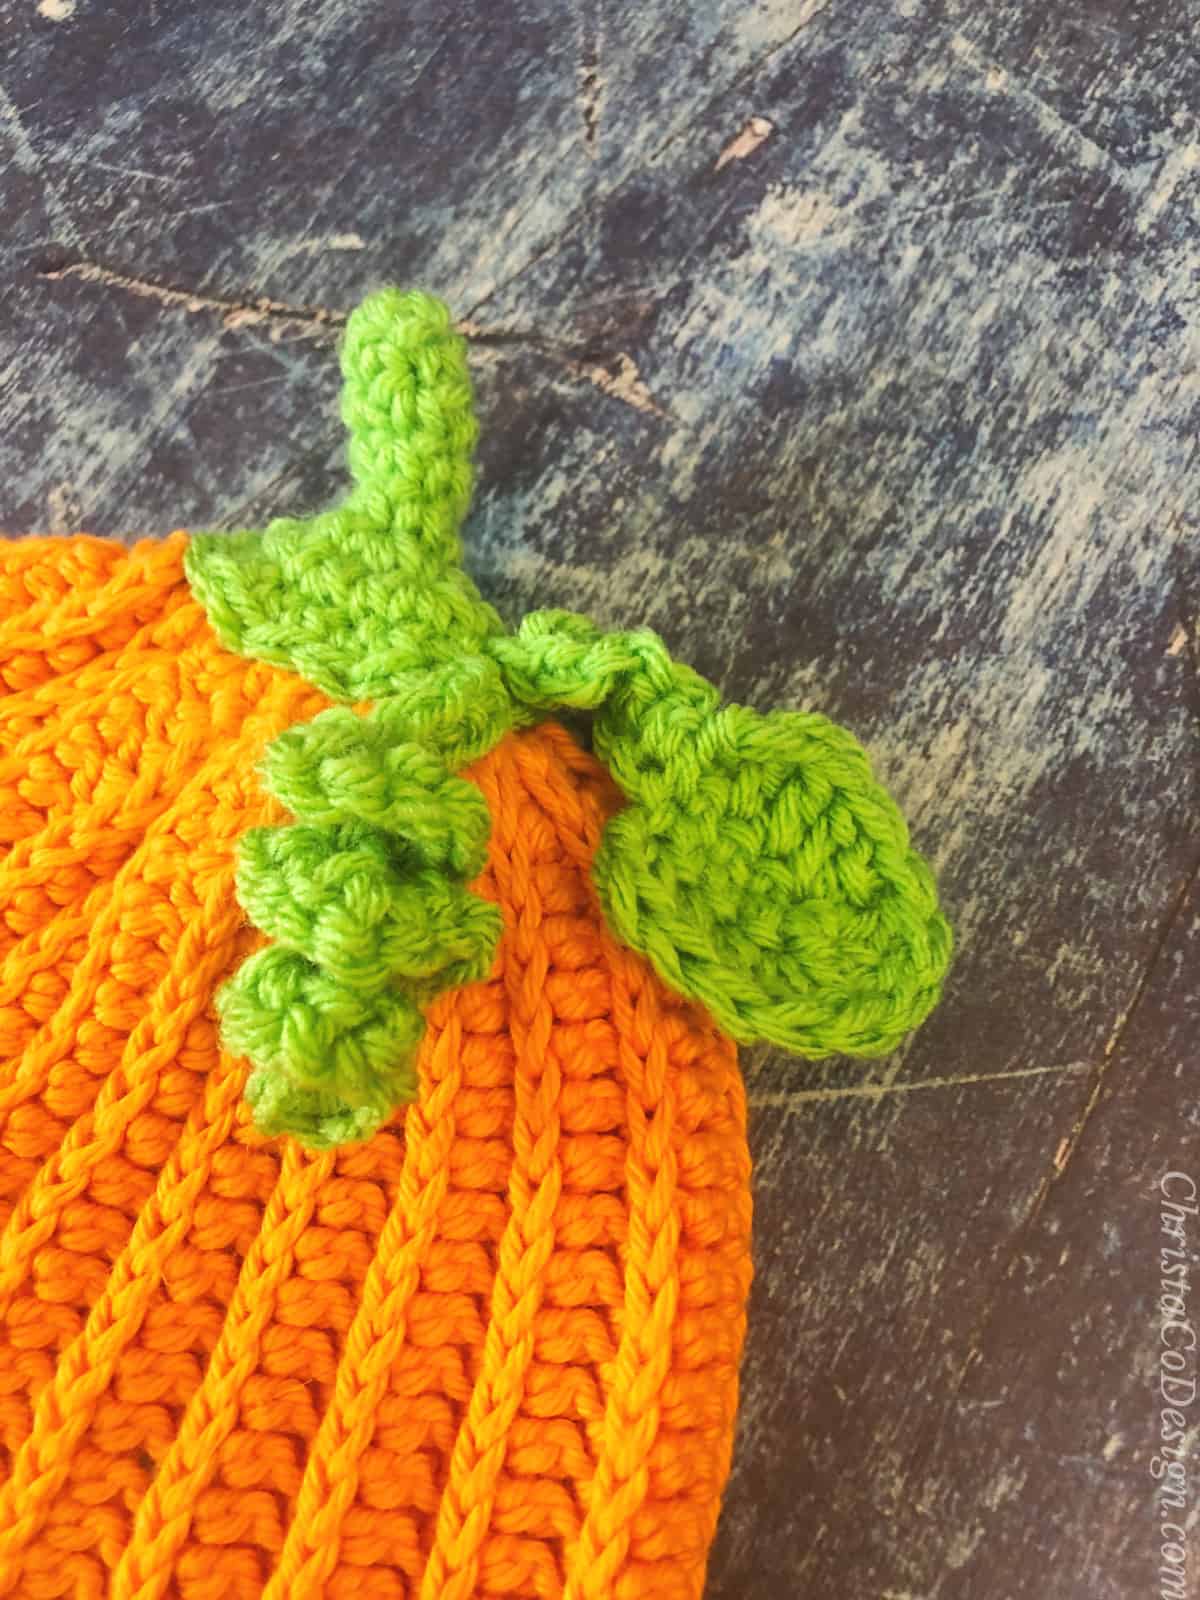
- orange yarn-75-230 yds, I used Hobby Lobby’s I Love This Cotton in Glowing (Color A), any #4 worsted weight will work.
- 3-5 yds of green yarn-I used Sugar n’ Cream in Sage Green*(Color B)
Tools
- 5mm H hook or hook needed to meet gauge
- 4mm G hook for brim.
- Yarn Needle
- Stitch Marker
- Measuring Tape
- Scissors
Hands Free Mode:
Prevent screen from sleepingOnOff
InstructionsGuided Mode
- In the 3rd chain from your hook hdc and in each ch across, turn. (21)
- Ch 2, hdc in the 3rd loop of the same st and in each hdc across, turn. (21) 5.25″ (hat height)
- – 36. Rep row 2. Or until you’ve reached 12.” Leave a long tail to sew together. 12″ x 5.25”
Go to Seaming. - In the 3rd chain from your hook hdc and in each ch across, turn. (26)
- Ch 2, hdc in the 3rd loop of the same st and in each hdc across, turn. (26)
- – 40. Rep row 2. Or until you’ve reached 13.5″ Leave a long tail to sew together. 13.5” x 6.5”
Go to Seaming. - In the 3rd chain from your hook hdc and in each ch across, turn. (28)
- Ch 2, hdc in the 3rd loop of the same st and in each hdc across, turn. (28)
- – 45. Rep row 2. Or until you’ve reached 15.” Leave a long tail to sew together. 15” x 7”
Go to Seaming. - In the 3rd chain from your hook hdc and in each ch across, turn. (28)
- Ch 2, hdc in the 3rd loop of the same st and in each hdc across, turn. (28)
- – 48. Rep row 2. Or until you’ve reached 16.” Leave a long tail to sew together. 16” x 7”
Go to Seaming. - In the 3rd chain from your hook hdc and in each ch across, turn. (30)
- Ch 2, hdc in the 3rd loop of the same st and in each hdc across, turn. (30)
- – 52. Rep row 2. Or until you’ve reached 17.” Leave a long tail to sew together. 17” x 7.5”
Go to Seaming. - In the 3rd chain from your hook hdc and in each ch across, turn. (32)
- Ch 2, hdc in the 3rd loop of the same st and in each hdc across, turn. (32)
- – 54. Rep row 2. Or until you’ve reached 18.” Leave a long tail to sew together. 18” x 8”
Go to Seaming. - In the 3rd chain from your hook hdc and in each ch across, turn. (34)
- Ch 2, hdc in the 3rd loop of the same st and in each hdc across, turn. (34)
- – 60. Rep row 2. Or until you’ve reached 20.” Leave a long tail to sew together. 20” x 8.5”
Go to Seaming. - In the 3rd chain from your hook hdc and in each ch across, turn. (36)
- Ch 2, hdc in the 3rd loop of the same st and in each hdc across, turn. (36)
- – 63. Rep row 2. Or until you’ve reached 21.” Leave a long tail to sew together. 21” x 9”
Go to Seaming. - In the 3rd chain from your hook hdc and in each ch across, turn. (38)
- Ch 2, hdc in the 3rd loop of the same st and in each hdc across, turn. (38)
- – 67. Rep row 2. Or until you’ve reached 22.” Leave a long tail to sew together. 22” x 9.5”
Go to Seaming.
Seaming Your Hat
- Match the first row with your last row.
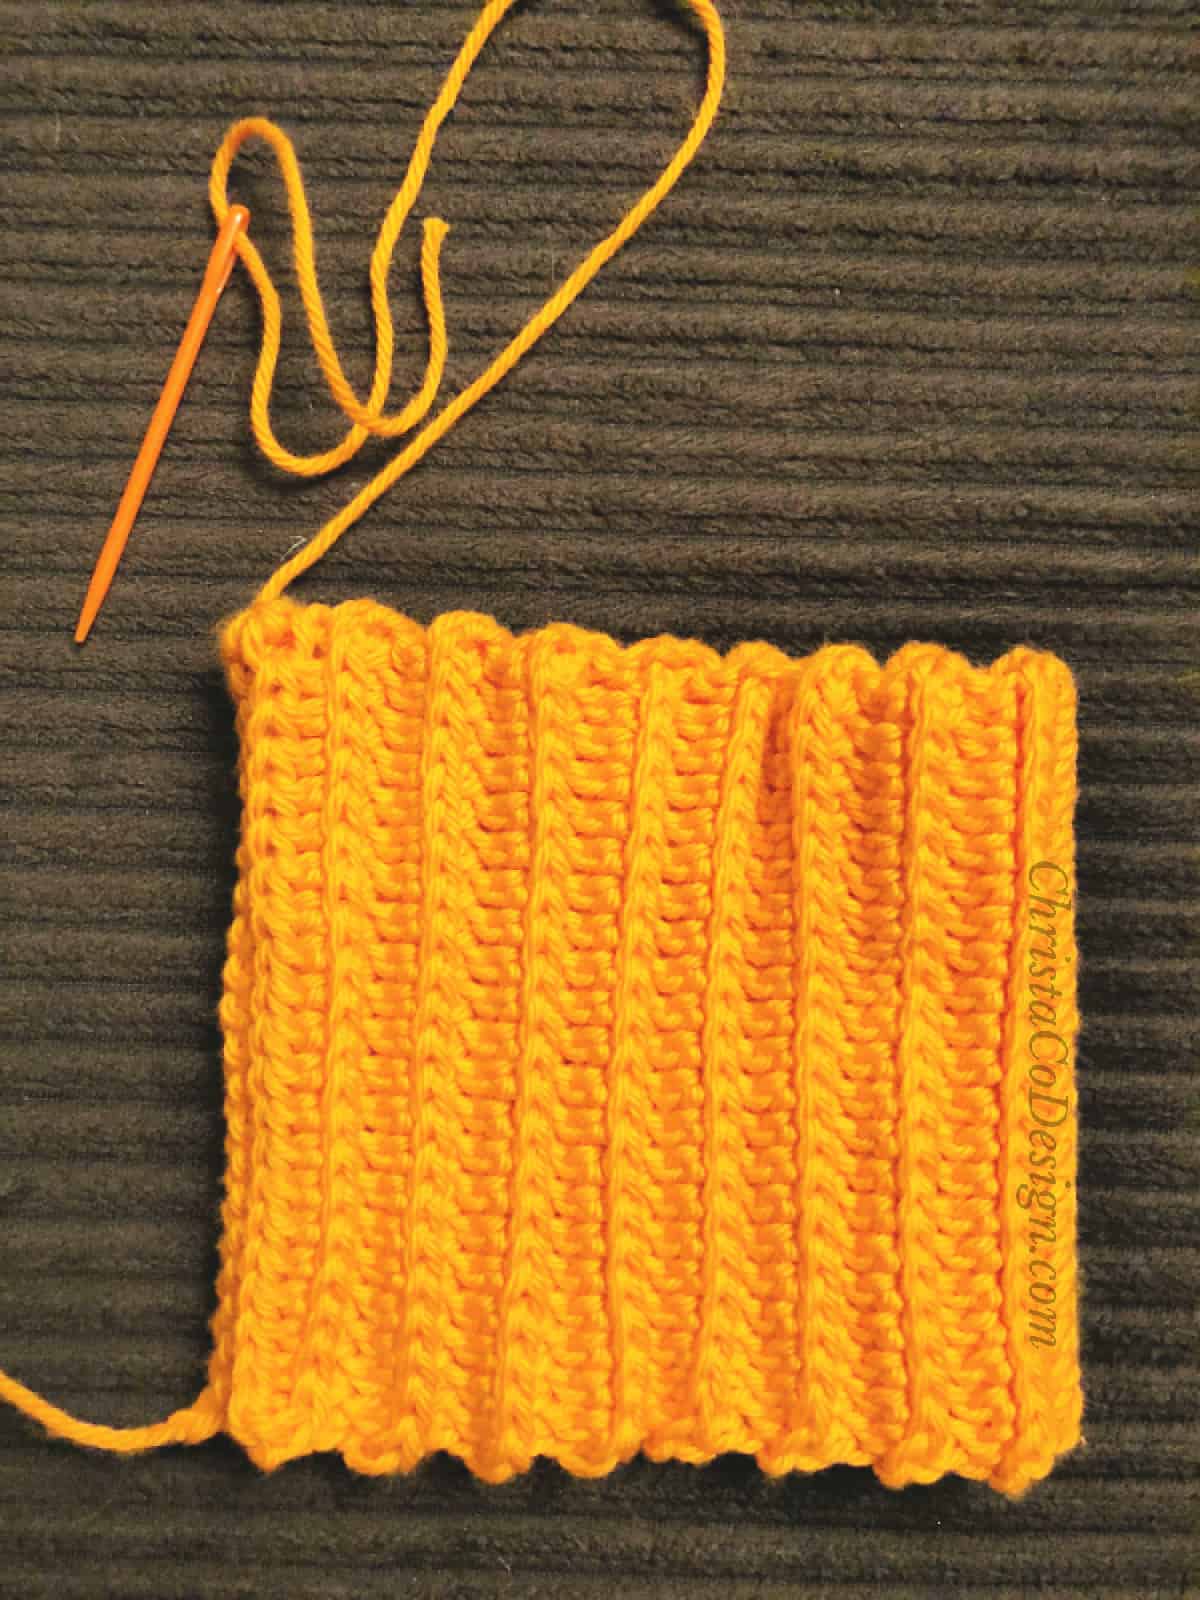
- Use the long tail to sew together, forming the tube.
- Leave this long tail and use a running stitch to sew the top closed-there will be a small hole left, which will be covered by the stem.
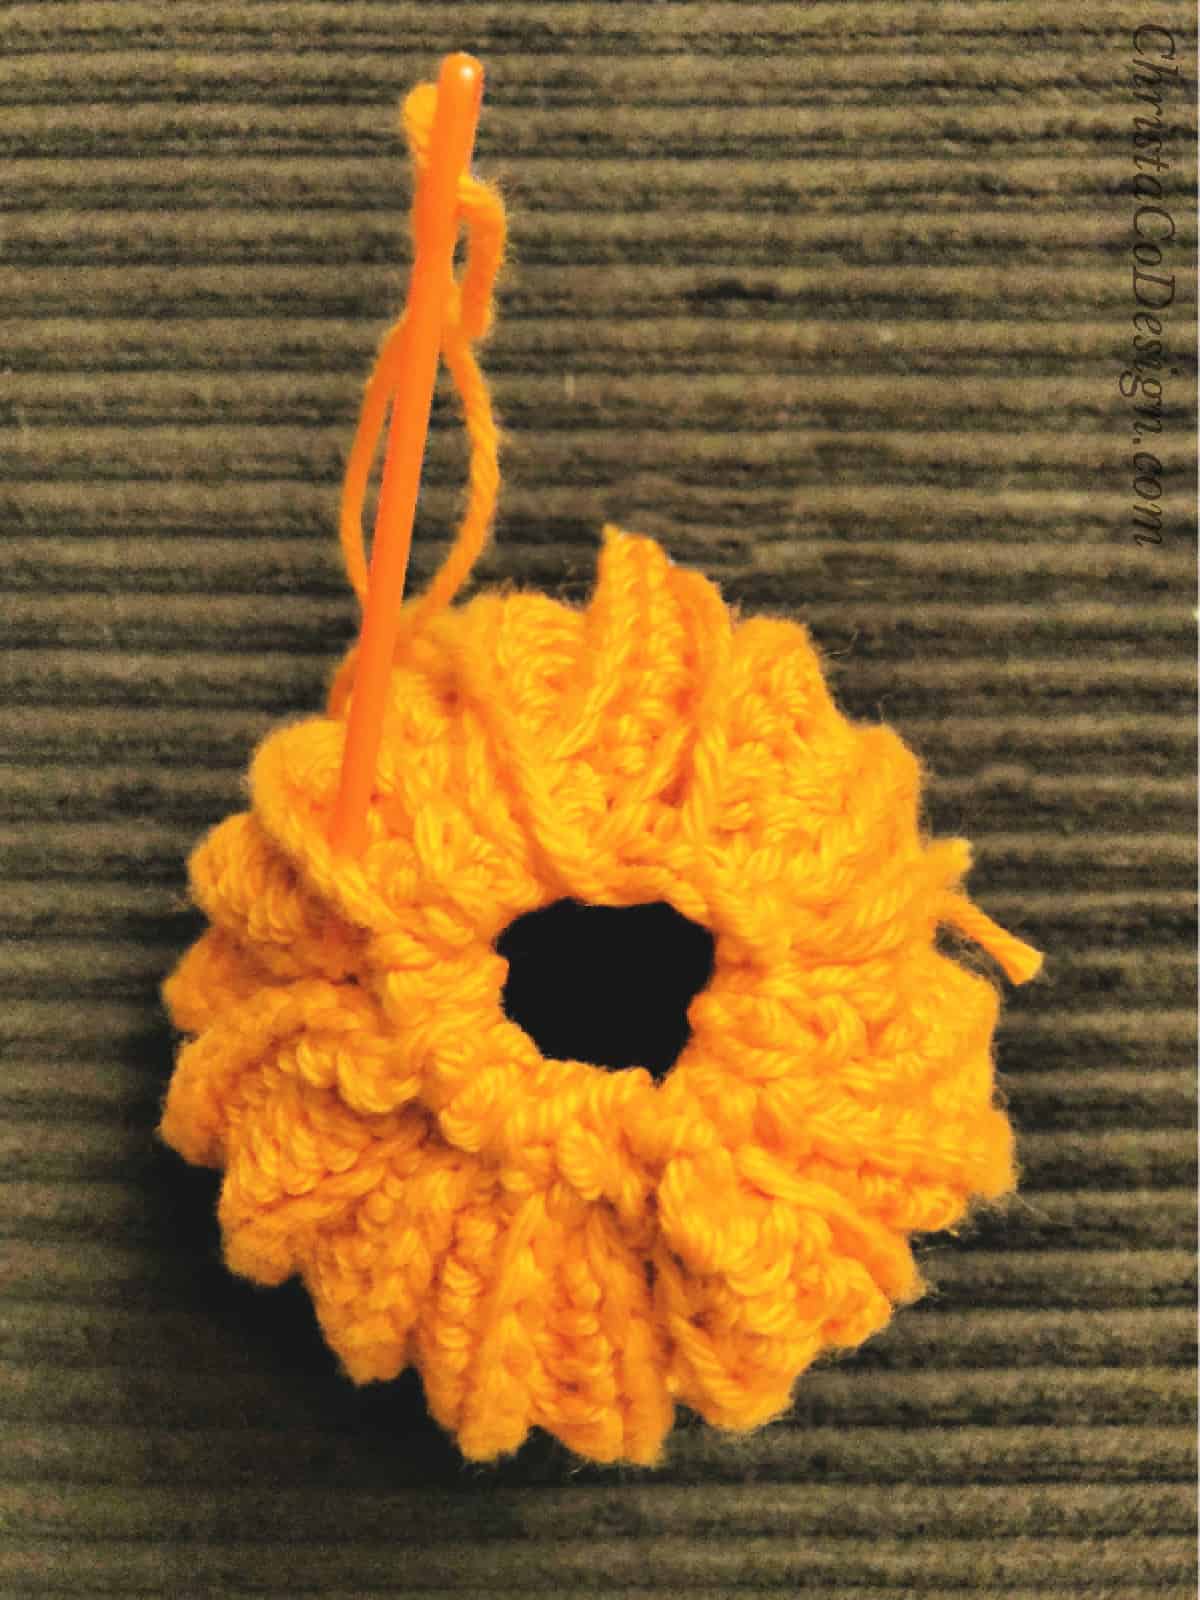
- Go to Stem Pattern.
Crochet Stem
Check out the Video Tutorial of the Stem here. *I added an extra row for the smaller stem size after I created this video.
NB-Toddler
In Color B
, start with a mc.
- 6 sc into the mc. (6) Don’t join, mark first st of each round.
- -5. Sc into each stitch around. (6)
6. 2 sc in each sc around. (12)
7. 2 sc in the first st, sc in the next, *{2 sc in the next st, sc in the next st} rep from * around. (18)
8. Sc in each sc around, ss twice.
Leave a long tail. Sew stem to top of pumpkin hat, over the hole. Finish off.
Child-Adult
In Color B, start with a mc.
1. 6 sc into the mc. (6) Don’t join, mark first st of each round.
2.-7. Sc into each stitch around. (6)
8. 2 sc in each sc around. (12)
9. 2 sc in the first st, sc in the next, *{2 sc in the next st, sc in the next st} rep from * around. (18)
10. 2 sc in the first st, sc in each of the next 2 st, *{2 sc in the next st, sc in each of the next 2 st} rep from * around. (24)
11. Sc in each sc around, ss twice.
Leave a long tail. Sew stem to top of pumpkin hat, over the hole. Finish off.
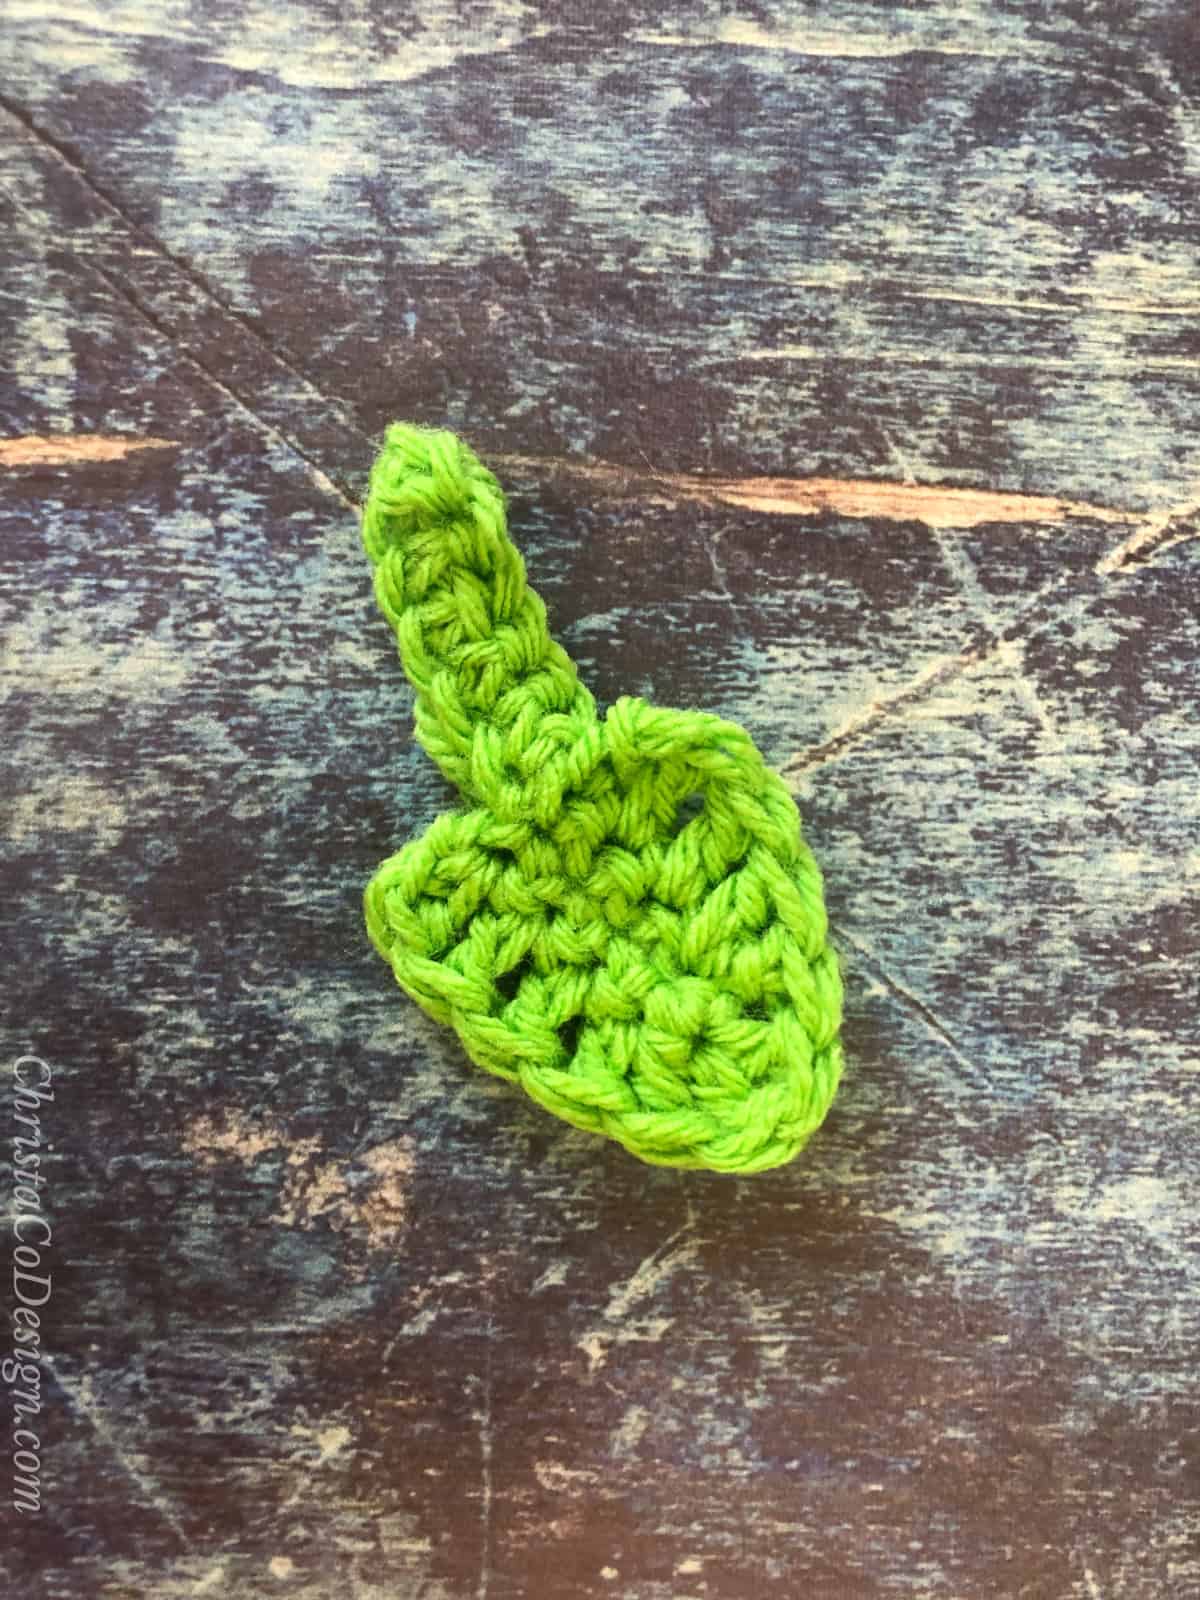
Crochet Leaf
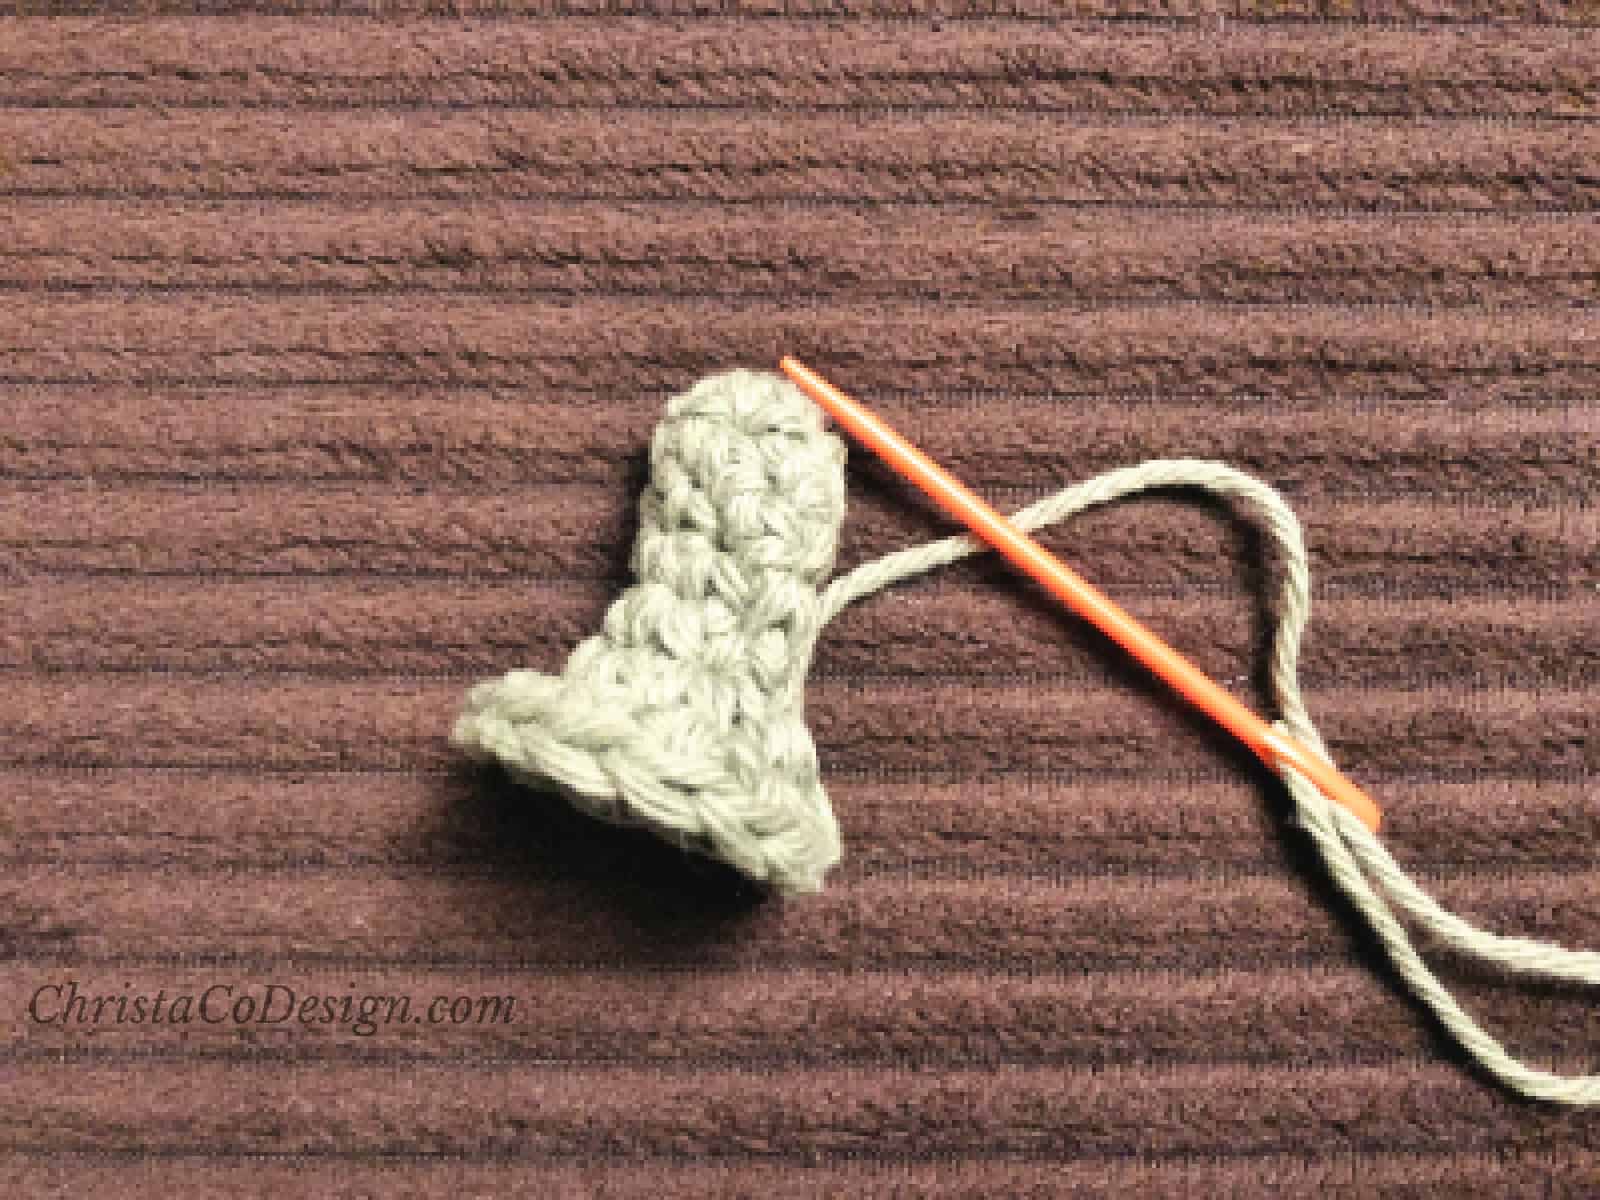
Find the full step by step crochet leaf pattern with photo tutorial here.
- Chain 11-the first 6 will be the stem and leaf is worked over the last 4 sts, so add more here for a longer leaf or stem.
- SC in the 2nd ch and in each ch across,
- On the last ch add 2 more sc (3 total in this st),
- Continue around on to the other side of the chain and place 1 sc in each of next 3 sc (you’re working into the opposite side, so there will be sts in both sides as you work), turn.
- Place 1 dc in each of next 3 sc,
- Place 2 dc in each of next 3 sc. (again you’re working around the end back on to the other side),
- Place 1 dc in each of next 3 sc. Cut yarn, leave a long tail for sewing. Sew on to a stem base. Cut yarn and weave in ends.
Crochet Pumpkin Vine
- You can vary your starting chain to increase or decrease your finished lengths.
- Ch 15,
- Place 3 sc in the 2nd ch from your hook,
- Continue to place 3 sc in each ch, until you have 3 ch left,
- Place 1 sc in each of the last 3 ch.
- Sl st on to your stem base. Cut yarn and weave in ends.
- This gave me about 1.5″ in length of curl, and about an inch for it to dangle.