
333
new link ads
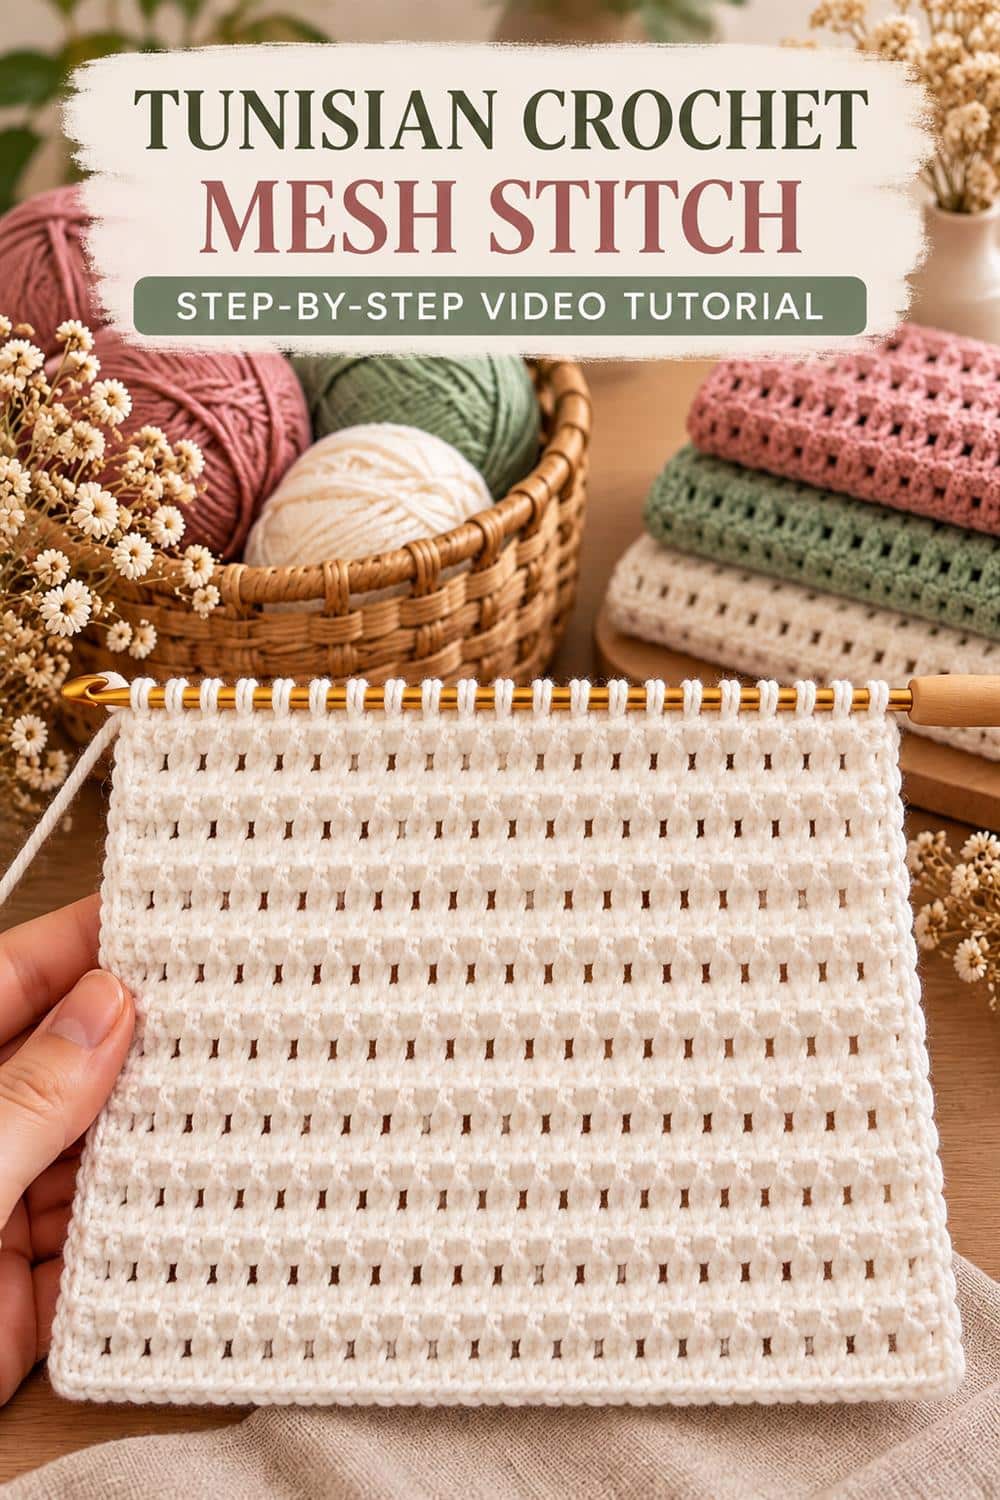
Learn how to create a soft fabric with subtle openwork using this Tunisian crochet mesh stitch. Even horizontal ridges alternate with tidy rows of small vertical eyelets, producing a clean modern texture that is lighter than many traditional Tunisian stitches. The fabric works beautifully for scarves, wraps, lightweight blankets, cushion covers, and seasonal accessories.
The embedded video is the primary step-by-step tutorial for the exact stitch sequence. This English companion explains the long-hook technique, foundation row, forward and return passes, tension, curl control, project planning, and finishing. Follow the loop placement and counts demonstrated by the video maker for the featured version.
Tunisian Crochet Mesh Stitch Video Tutorial
What Is Tunisian Crochet?
Tunisian crochet combines familiar crochet movements with a longer hook that holds many live loops. A typical row has two stages. During the forward pass, loops are collected across the hook. During the return pass, those loops are worked off in sequence. The fabric is not turned after every pass unless a particular pattern instructs you to do so.
This method creates a distinctive surface and makes it possible to control vertical and horizontal elements separately. In a mesh pattern, selected yarn overs, spaces, or skipped bars create small openings without removing the stability of the surrounding rows.
Materials and Tools
- A long straight Tunisian hook or flexible cable hook
- Smooth yarn in your preferred fiber and weight
- Stitch markers for the first and last stitch
- Scissors and a yarn needle
- Measuring tape and notebook
- Blocking mat and rustproof pins
The hook must be long enough to hold all active loops without crowding them. A cable hook is useful for wide blankets, while a straight hook works well for scarves and practice swatches. Smooth, light-colored yarn makes the vertical bars and eyelets easier to see. Many crocheters prefer a hook slightly larger than the size normally used for the same yarn because Tunisian crochet can be dense.
Understanding the Two-Part Row
Work the foundation forward pass
Make the foundation chain shown in the video. Beginning at the indicated chain, draw up one loop from each stitch and leave every loop on the hook. Keep the loops similar in height and spread them along the shaft. Do not tighten them near the hook head, because crowded loops can make the return pass difficult.
Complete the foundation return pass
Follow the video for the initial return sequence, then work through the remaining loops as demonstrated. Maintain an even rhythm. Pulling the return chain too tightly can cause the swatch to narrow, while very loose chains may create unstable gaps.
Identify the edge stitches
The first loop is usually already on the hook at the beginning of a forward pass. At the opposite edge, insert the hook into the complete edge structure shown in the tutorial rather than catching only one loose strand. A firm final stitch gives the side a braided appearance and helps the fabric remain straight.
How the Mesh Eyelets Are Formed
The open spaces come from a deliberate combination of loop collection, yarn overs, or skipped vertical bars. Watch where the hook enters and count the repeated units. Each opening should align with the eyelets above or below according to the pattern. Place a marker after every repeat while learning so an error does not travel across the row.
During the return pass, keep the yarn overs stable and avoid dropping them from the hook. If an eyelet disappears, review whether the extra loop was included. If the opening becomes too large, check that you did not add an accidental yarn over or stretch the working loop.
