
333
new link ads
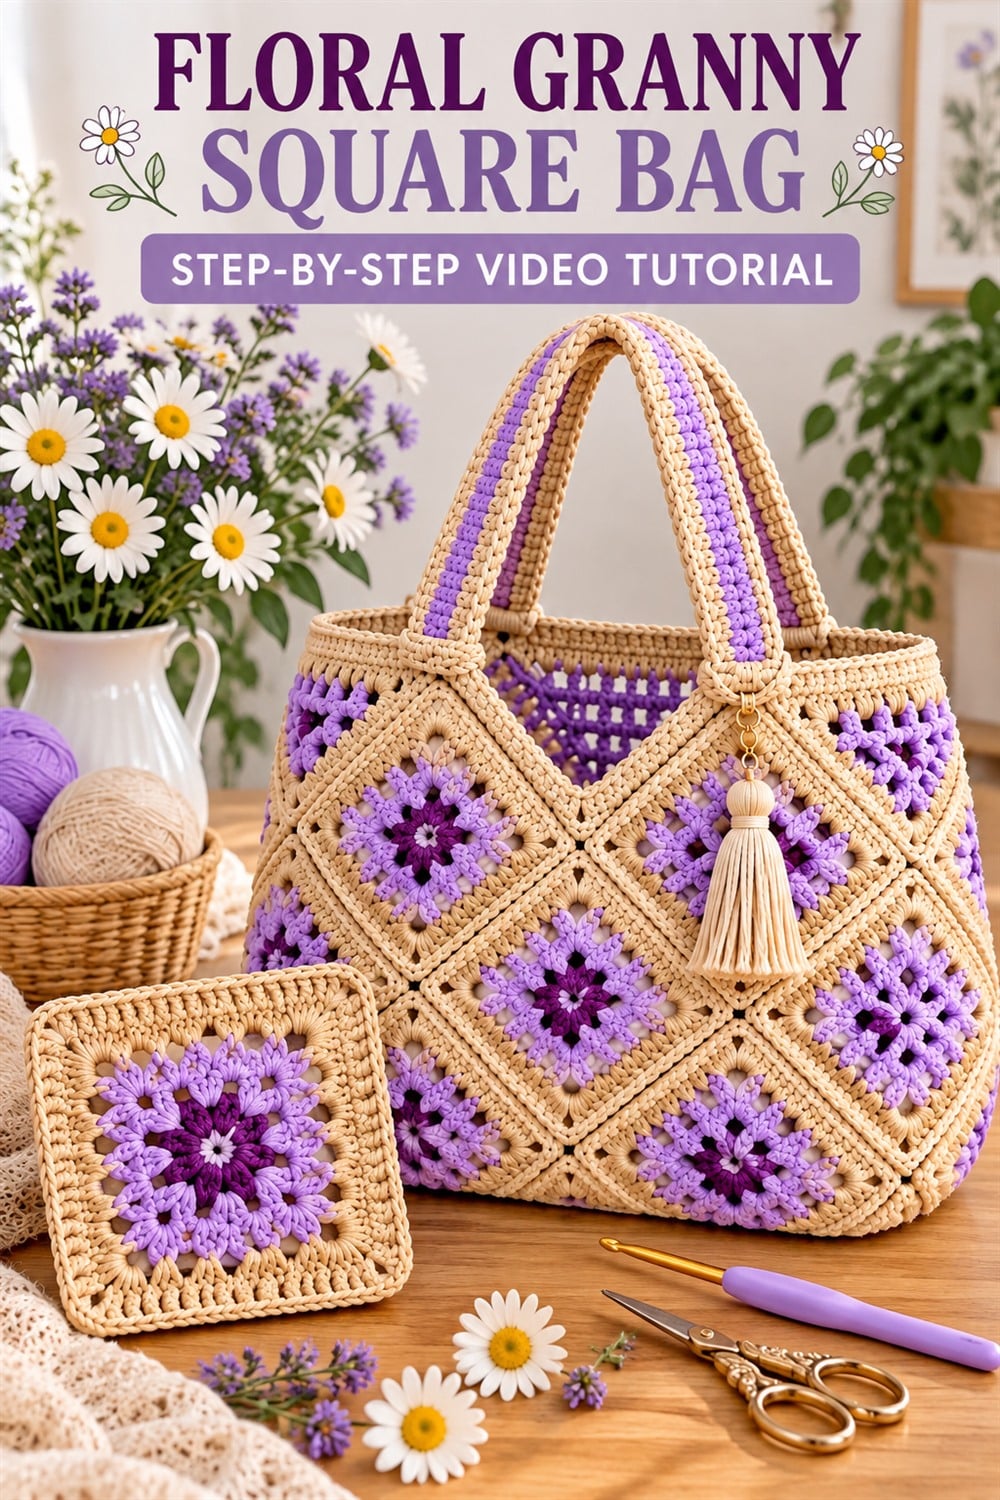
This floral granny square crochet bag combines a classic modular technique with a polished, modern tote shape. Dimensional lavender flower centers stand out against warm natural borders, while raised joins, striped handles and a soft tassel give the finished bag a boutique look. It is a lovely project for crocheters who enjoy making motifs one at a time and then watching them become a practical accessory.
The English guide below highlights the construction decisions that matter most: creating consistent flower squares, planning the layout, joining without puckering and reinforcing the areas that carry weight. Follow the embedded video for the designer’s exact stitch counts, round sequence and assembly order.
Floral Granny Square Bag Video Tutorial
Why a Floral Granny Square Tote Works
Granny squares make bag construction manageable because each motif is a small, portable unit. The flower center introduces texture and color, while the outer rounds turn the motif into a stable square that can be joined with its neighbors. Repeating the same motif also makes it easy to check consistency before assembly.
This design is especially effective in two main colors. Lavender petals draw attention to the floral geometry, and the beige frame unifies the bag, handles and upper border. Deep-plum accents add depth without making the palette feel busy. You can substitute colors, but keep enough contrast between the flower and border so the motif remains visible.
Suggested Materials
- Firm, smooth yarn or crochet cord in a main neutral and flower colors
- A compatible crochet hook that produces a dense but flexible fabric
- Stitch markers, scissors and a tapestry needle
- Optional fabric lining and interfacing
- Optional magnetic snap, internal pocket or bag base
- A tassel or hardware for decoration
For a tote, durability matters. Cotton, cotton blends and purpose-made bag yarns offer good stitch definition and resist stretching better than very soft, elastic fibers. Make a test square and handle it firmly. If the fabric collapses or the openings are too large, try a smaller hook or a sturdier yarn.
Crocheting Consistent Flower Motifs
Work the center and petal rounds exactly as shown in the video. Keep every drawn-up loop similar in height so the dimensional petals look balanced. If a petal twists, pause before closing it and gently guide the loops into position. Consistent tension is more important than speed.
As the round flower becomes a square, identify each corner clearly. Corners need enough space to turn without ruffling, while the sides should remain flat. Lay every finished motif on the table and compare its size with the first one. A small difference can be blocked; a large difference usually means the tension or stitch placement changed.
Plan the Bag Before Joining
Arrange all completed squares before seaming. Check that the flower centers face the same direction and distribute any natural color variations evenly. Photograph the final layout with your phone so you can reproduce it while joining.
The tote’s shape depends on how the squares wrap around the front, sides and base. Refer to the video for the exact layout. Use removable markers to label key motifs and joining corners. This prevents an attractive square from being rotated or attached in the wrong position.
How to Create Neat Raised Joins
A visible crochet join can become part of the design. Work with steady tension and match the corresponding stitches on both square edges. Pulling too tightly will make the bag pucker; leaving the join too loose can create weak gaps. Stop after each seam, spread the work on a flat surface and check that both motifs remain square.
Secure yarn ends carefully at corners and high-stress points. Weave them through several directions without creating bulky ridges. If your chosen join looks attractive on one side only, confirm that every motif is facing the correct way before continuing.
