
333
new link ads
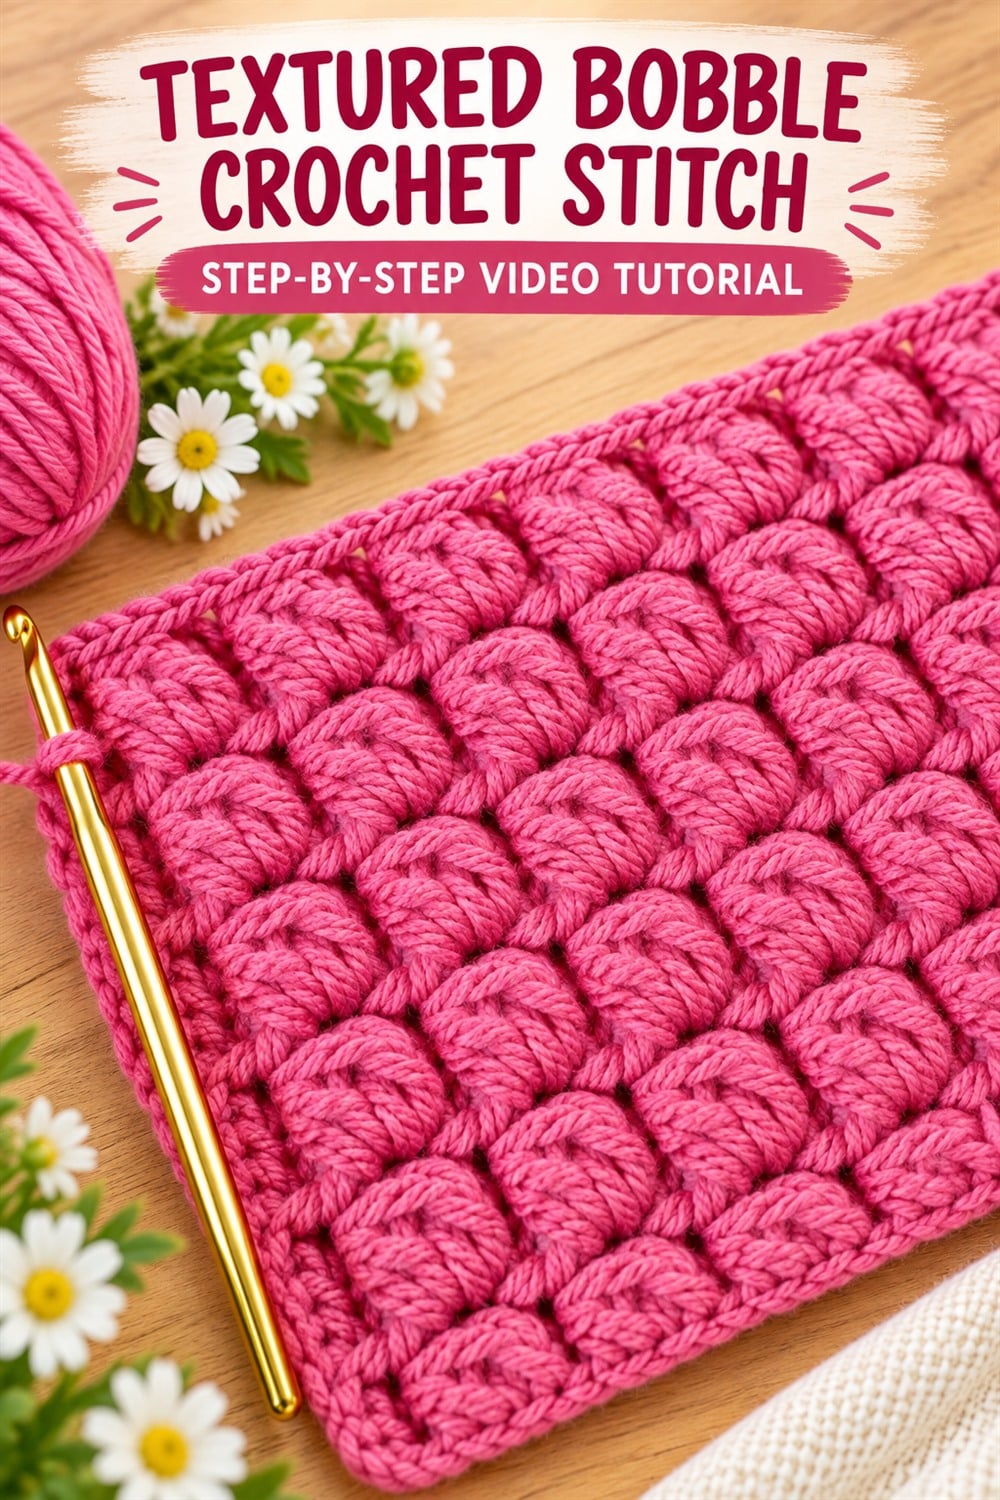
The textured bobble crochet stitch turns a simple piece of fabric into a field of soft, rounded shapes. Each raised cluster sits proudly on the surface, creating a tactile pattern that looks especially striking in a bold solid color. The dense texture is perfect when you want a crochet project to feel cozy, sculptural and visually memorable.
This English guide explains the key techniques to notice while following the video: controlling loop height, closing each cluster cleanly, spacing the bobbles, keeping the background fabric flat and preserving straight edges. Use the embedded tutorial as the source for the exact starting multiple, stitch count and row instructions.
Textured Bobble Crochet Stitch Video Tutorial
What Makes This Crochet Texture Special?
The design uses raised clusters arranged in tidy offset rows. The bobbles catch light and cast small shadows, giving the fabric depth without color changes. A compact background keeps the clusters distinct and supports their rounded shape. When repeated across a large surface, the motifs create a luxurious quilted effect.
Because the texture is substantial, it works best for projects where warmth and structure are welcome. Cushion covers, bags and statement blanket panels are natural choices. Smaller sections can also become borders, pockets, hat bands or decorative garment panels.
Materials and Yarn Choices
- Smooth yarn with clear stitch definition
- A crochet hook suited to the yarn and desired drape
- Scissors and a tapestry needle
- Stitch markers for the first and last repeat
- A ruler for checking gauge and row width
A smooth, plied yarn makes every strand of the bobble visible. Medium-weight yarn is friendly for practice, while bulky yarn creates dramatic texture quickly but also increases the weight of the finished fabric. Fuzzy yarn may soften the look, yet it can hide insertion points and make mistakes harder to identify.
Prepare an Even Foundation
Follow the video’s exact foundation-chain multiple and setup row. The starting edge should be flexible enough to lie flat but not so loose that it forms large gaps. If your foundation is consistently tight, make it with a slightly larger hook, then switch back to the project hook.
Place a marker at each edge repeat. Count the background stitches before beginning the bobble row, because one missed stitch can shift the entire pattern. A small practice swatch is the safest place to learn the rhythm and estimate yarn consumption.
How to Form Rounded, Even Bobbles
The quality of each cluster depends on consistent loop height. Work the partial stitches into the location demonstrated in the tutorial, drawing every loop up evenly. Keep the hook relaxed as it gathers loops. If the shaft is pulled tightly against the fabric, closing the cluster becomes difficult and the bobble may look narrow.
When the group is ready to close, rotate the hook head smoothly through the loops rather than forcing it. Secure the top as directed, then encourage the cluster toward the front of the fabric. Compare every new bobble with the previous one. Matching height and tension creates the orderly, pebble-like surface.
Spacing and Offset Rows
The background stitches between clusters give each bobble room to expand. Do not pull those stitches excessively tight, or the fabric may pinch around the motif. In alternating rows, the clusters may shift position to create an offset arrangement. Count carefully so the staggered pattern remains consistent from edge to edge.
Check the fabric from both sides after each textured row. Most bobble designs have a clear right side, while the reverse shows a flatter support structure. Mark the right side if necessary, especially when several plain rows separate textured sections.
Keep the Edges Straight
Textured stitches can distract from the turning area. Before starting a row, identify where the final stitch must be worked. Count the bobbles, background stitches and spaces at the end of each repeat. If the swatch narrows, the last stitch may have been missed; if it widens, the turning chain may have been mistaken for an extra stitch.
