
333
new link ads
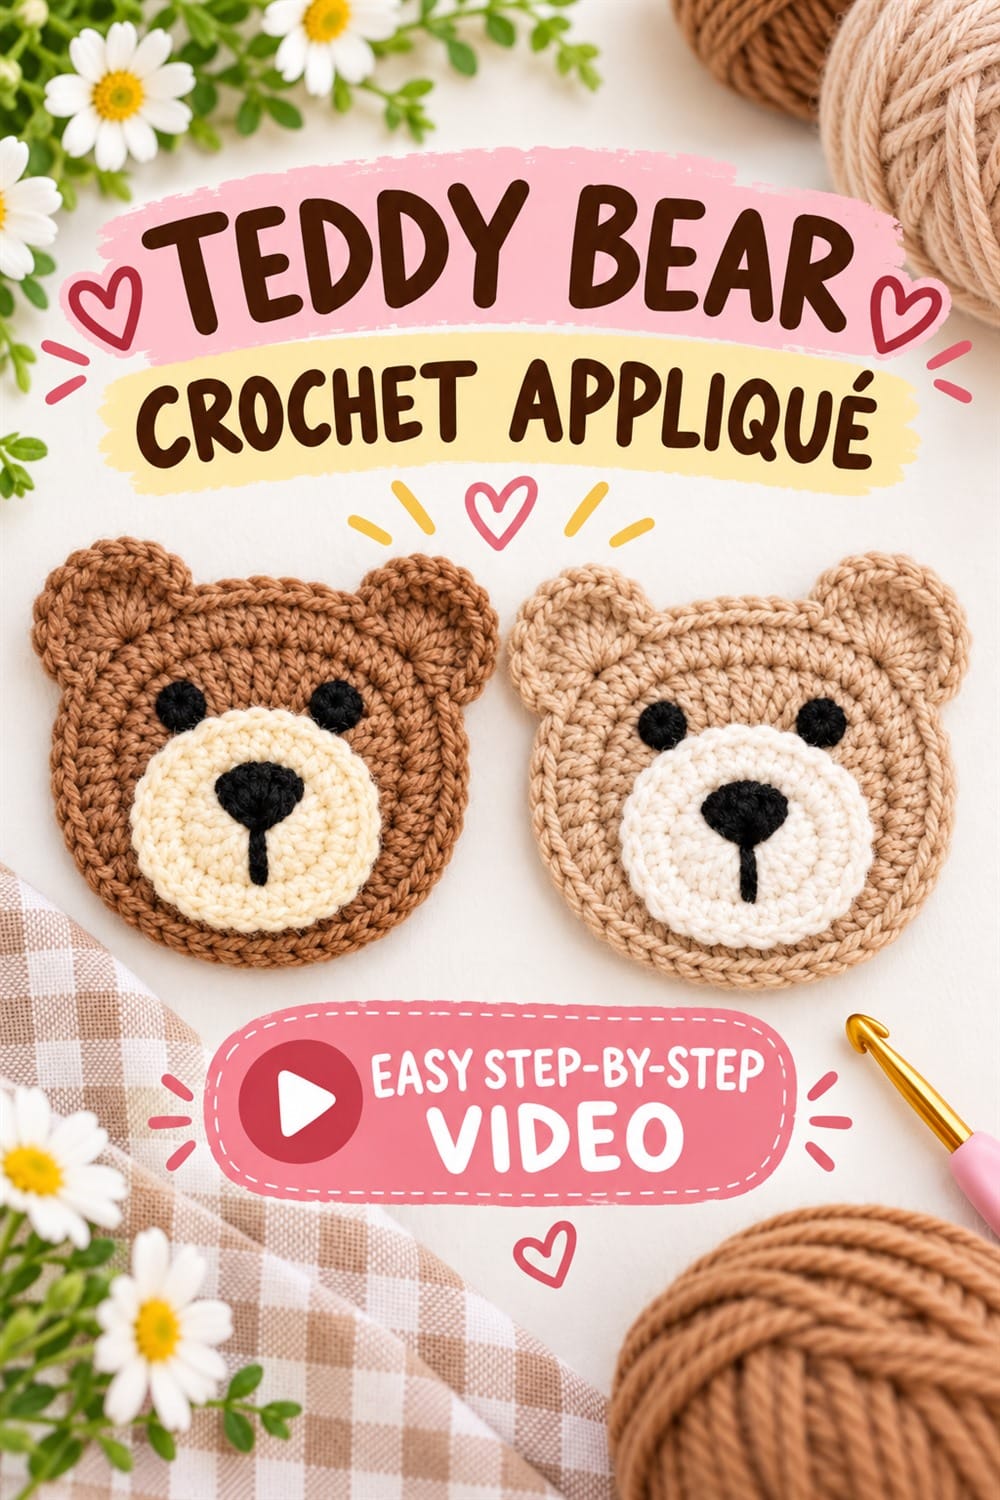
A handmade teddy bear crochet appliqué adds instant character to blankets, hats, bags, sweaters and nursery accessories. This flat animal motif uses simple shaping to create a rounded head, soft ears and a contrasting muzzle, then embroidered features bring the little bear to life. Make one in classic brown and cream or personalize it with colors left over from another project.
This English guide explains the construction choices to watch as you crochet, including how to keep the face flat, place the ears symmetrically, center the muzzle and create secure facial details. Follow the embedded video for the designer’s exact stitch counts, round sequence and joining instructions.
Teddy Bear Crochet Appliqué Video Tutorial
Why This Bear Motif Is So Useful
Unlike a stuffed toy, an appliqué remains mostly flat and can be stitched directly onto another item. The compact shape is quick to make, easy to store and ideal for using small amounts of yarn. Changing the colors, ear placement or embroidery creates a surprising range of expressions.
The motif can become the focal point on a baby blanket square, a patch for a tote, a pocket decoration or a set of nursery bunting. Several bears in coordinated shades also make a charming handmade garland.
Materials You May Need
- Smooth yarn for the head and ears
- A lighter contrasting yarn for the muzzle
- Black yarn or embroidery thread for the face
- A crochet hook appropriate for the yarn
- A tapestry needle, scissors and stitch markers
- Sewing pins or clips for positioning the finished appliqué
Choose yarn with clear stitch definition so the shaping is easy to see. Cotton creates a crisp motif, while acrylic or wool blends can produce a softer surface. Use similar yarn weights for the head and muzzle so the pieces sit together neatly.
Crochet a Flat, Even Bear Head
Begin the center and increases exactly as demonstrated in the video. Spread increases evenly around the shape to prevent corners or waves. If the circle cups, the tension may be too tight or there may be too few increases. If it ruffles, check for accidental extra stitches or looseness.
Count every round and mark its beginning. Small appliqués reveal differences quickly, so correcting the count early is easier than trying to reshape the face at the end. Lay the piece on a table after each major round and smooth it gently without stretching.
Shape and Position the Rounded Ears
The ears should feel like part of the head rather than separate circles balanced on top. Work into the locations shown in the tutorial and compare both sides as you go. Match the number of stitches and tension so the ears have similar height and fullness.
If the ears are made separately, pin both in place before sewing. View the face from a distance and adjust until the silhouette looks balanced. Sew through the back loops or edge stitches with small, secure passes that do not show prominently on the front.
Add the Contrasting Crochet Muzzle
A cream or pale beige muzzle creates contrast and provides a clear area for the nose and mouth. Crochet it to the exact size in the video, then place it slightly below the center of the head. Pin it before attaching and check that it is not tilted.
Use matching yarn to sew around the outer edge. Keep the stitches evenly spaced and avoid pulling so tightly that the muzzle puckers. Weave the tail into the back of the head where it will remain hidden.
Embroider the Eyes, Nose and Mouth
Facial placement changes the bear’s personality. Position the eyes at equal height and similar distance from the center. Build the nose with small overlapping stitches, then add a short vertical line and mouth detail as demonstrated. Pause often and compare both sides.
For items intended for babies or young children, embroidered eyes and noses are generally preferable to removable beads, buttons or plastic pieces. Secure every yarn tail carefully and follow applicable safety guidance for the finished item.
