
333
new link ads
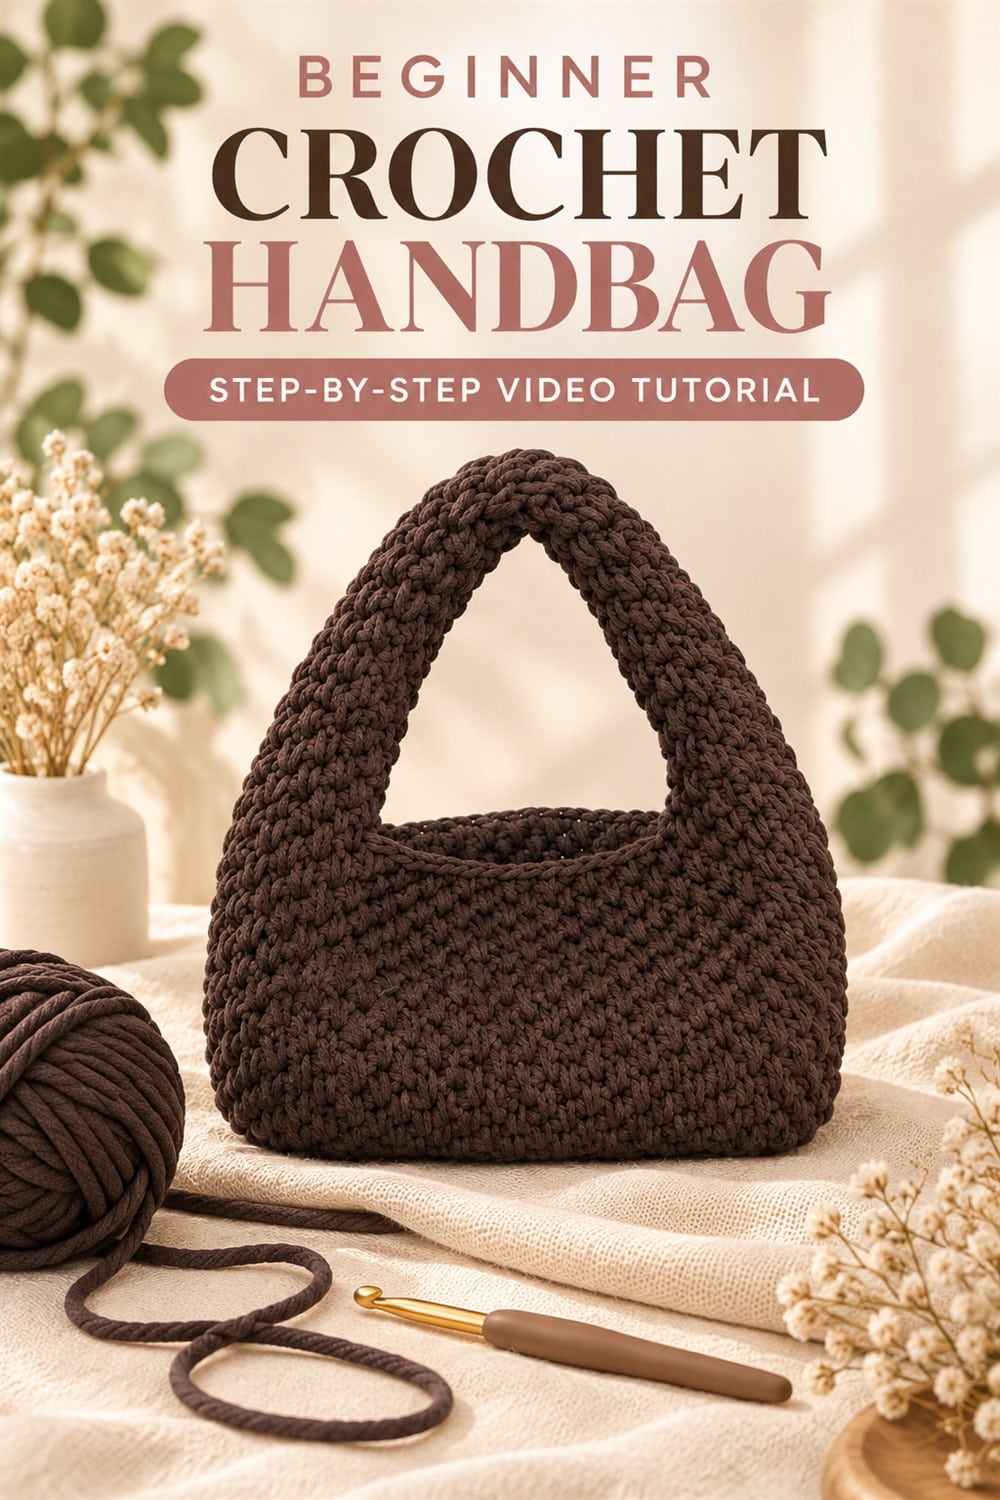
This beginner crochet handbag proves that a simple shape can still look polished and modern. A compact rectangular body, dense textured fabric and one thick arch handle create a practical accessory with a clean, sculptural silhouette. Worked in dark chocolate-brown cord, the finished bag feels timeless and easy to pair with everyday outfits.
The English guide below explains the construction decisions that matter most, including yarn choice, base stability, even sides, handle shaping and reinforcement. Keep the embedded tutorial open for the designer’s precise stitch counts, foundation length, shaping points and round-by-round instructions.
Beginner Crochet Handbag Video Tutorial
Why This One-Handle Bag Is Beginner-Friendly
The design uses a straightforward body and turns the handle into part of the overall silhouette. There are no complicated color changes, motif layouts or decorative hardware competing for attention. That lets a newer crocheter focus on consistent tension, clean edges and strong finishing.
A solid color highlights the stitch texture and makes counting easier. The bag is also small enough to finish without the time commitment of a large tote, yet it teaches techniques that transfer to baskets, pouches and other structured accessories.
Materials and Supplies
- Firm crochet cord or smooth yarn suitable for bags
- A crochet hook that creates a dense but workable fabric
- Stitch markers for the beginning of rounds and shaping points
- Scissors and a sturdy tapestry needle
- Optional fabric lining, interfacing and magnetic closure
- Optional removable base insert
Choose a yarn that resists stretching. Cotton cord, tube yarn and purpose-made bag fibers usually provide more structure than soft garment yarn. Test the hook size in a swatch: the fabric should hold its shape without becoming painful or difficult to crochet.
Make a Stable Crochet Bag Base
Follow the exact foundation and increase sequence shown in the video. The base establishes the width and depth of the handbag, so count carefully and mark both ends if increases are worked around a foundation chain. Even increases help the corners stay smooth rather than pointed.
Lay the base on a flat surface before building upward. It should rest evenly without cupping or ruffling. If it curls, loosen the tension or review the increase count. If it waves, check for extra stitches or try a slightly smaller hook.
Build Straight, Even Bag Sides
Once the base is complete, the pattern transitions into the body. Keep the first round of the sides even so the change in direction looks intentional. A marker at the start of each round prevents accidental spiraling errors or misplaced joins.
Measure the height at several points as the bag grows. Dense yarn can make one side feel shorter if tension changes. Rotate the work regularly, relax your grip and avoid pulling the working yarn too tightly around corners.
Create Consistent Textured Crochet Fabric
The beauty of a minimalist bag comes from uniform stitches. Insert the hook into the location demonstrated in the tutorial and keep every loop at a similar height. If the cord twists, allow the ball to unwind periodically so the stitch surface remains smooth.
Check the inside as well as the outside. Stray loops, split strands and loose tails are easier to correct before more rounds cover them. A neat interior is especially important if you decide not to add a lining.
Shape the Integrated Arch Handle
The handle is the visual focus and a major stress point. Mark its starting and ending positions on both sides before working the shaping. Count carefully so the opening is centered and both slopes rise evenly. Follow the video for the exact skipped stitches, chains or joining method.
Keep the handle firm but comfortable. Extremely tight stitches can make the arch rigid and difficult to work, while loose stitches may stretch with use. Compare both sides after every shaping row and correct an imbalance immediately.
