
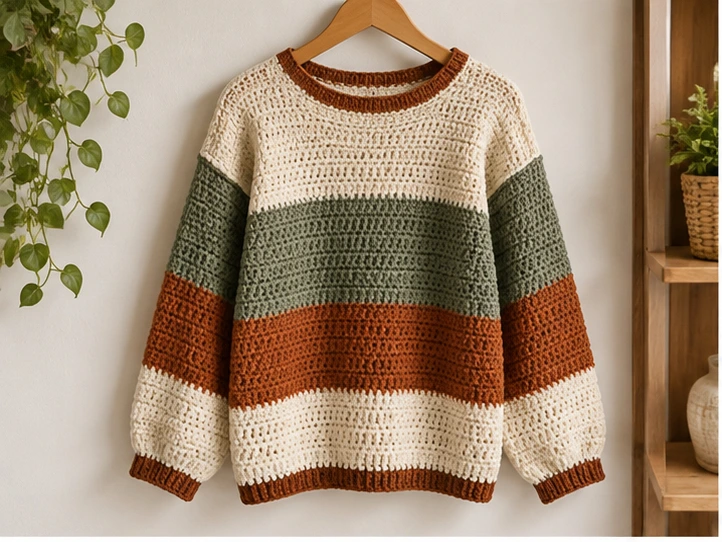
Crochet jersey patterns give you a relaxed, athletic-style top with the handmade texture of crochet. Think boxy shoulders, a ribbed neckline, color-blocked stripes, and maybe a number or letter on the front. Whether you want a game-day top, a layering piece, or a cozy cotton tee with team-style details, this guide covers materials, construction, and finishing so you can plan a jersey that fits well and holds its shape.
What Makes a Crochet Jersey Special
A jersey is defined by its silhouette and its details. Most designs share a straight or slightly boxy body, short or three-quarter sleeves, a rounded or V-shaped neckline, and contrast trim at the neck, cuffs, and hem. Stripes and color blocking are common, and many makers add a number, initials, or a simple emblem.
Crochet suits this style well because you can build the fabric panel by panel, change colors easily, and adjust the length or sleeve shape as you go. The result feels more personal than a store-bought top, and it works for sports fans, festival outfits, or everyday wear.
Materials You May Need
Exact specs depend on the design you choose, so treat this as a starting list:
- Yarn: A smooth cotton or cotton blend is a popular choice for a wearable top. It’s breathable, shows stitch definition, and holds color blocks cleanly. Acrylic blends are lighter and easier to care for. Buy enough of each color to finish the whole piece, and match dye lots when you can.
- Hook: Use the size recommended in your pattern, or one that gives a fabric that’s drapey but not floppy. A jersey should feel like clothing, not a stiff mesh.
- Stitch markers: Handy for marking underarms, neckline shaping, and stripe changes.
- Tapestry needle: For seaming and weaving in ends.
- Measuring tape: Essential for checking fit as you work.
- Optional extras: Contrast yarn for numbers or trim, and a small amount of ribbing-style yarn for cuffs.
How much yarn will you need? It varies widely with size, yarn weight, and stitch pattern. As a rough guide, an adult top-style garment often takes anywhere from several hundred to well over a thousand yards. Always check your pattern’s yardage and add a little extra for swatching and adjustments.
How to Make It
Start with a Swatch
Crochet a swatch at least 4 by 4 inches in your main stitch, then wash and dry it the way you’ll care for the finished jersey. Measure your stitches and rows per inch. Skipping this step is the most common reason a crochet top turns out too small or too large.
Choose Your Construction Method
Crochet jerseys are usually made in one of three ways:
- Flat panels: Front, back, and sleeves worked separately, then seamed. This is the most beginner-friendly option and easy to adjust.
- Top-down: Started at the neckline and worked outward, letting you try it on as you go.
- Motif-based: Squares or hexagons joined into panels, which suits colorful, patchwork-style jerseys.
Work the Body Panels
Simple stitches like single crochet, half double crochet, or double crochet make a sturdy, wearable fabric. Work the back panel to your chosen length, then the front, shaping the neckline by decreasing or leaving stitches unworked. Change colors at the end of a row for clean stripes.
Add the Sleeves
For a classic jersey look, make short, slightly wide sleeves. Work them flat and seam them, or pick up stitches around the armhole and crochet down. Check that the sleeve width leaves room for movement.
Finish the Neckline and Trim
Work a few rounds of single crochet or slip stitch around the neck, cuffs, and hem in a contrast color. Trim gives a jersey its sporty look and cleans up the edges.
Add Numbers or Emblems
Crochet a number or letter separately in a contrast color, then sew it on with small, even stitches. You can also embroider it directly onto the fabric.
