
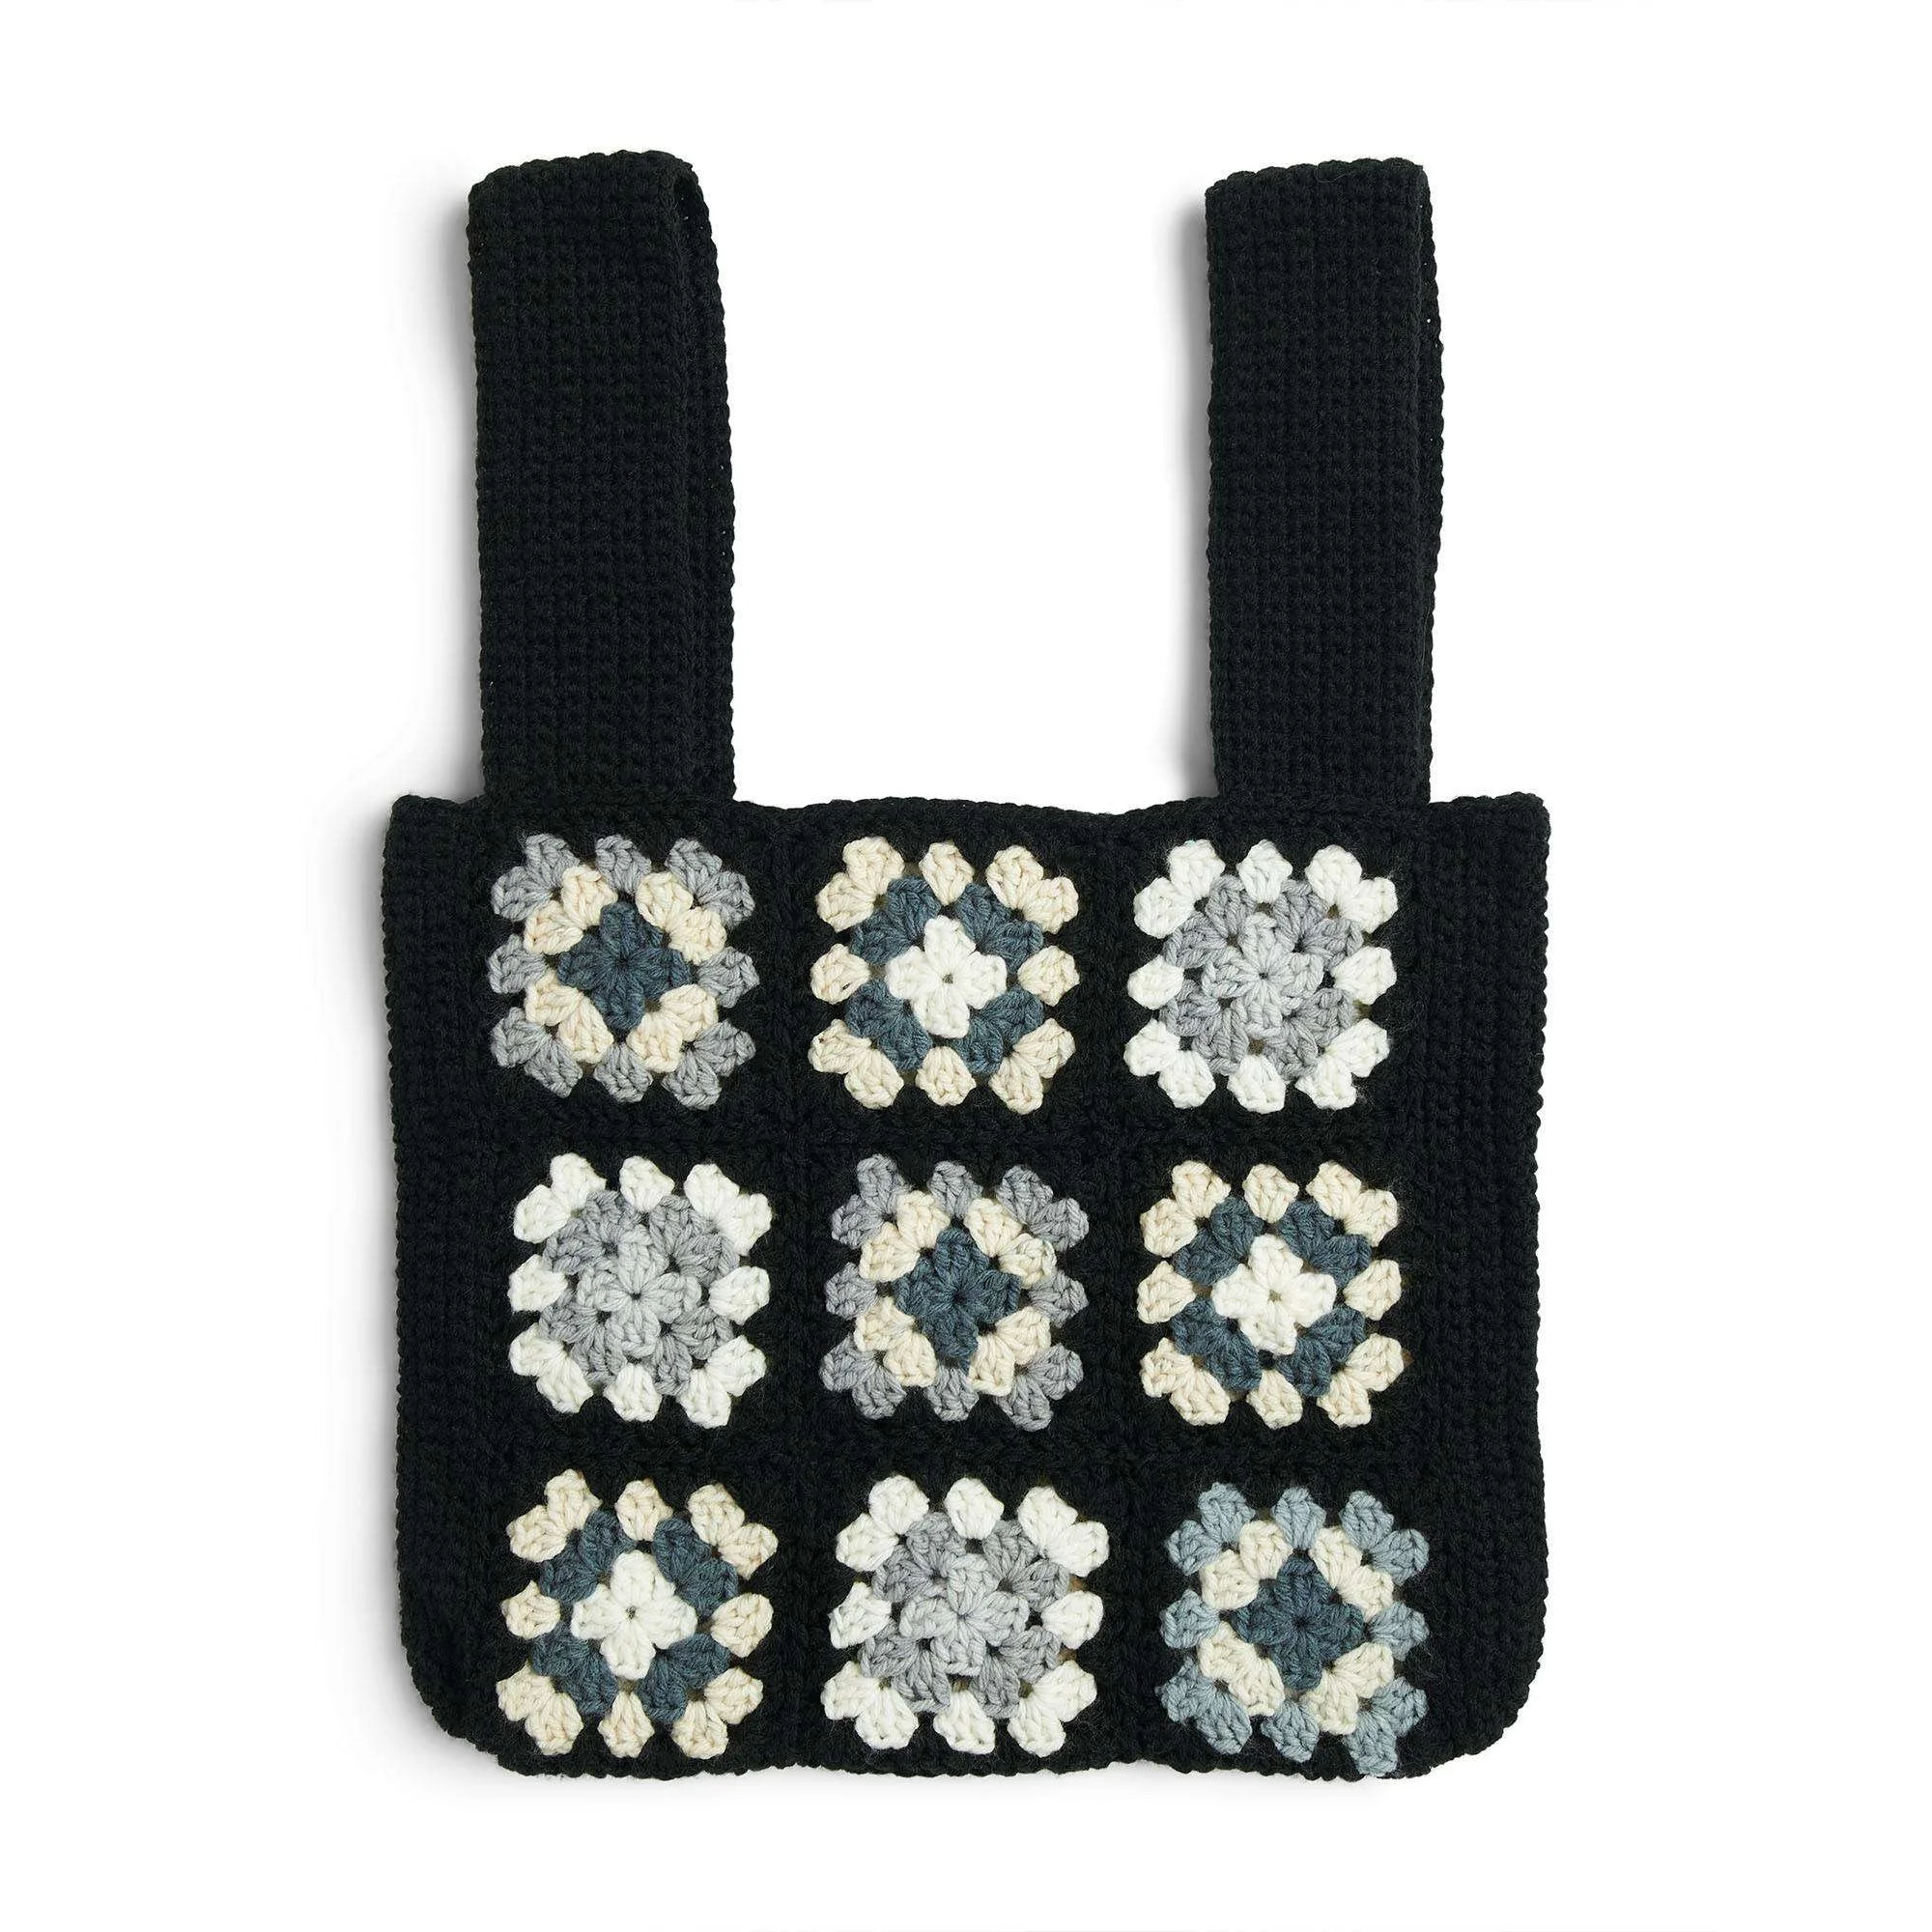
The Crochet Granny Square Bag is a vibrant and functional accessory that combines traditional crocheting techniques with modern style. This bag is adorned with colorful granny squares, making it not only eye-catching but also practical for everyday use. The construction involves creating various square motifs that are then assembled into a complete bag, perfect for crocheters looking to enhance their skills and create something beautiful. Follow along with the written instructions alongside the tutorial photos to ensure your project turns out perfectly.
Project Details
- Crochet terminology: U.S. terminology
- Skill level: Easy
- Finished size: Approximately 12″ x 12″ (30 cm x 30 cm) excluding handles
- Construction method: Motifs joined together and sewn into a bag
Materials and Tools
| Yarn option | Yarn and specifications | Amount |
|---|---|---|
| Red Heart® Super Saver™ O’Go Solids | Main Color (MC): Black (7120) | 1 O’Go |
| Red Heart® Super Saver™ O’Go Prints | Contrast A, B, C, D, and E: Newsprint (7124) | 1 O’Go |
- Crochet hook: Size U.S. I/9 (5.5 mm) or size needed to obtain gauge
Abbreviations
| Abbreviation | Meaning |
|---|---|
| ch | chain |
| dc | double crochet |
| sc | single crochet |
| sl st | slip stitch |
| sp | space |
Preparation and Techniques
Working in a Spiral
Crochet Patterns — No Ads. No Clutter.
Browse the Crochet Library →
Each square is constructed in the round, meaning you will be working continuously without joining rounds until the final round, unless stated otherwise in the instructions.
Changing Yarn Colors
Color changes add beautiful depth to your granny squares. Be sure to complete the last stitch of the previous color before introducing the new one to maintain a neat transition.
Complete Pattern Instructions
Motifs (make 6 each of Square 1, 2, and 3)
Each square uses a distinct color pattern. Follow the color assignment below:
Square 1 color assignment
- A as Color 1
- C as Color 2
- B as Color 3
- MC as Color 4
Square 2 color assignment
- D as Color 1
- B as Color 2
- E as Color 3
- MC as Color 4
Square 3 color assignment
- E as Color 1
- A as Color 2
- C as Color 3
- MC as Color 4
Square Construction
Each square follows the same construction method with different color assignments. Example for Square 1:
| Round | Instructions | Stitches |
|---|---|---|
| 1st rnd | With Color 1, ch 4. Join with sl st to first ch to form a ring. Ch 3, 2 dc in ring. (Ch 2. 3 dc in ring) 3 times. Ch 2. Join with sl st to top of ch-3. Fasten off. | 12 dc |
| 2nd rnd | Join Color 2 with sl st to any ch-2 corner sp. Ch 3, (2 dc, ch 2, 3 dc) in same ch-2 sp as sl st. (3 dc, ch 2, 3 dc) in next ch-2 sp. Rep from * twice more. Join with sl st to top of ch-3. Fasten off. | 24 dc |
| 3rd rnd | Join Color 3 with sl st to any ch-2 corner sp. Ch 3, (2 dc, ch 2, 3 dc) in same ch-2 sp as sl st. 3 dc in next sp between 3-dc cluster. (3 dc, ch 2, 3 dc) in next ch-2 sp. Rep from * twice more. 3 dc in next sp between 3-dc cluster. Join with sl st to top of ch-3. Fasten off. | 36 dc |
| 4th rnd | Join Color 4 with sl st to any ch-2 corner sp. Ch 3, (2 dc, ch 2, 3 dc) in same ch-2 sp as sl st. 3 dc in next sp between 3-dc cluster. Rep from * twice more. Join with sl st to top of ch-3. Fasten off. | 48 dc |
Motif Finishing / Assembly
Using the Motif Assembly Diagram, sew the squares together with MC.
Top Edges of Body of Bag
With right side facing, join MC with sl st to the top right corner of the bag.
| Row | Instructions |
|---|---|
| 1st row | Ch 1. 1 sc in each dc or corner sp to end of Top Edge. Fasten off. |
| 2nd Top Edge | Repeat for second Top Edge as indicated in the Motif Assembly Diagram. |
Bag Sides (make 2)
Foundation
With MC, ch 44.
Side Construction
| Row | Instructions | Stitches |
|---|---|---|
| 1st row | 1 sc in 2nd ch from hook, 1 sc in each of next 41 ch, 3 sc in last ch. Working into opposite side of foundation ch, 1 sc in each ch to end of chain. Turn. | 87 sc |
| 2nd row | Ch 1, 1 sc in each of first 42 sc, 2 sc in each of next 3 sc, 1 sc in each sc to end of row. Turn. | 90 sc |
| 3rd row | Ch 1, 1 sc in each of first 42 sc, (2 sc in next sc, 1 sc in next sc) 3 times, 1 sc in each sc to end of row. Turn. | 93 sc |
| 4th row | Ch 1, 1 sc in each of first 42 sc, (2 sc in next sc, 1 sc in each of next 2 sc) 3 times, 1 sc in each sc to end of row. Turn. | 96 sc |
| 5th row | Ch 1, 1 sc in each of first 42 sc, (2 sc in next sc, 1 sc in each of next 3 sc) 3 times, 1 sc in each sc to end of row. Turn. | 99 sc |
| 6th row | Ch 1, 1 sc in each of first 42 sc, (2 sc in next sc, 1 sc in each of next 4 sc) 3 times, 1 sc in each sc to end of row. Do not turn. | 102 sc |
Across the straight edge of Bag Side, ch 1 and work 10 sc evenly across. Fasten off.
