
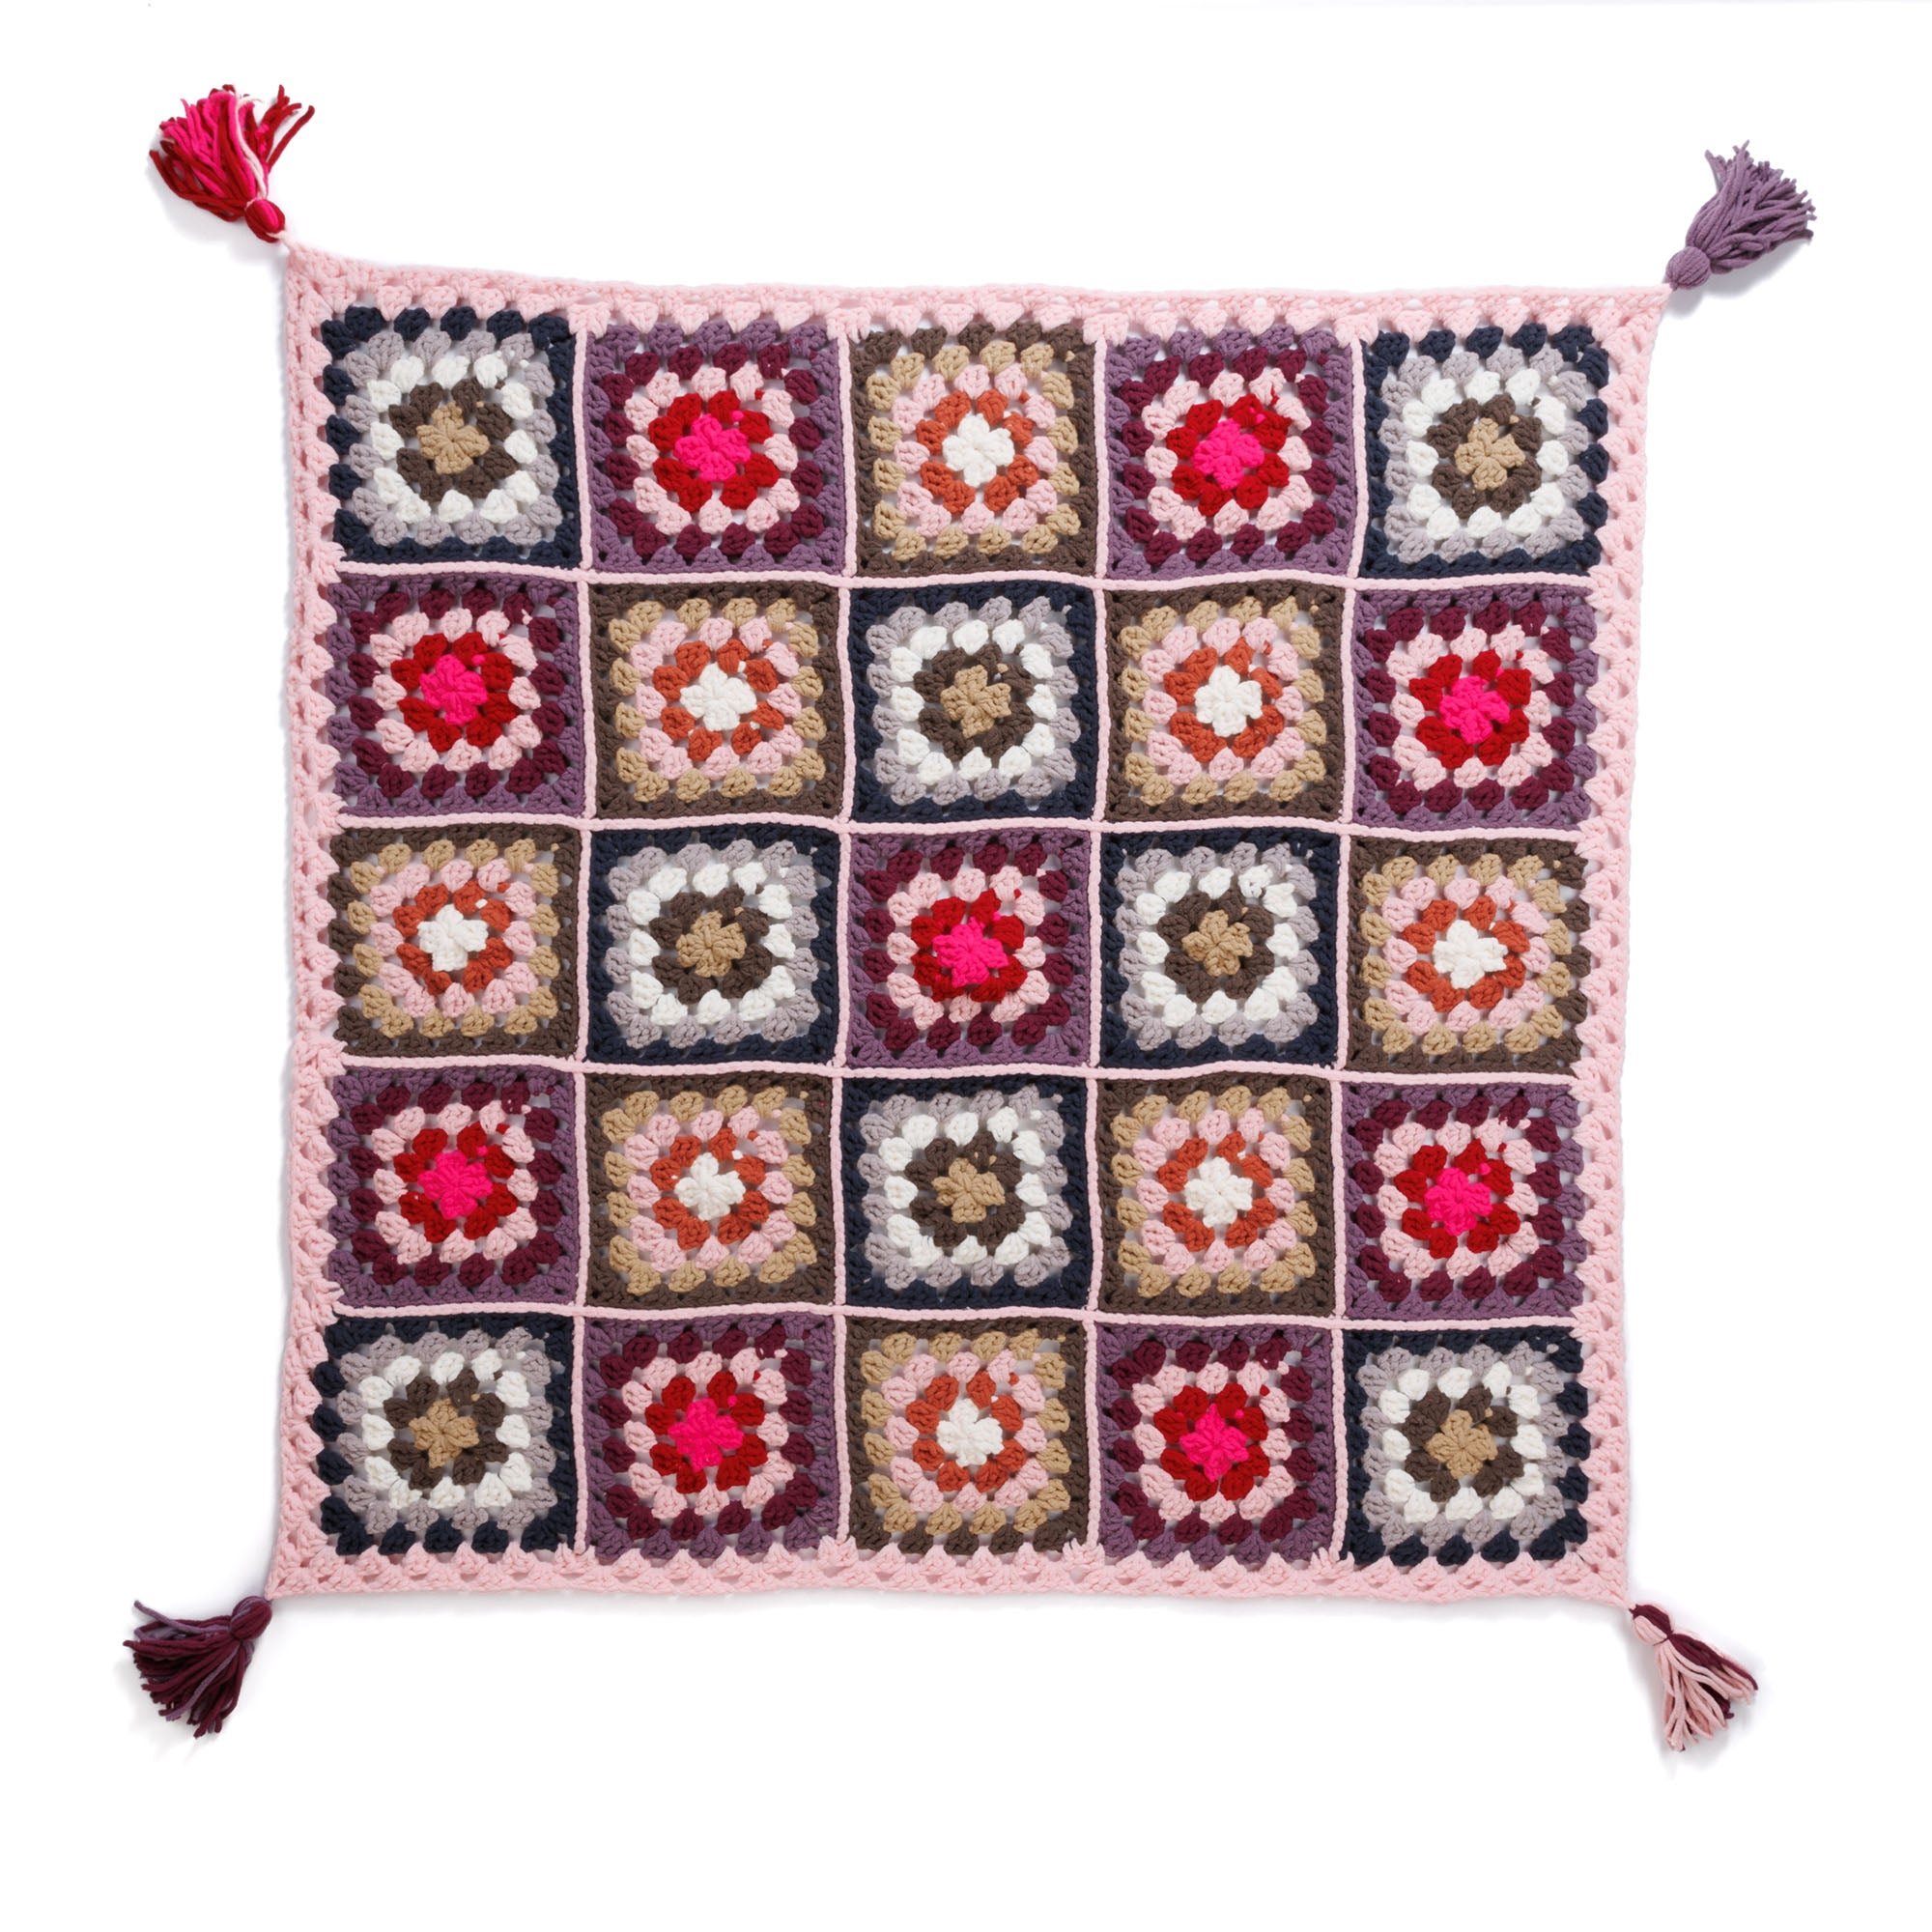
Introducing the Crochet Granny A-Go-Go Blanket, a vibrant and cozy addition to any home! This blanket features delightful granny squares made from luxurious Bernat® yarns, creating a unique patchwork effect that can brighten up any room. The construction involves simple granny square motifs, which are then sewn together to form the final blanket. This pattern is perfect for those with basic crochet skills who are looking to practice their techniques. Follow along with the instructions, and you’ll have a beautiful blanket to snuggle up in or gift to a loved one.
Project Details
- Crochet terminology: US terminology
- Skill level: Easy
- Finished size: Approximately 40″ x 56″ (101.5 x 142 cm)
- Construction method: Granny squares joined together
Materials and Tools
| Yarn option | Yarn and specifications | Amount |
|---|---|---|
| Version 1 | Bernat® Blanket™ (10.5 oz/300 g; 220 yds/201 m) Main Color (MC) Vintage White (10006) |
1 ball or 215 yds/197 m |
| Bernat® All in One™ Blanket Granny™ (8.5 oz/240 g; 178 yds/163 m) Contrast A Retro Pop (65004) |
3 balls or 9 Squares | |
| Contrast B Throwback (65003) | 2 balls or 8 Squares | |
| Contrast C Seaside Shine (65005) | 2 balls or 8 Squares | |
| Version 2 | Bernat® Blanket™ (10.5 oz/300 g; 220 yds/201 m) Main Color (MC) Tan Pink (10898) |
1 ball or 215 yds/197 m |
| Bernat® All in One™ Blanket Granny™ (8.5 oz/240 g; 178 yds/163 m) Contrast A Fruit Juice (65006) |
3 balls or 9 Squares | |
| Contrast B Choco-Berry (65002) | 2 balls or 8 Squares | |
| Contrast C Asphalt (65001) | 2 balls or 8 Squares |
Note: Each ball will make 4 Granny Squares.
Crochet Patterns — No Ads. No Clutter.
Browse the Crochet Library →
Tools:
- 5.0 mm (H) crochet hook
- Scissors
- Tapestry needle for weaving in ends
Abbreviations
| Abbreviation | Meaning |
|---|---|
| ch | chain |
| dc | double crochet |
| sl st | slip stitch |
| sp | space |
| Rep | repeat |
| RS | right side |
| WS | wrong side |
Preparation and Techniques
Working in a spiral
This pattern does not utilize continuous rounds; instead, it joins each round with a slip stitch to complete individual motifs.
Changing yarn colors
To change yarn colors, complete the last stitch of the old color, then pull the new color through the last loop, creating a seamless transition.
Joining rounds
Always join rounds with a slip stitch to the third chain of the beginning ch-6, except where noted otherwise.
Complete Pattern Instructions
Make Motifs
Repeat the following steps for each color:
- With Contrasts A, B, and C, make the respective quantities of motifs: 9 with A, 8 with B, 8 with C.
| Round | Instructions | Stitches |
|---|---|---|
| 1 | Ch 4. Join with sl st to first ch to form a ring. Ch 6. (3 dc, ch 3) 3 times in ring. 2 dc in ring. Join. | 12 |
| 2 | Sl st in next ch-3 sp. Ch 6. 3 dc in same ch-3 sp. *Ch 1. (3 dc, ch 3, 3 dc) in next ch-3 sp. Rep from * twice more. Ch 1. 2 dc in first ch-3 sp. Join. | 24 |
| 3 | Sl st in next ch-3 sp. Ch 6. 3 dc in same ch-3 sp. *Ch 1. 3 dc in next ch-1 sp. Ch 1. (3 dc, ch 3, 3 dc) in next ch-3 sp. Rep from * twice more. Ch 1. 3 dc in last ch-1 sp. Ch 1. 2 dc in first ch-3 sp. Join. | 36 |
| 4 | Sl st in next ch-3 sp. Ch 6. 3 dc in same ch-3 sp. *(Ch 1, 3 dc) in each ch-1 sp to next ch-3 sp. Ch 1. (3 dc, ch 3, 3 dc) in next ch-3 sp. Rep from * twice more, then from * to once. 2 dc in first ch-3 sp. Join. | |
| 5 | Fasten off, leaving a 42″ tail. |
Assembly and Finishing
Joining Motifs
With the main color (MC), slip stitch motifs together through back loops only, ensuring the working yarn is on the wrong side to create a flat slip stitch chain detail on the right side of the work. Join the motifs into 5 horizontal strips, each containing 5 motifs, using the assembly diagram for assistance.
Border
Attach the border with the following steps:
- With RS facing, join MC with sl st to any corner ch-3 sp.
- Ch 4 (counts as dc, ch-1). 3 dc in next ch-1 sp. *(Ch 1, 3 dc) in each ch-1 sp to next ch-3 sp, ch 1, 1 dc in next ch-3 sp. Dc2tog over same and next ch-3 sp. 1 dc in last ch-3 sp. Rep from * to next corner ch-3 sp.
- Ch 1. (3 dc, ch 3, 3 dc) in next corner ch-3 sp. Rep from * twice more. Ch 1. (3 dc, ch 3, 2 dc) in last corner ch-3 sp. Join with sl st to 3rd ch of ch-4.
- Sl st in next ch-1 sp. Ch 3. 1 dc in same ch-1 sp. *(Ch 1, 3 dc) in each ch-1 sp to next corner ch-3 sp. Ch 1. (3 dc, ch 3, 3 dc) in next corner ch-3 sp. Rep from * 3 times more. Ch 1. 1 dc in first ch-1 sp. Join. Fasten off.
