
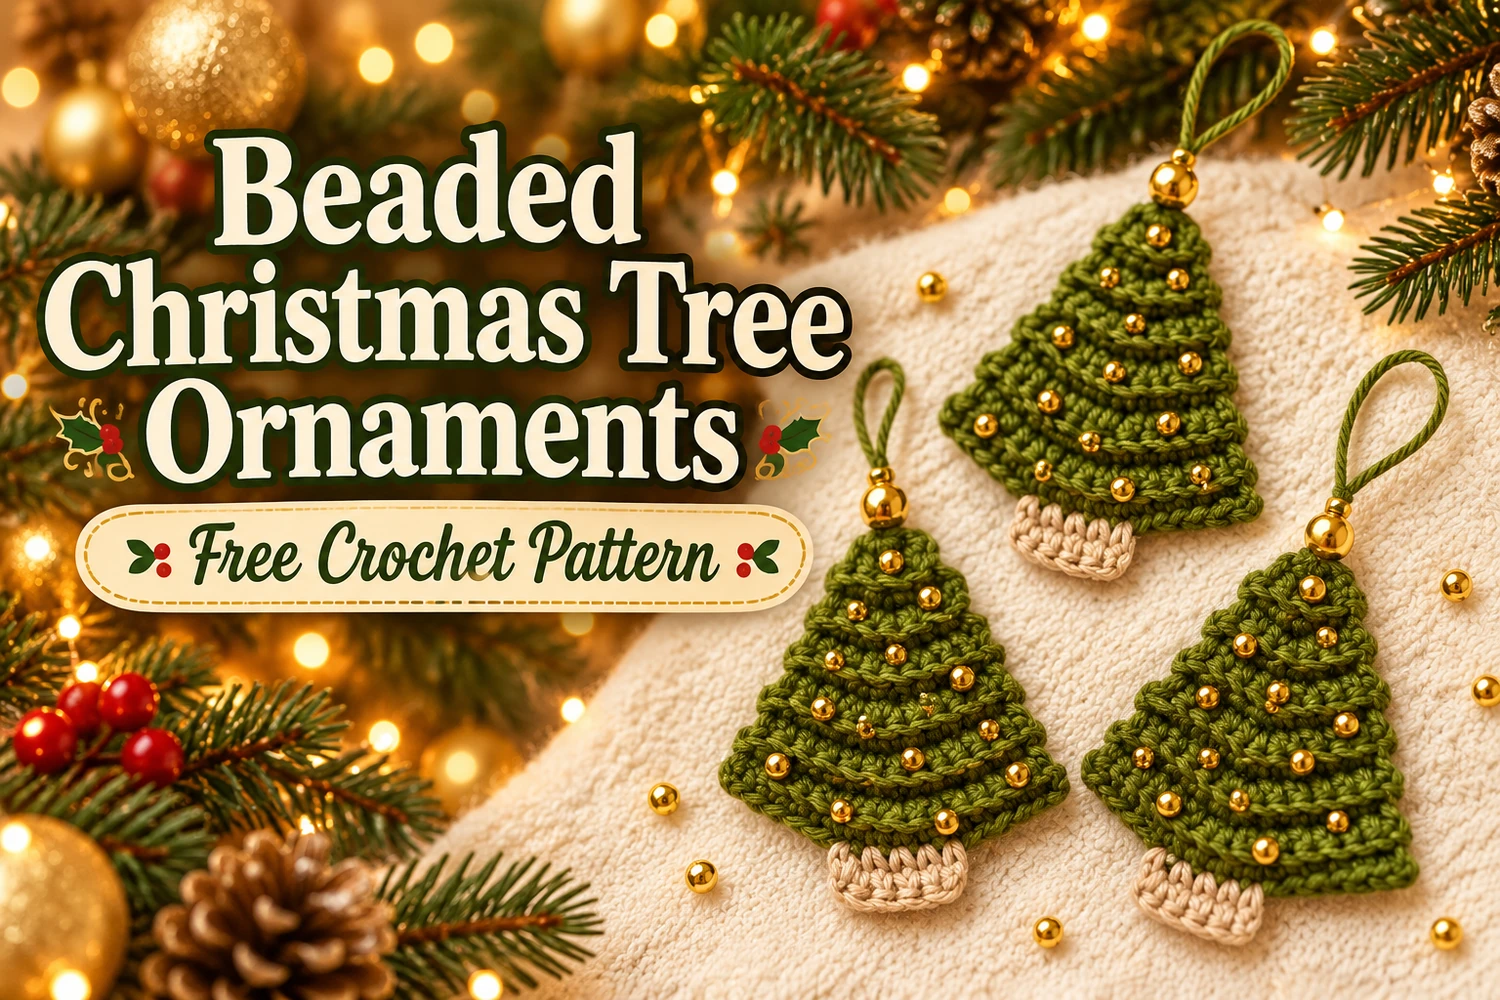
This Beaded Christmas Tree Ornament Crochet Pattern makes small flat olive-green trees with raised horizontal ridges, beige trunks, scattered gold beads, and matching green hanging loops. A larger gold bead above each tree follows the detail in the reference.
The green panel is worked from the tip downward in turned rows. Add the trunk, sew the gold beads individually, and finish the loop after shaping the crochet. Make three for a coordinated ornament set.
Pattern Information
- Skill level: confident beginner, with basic shaping and hand sewing.
- Terms: US crochet terminology.
- Construction: one flat green panel, one separate beige trunk, sewn beads, and a hanging loop.
- Estimated height: 8–10 cm excluding the loop with sport cotton and a 2.5 mm hook.
- Colors: olive or forest green, beige, and gold details.
This is an image-inspired adaptation in US crochet terms. Stitch counts and repeat totals have been reviewed, but the pattern has not been physically crocheted or independently tested. Use the written instructions for exact stitch placement; the photo tutorials illustrate the construction.
Materials
- Sport-weight cotton yarn: approximately 6–10 g green and a small amount of beige per tree.
- 2.5 mm crochet hook, or a size that produces a firm flat panel.
- Approximately 12–16 small gold beads, 3–4 mm, with holes that accept your sewing needle.
- One larger gold bead, about 7–8 mm, with a hole wide enough for doubled hanging yarn.
- Fine strong matching sewing thread, beading needle, tapestry needle, scissors, and markers.
- Blocking mat and rust-resistant pins.
This beaded version is a decorative ornament. For an unembellished version, omit the small beads and larger topper bead, or embroider gold dots instead. No stuffing is needed.
Responsivo Post 01 – P1
Stitches and Abbreviations
- ch: chain.
- sl st: slip stitch.
- sc: single crochet.
- hdc: half double crochet.
- dc: double crochet.
- MR: magic ring.
- BLO: back loop only.
- st(s): stitch(es); R: round; Row: a turned row.
To work hdc, yarn over, insert the hook, yarn over and draw up a loop, then yarn over and pull through all three loops. For dc, yarn over, insert the hook and draw up a loop, then pull through two loops twice. Beginning chains do not count as stitches unless specified.
How the Raised Rows Work
After Row 1, work every hdc into the back loop only. On turned rows this leaves the unused loops visible as horizontal ridges. Place the hook under the back loop of the actual stitch, not into the turning chain.
Each even-numbered row increases at both ends, adding two stitches. The following odd row keeps the same count. These small steps give the edges their tiered outline. Keep the turning chains loose and do not count them as stitches.
Beaded Christmas Tree Ornament Crochet Pattern
1. Green Tree Panel
With green, ch 3. The two skipped chains give height and do not count as stitches.
- Row 1: 2 hdc in the third chain from the hook.
- Row 2: ch 2, turn; working BLO, 2 hdc in each stitch.
- Row 3: ch 2, turn; 4 hdc BLO.
- Row 4: ch 2, turn; 2 hdc BLO in first stitch, 2 hdc BLO, 2 hdc BLO in last stitch.
- Row 5: ch 2, turn; 6 hdc BLO.
- Row 6: ch 2, turn; 2 hdc BLO in first stitch, 4 hdc BLO, 2 hdc BLO in last stitch.
- Row 7: ch 2, turn; 8 hdc BLO.
- Row 8: ch 2, turn; 2 hdc BLO in first stitch, 6 hdc BLO, 2 hdc BLO in last stitch.
- Row 9: ch 2, turn; 10 hdc BLO.
- Row 10: ch 2, turn; 2 hdc BLO in first stitch, 8 hdc BLO, 2 hdc BLO in last stitch.
- Row 11: ch 2, turn; 12 hdc BLO.
- Row 12: ch 2, turn; 2 hdc BLO in first stitch, 10 hdc BLO, 2 hdc BLO in last stitch.
- Row 13: ch 2, turn; 14 hdc BLO.
Fasten off and weave the tails through the back of several stitches, changing direction before trimming. Leave the side edges unbordered to preserve the stepped branch-like outline. The widest row is the lower edge of the tree.
Panel Count Check
- Row 1: 2 stitches.
- Rows 2–3: 4 stitches per row.
- Rows 4–5: 6 stitches per row.
- Rows 6–7: 8 stitches per row.
- Rows 8–9: 10 stitches per row.
- Rows 10–11: 12 stitches per row.
- Rows 12–13: 14 stitches per row.
The full count sequence is 2, 4, 4, 6, 6, 8, 8, 10, 10, 12, 12, 14, 14. Every increase row adds one stitch at each edge. Mark the first and last actual hdc if the turning chains are confusing.
2. Beige Trunk
With beige, ch 5. Row 1: sc in the second chain from the hook and each remaining chain. Row 2: ch 1, turn, 4 sc. Fasten off with a long sewing tail.
Round the lower corners gently with your fingers. This small flat rectangle is sewn behind the tree base so only a short beige section shows. Do not stuff it.
Responsivo Post 02 – P2
Block the Tree Before Adding Beads
Lightly dampen the green panel according to the yarn label. Lay it flat with the tip at the top and Row 13 at the bottom. Pin the tip and lower corners, then straighten the edges without pulling out the ridges.
Leave it to dry fully. Do not press the raised loops flat. Block the trunk separately if it curls, and wait until both pieces are dry before sewing or adding metal beads.
Sew the Trunk to the Base
Center the trunk behind the bottom row. For a fourteen-stitch base, align its four stitches roughly behind stitches 6–9. Overlap the upper beige row with the back of the green lower edge, leaving the lower beige row visible.
Use the beige tail to sew the overlap securely, catching several green stitches without making long stitches across the front. Weave the tail into the back and trim after changing direction. Check that the trunk sits straight beneath the tip.
Sew the Small Gold Beads
Choose which side of the ridged panel will be the front. Arrange twelve to sixteen small beads across the tree, placing one near the tip and spacing the rest between the ridges. Keep them away from the outermost edge stitches.
