
If you’ve been searching for a butterfly crochet pixel project, you’ve probably come across the growing trend of pixel-style crochet art — sometimes called graphgans or C2C (corner-to-corner) crochet. Instead of working in rounds like traditional amigurumi, these designs are built row by row from a pixel grid, turning a simple image into a piece of textured, colorful fabric art. A butterfly is one of the most popular subjects for this technique because its symmetrical wings translate beautifully into a grid pattern.
Whether you want a small pixel butterfly for a mini wall hanging or a larger one to anchor a blanket panel, this guide walks you through what the project involves, what you’ll need, and how to get a clean, professional-looking result.
What Makes This Crochet Project Special
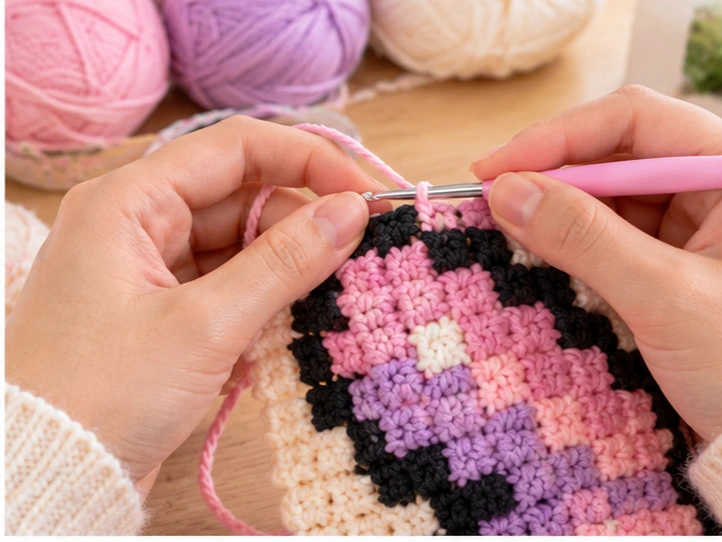
Pixel crochet butterflies stand out because they combine the precision of cross-stitch or pixel art with the texture of crochet. Each “pixel” is typically a small block of stitches — often two double crochets worked over two stitches, or a similar unit — and color changes between blocks are what create the image.
Butterflies work especially well for this style because:
- Their wings are symmetrical, so mistakes are easy to spot and fix.
- Bold color blocking mimics real butterfly wing patterns naturally.
- The shape adapts well to both small and large grids, from a simple silhouette to a highly detailed design with shading.
This makes it a satisfying project for crocheters who enjoy following a chart and watching an image emerge stitch by stitch, rather than shaping a 3D figure.
Materials You May Need
Exact yarn amounts and hook size will depend on the size of your pixel grid and the yarn weight you choose, but a typical materials list includes:
- Worsted weight (medium, US #4) cotton or acrylic yarn in your background color plus 2–5 contrasting colors for the butterfly’s wings and body
- Crochet hook sized to your yarn (commonly a 4.0–5.5mm hook for worsted weight, but always check your yarn label)
- Yarn needle for weaving in the many color-change ends this technique produces
- Scissors
- Stitch markers to track row changes if you’re working from a large chart
- A pixel pattern or graph chart (either a pattern you design yourself using graph paper or pixel-art software, or one you follow from a chosen source)
- Optional: a piece of backing fabric or a wooden dowel if you plan to finish it as a wall hanging
Because pixel crochet involves many small color blocks, using a yarn type that doesn’t split easily will make the project much more manageable.
How to Make It
Step 1: Create or Choose Your Pixel Grid
Start with a butterfly image and convert it into a pixel grid, where each square represents one crochet “pixel.” Many crocheters do this by hand on graph paper, use pixel-art software, or use a graphgan chart generator designed for crochet. Keep the design simple for your first project — a clean two-wing silhouette with a color accent is far easier to follow than a highly shaded design.
Step 2: Choose Your Technique
Two common methods work for pixel crochet:
- Corner-to-corner (C2C): worked diagonally in blocks, popular for graphgans and blankets.
- Single crochet pixel rows (aligned grid): worked straight across in rows, which can give a slightly crisper, more image-like result.
Pick whichever method matches your chart, since C2C charts and straight-row charts aren’t interchangeable.
Step 3: Work the Background and Color Blocks
Follow your chart row by row (or diagonal by diagonal for C2C), changing colors exactly where the chart indicates. Carry unused colors along the back of your work when they’ll be needed again soon, or cut and rejoin yarn for larger color blocks to avoid a bulky back side.
Step 4: Shape the Wings and Body
If your chart includes the butterfly’s antennae or a narrow body, these sections may need extra care since they’re often only one or two pixels wide. Work slowly through these narrow rows to keep tension even.
