
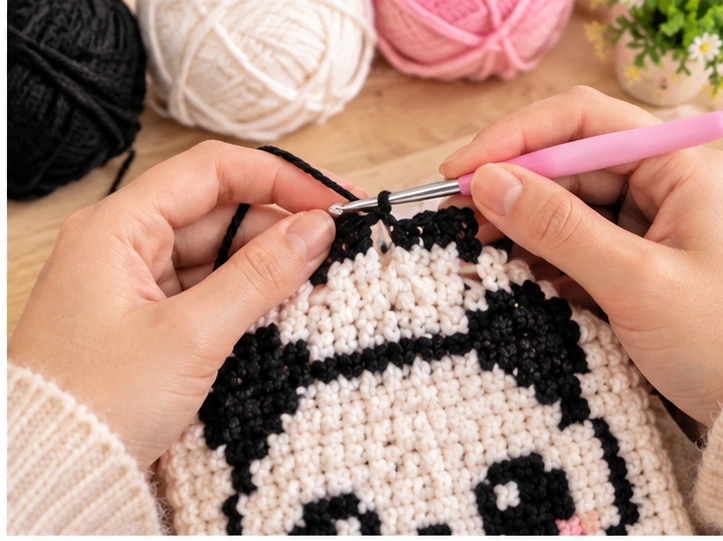
If you’ve been scrolling through crochet inspiration lately, you’ve probably noticed a growing trend of colorful, blocky, retro-style designs. Panda pixel art crochet is one of the most charming versions of this style — a panda face or figure built entirely from small, uniform stitches that come together like a mosaic. Instead of shaping a panda through rounds of increases and decreases the way you would with amigurumi, pixel art crochet treats each stitch like a tiny pixel on a screen, letting you “draw” the panda’s black-and-white markings row by row.
This project is popular for a reason. It’s approachable for beginners who already know a few basic stitches, it’s endlessly customizable, and it produces a piece that looks just as good hanging on a wall as it does stitched onto a bag or turned into a coaster.
What Makes This Crochet Project Special
Pixel art crochet works a lot like cross-stitch or graph-paper drawing. You follow a grid pattern, where each square represents one stitch in a specific color, and the stitches are worked in straight rows or columns using either the single crochet or corner-to-corner (C2C) technique. Because pandas have such a recognizable black-and-white pattern — round ears, dark eye patches, and a mostly white face and body — they translate beautifully into this blocky style.
Part of the appeal is how forgiving it is. Unlike shaping a rounded amigurumi panda, where every increase and decrease has to line up perfectly to keep the head symmetrical, pixel crochet is really just following a chart. If you can single crochet in straight rows and change colors cleanly, you can make a recognizable panda design.
Materials You May Need
Because exact specifications depend on the size and format of the panda design you’re working from (a small coaster-sized piece versus a larger wall hanging, for example), here’s a general list of what most pixel art crochet projects call for:
- Worsted weight cotton or acrylic yarn in black, white, and a small amount of an accent color if desired
- A crochet hook sized appropriately for your yarn weight (commonly a size that gives you a nice firm, even fabric — check your yarn label for a suggested hook size)
- A yarn needle for weaving in ends and joining color sections
- Scissors
- Stitch markers, especially useful for keeping track of rows in C2C
- A pixel grid or graph pattern of the panda design you want to make
- Optional: a small amount of stuffing and felt or safety eyes if you’re turning the design into a stuffed piece rather than a flat one
If you’re working from a specific pattern, always double-check the recommended yarn and hook size listed there, since pixel art gauge can shift the finished size quite a bit.
How to Make It
Choose or Create Your Panda Grid
Start with a pixel chart of the panda design, either from a pattern you’ve purchased, a free graph you’ve found, or one you’ve mapped out yourself on graph paper. Each square on the grid corresponds to one stitch in your project.
Pick Your Technique
Most panda pixel art crochet pieces are made using one of two methods:
- Single crochet in rows, working back and forth and changing colors as the chart dictates
- Corner-to-corner (C2C), which builds the design diagonally using clusters of double crochet stitches
Choose whichever method you’re more comfortable with — both can produce a clean pixelated look.
Work Row by Row
Follow the chart from the bottom up (or corner to corner, if using C2C), switching yarn colors exactly where the pattern indicates. Keep your stitch count consistent in every row so the grid stays aligned and the panda’s shape doesn’t distort.
Manage Your Color Changes
Carry unused colors loosely along the back of your work if they’ll be needed again soon, or cut and rejoin yarn for larger color blocks. Clean color changes are what make the pixel effect look sharp instead of blurry.
Finish the Edges
Once you’ve completed the chart, work a border round if your pattern calls for one, then weave in all your ends securely on the wrong side of the fabric.
