
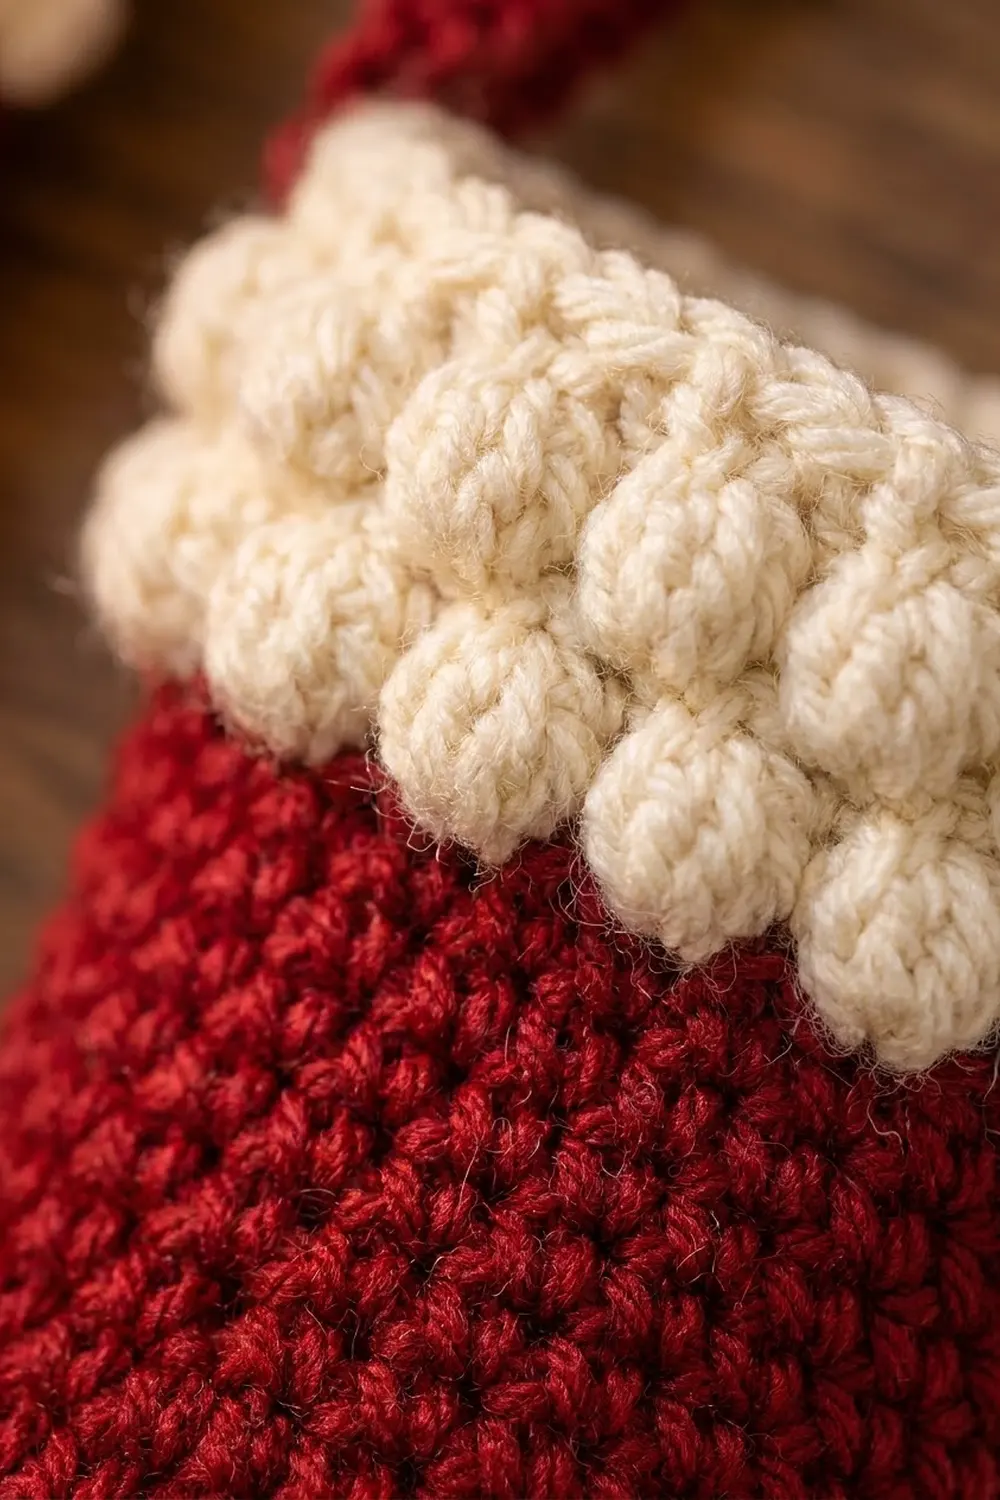
This set is three small Christmas stockings that each hold a spare toilet roll. They hang side by side from a wooden bar in the bathroom. Each stocking is worked in solid cranberry-red single crochet, with a cream cuff covered in three rows of bobbles. The roll sits inside the leg and sticks up a little above the cuff, so a fresh one is always within reach.
The style is cozy farmhouse Christmas: dense, textured fabric, two classic colors and no fussy details. The pattern uses US crochet terms throughout.
Each finished stocking measures about 6.5 in (16.5 cm) from heel to toe, 8.25 in (21.0 cm) tall and 4.5 in (11.4 cm) deep. The strap loop adds about 3.5 in (8.9 cm) above the cuff. The leg fits standard rolls up to about 4.5 in (11.4 cm) across.
Each stocking is one seamless 3D piece. You start with an oval sole and work straight walls up from it. Then you pinch off the toe by skipping 12 stitches and keep working the leg in the round. The cuff is worked in turned rounds so the bobbles pop to the outside. A separate strip, folded into a hanging loop, is sewn inside the back of the cuff.
Finished Size and Construction
- Finished size (each stocking): 6.5 in (16.5 cm) wide x 8.25 in (21.0 cm) tall x 4.5 in (11.4 cm) deep
- Skill level: Easy to intermediate
- Terminology: US crochet terms
- Yarn weight: Bulky (#5)
- Hook: 6.0 mm (US J-10)
- Number of pieces: 3 stockings + 3 straps (6 pieces, not joined to each other)
- Layout: 3 stockings hung in a row on one bar, toes pointing the same way
- Sole size: 6.5 x 4.5 in (16.5 x 11.4 cm)
- Leg circumference before cuff: 14 in (35.6 cm); 7 in (17.8 cm) flat
- Height before cuff: about 6 in (15.2 cm)
- Cuff depth: 2.25 in (5.7 cm)
Materials
Choose a smooth bulky yarn in acrylic, cotton blend or wool blend. A firm, round yarn makes the bobbles look plump and helps the stocking hold its shape. Avoid fuzzy or loosely plied yarns, which hide the bobbles.
- Cranberry red: 200 g (about 200 m) for all 3 stockings and straps
- Cream: 100 g (about 100 m) for all 3 cuffs
These amounts include a margin of about 10 percent. Each stocking uses about 60 g (60 m) of red and 30 g (30 m) of cream.
Tools:
- 6.0 mm (US J-10) crochet hook
- Tapestry needle
- 4 locking stitch markers
- Scissors
- Measuring tape
- One toilet roll to test the fit
- A wooden dowel or towel bar at least 24 in (61.0 cm) long (for display; not crocheted)
Abbreviations (US Terms)
- ch – chain
- sc – single crochet
- sl st – slip stitch
- st(s) – stitch(es)
- BLO – back loop only
- Rnd – round
- RS / WS – right side / wrong side
Special stitch – Bobble: (Yarn over, insert hook in st, yarn over, pull up a loop, yarn over, pull through 2 loops) 5 times in the same st. Yarn over and pull through all 6 loops on the hook. The bobble pops out on the side facing away from you.
Gauge and Checkpoints
Gauge: 12 sc x 13 rows = 4 in (10.2 cm) in sc.
Make one full stocking before starting the others. The sole is your best gauge test.
- After Rnd 7 (sole): 6.5 x 4.5 in (16.5 x 11.4 cm), with an outer edge of 18 in (45.7 cm).
- After Rnd 13 (foot walls): walls about 1.75 in (4.4 cm) high.
- After Rnd 26 (leg): circumference 14 in (35.6 cm), 7 in (17.8 cm) flat, about 6 in (15.2 cm) tall from the table.
- After Rnd 33 (cuff): total height 8.25 in (21.0 cm); cuff 8 in (20.3 cm) across when flat.
If the sole is too big, switch to a 5.5 mm hook. If it is too small, or a roll will not fit in the leg, switch to a 6.5 mm hook. Do not change stitch counts, because the toe and cuff math depend on them.
Stocking Pattern (Make 3)
Work in joined rounds. Unless noted, start each round with ch 1 (does not count as a st), work the first sc in the same st as the join, and end with sl st to the first sc. Do not turn until the cuff.
Sole
With red, ch 9.
Rnd 1: Sc in 2nd ch from hook and in next 6 ch, 3 sc in last ch. Working along the other side of the chain, sc in next 6 ch, 2 sc in same ch as first sc; join. (18 sts)
You now have 6 sts along each straight side and 3 sts at each end. The 3-sc end (End B) will become the toe.
Rnd 2: 2 sc in first st, sc in next 6, 2 sc in each of next 3, sc in next 6, 2 sc in each of last 2; join. (24 sts)
Rnd 3:once, sc in next 6, 3 times, sc in next 6, 2 times; join.(30 sts)
Rnd 4:once, sc in next 6, 3 times, sc in next 6, 2 times; join.(36 sts)
Rnd 5: Repeat Rnd 4, but work sc in next 3 inside each bracket. (42 sts)
Rnd 6: Repeat Rnd 4, but work sc in next 4 inside each bracket. (48 sts)
Rnd 7: Repeat Rnd 4, but work sc in next 5 inside each bracket. (54 sts)
Each end now has 21 sts and each straight side has 6 sts: 21 + 6 + 21 + 6 = 54. Check the sole size now.
Foot Walls
Rnd 8: Sc in BLO of each st around; join. (54 sts) This makes a crisp ridge where the sole turns upward.
Rnds 9–13: Sc in each st around; join. (54 sts each)
Before Rnd 14, count from the first st of the round and mark sts 18 and 29. Sts 18–29 are the 12 center sts of the toe end.
Toe Pinch and Leg
Rnd 14: Sc in first 17 sts, skip the 12 marked toe sts (18–29), sc in sts 30–54; join. (42 sts: 17 + 25)
Pull the yarn snug as you jump the gap, so st 17 sits right beside st 30. The skipped sts fold in half over the toe: st 18 lies against st 29, and st 23 lies against st 24. You will sew this seam closed later.
Rnds 15–26: Sc in each st around; join. (42 sts each)
Fasten off red after Rnd 26, leaving a 12 in (30.5 cm) tail for the toe seam. Check the leg size and test the fit with a roll.
Bobble Cuff
From Rnd 28 on, turn at the start of each round. Bobble rounds are worked with the WS facing so the bobbles pop out on the RS.
