
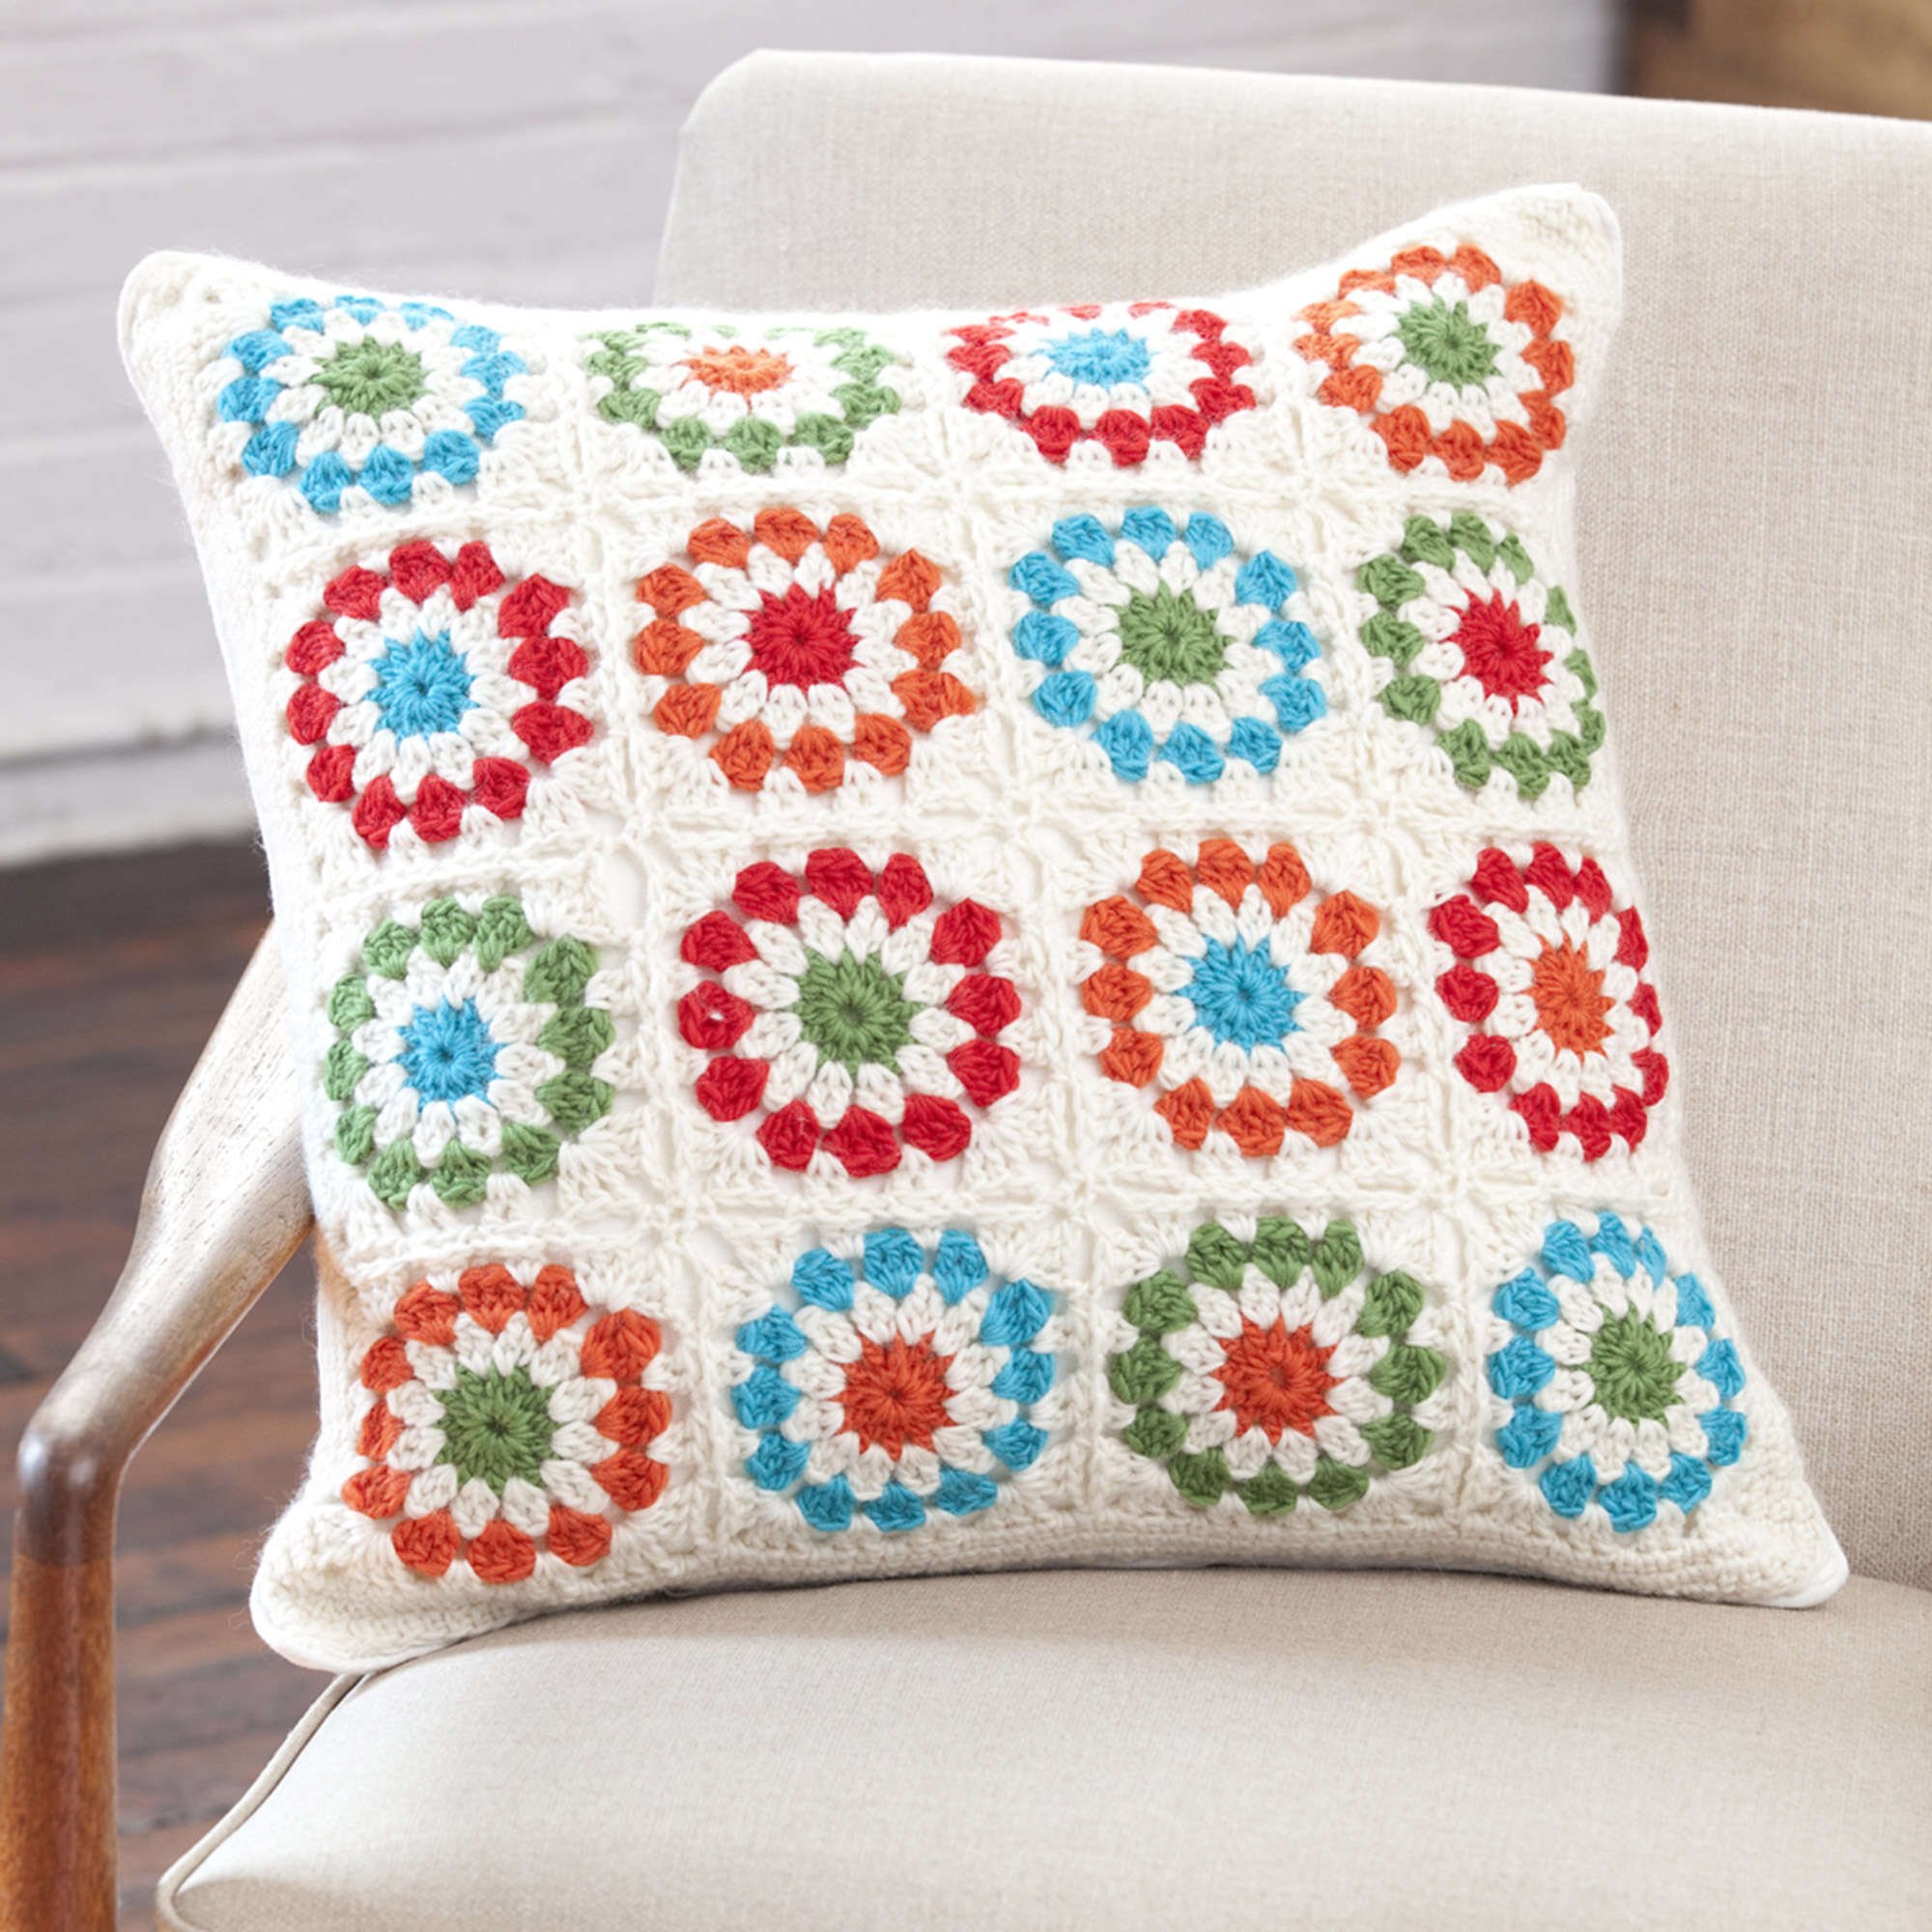
The Crochet Copenhagen Pillow Pattern is a delightful project that brings a burst of color and texture into your home. This charming pillow cover features 16 unique motifs, crafted from a palette of soft and vibrant yarns, making it perfect for adding a pop of whimsy to your living space. The construction involves creating and joining individual motifs, which lends itself to a satisfying, repetitive crochet experience. Suitable for those with an intermediate skill level, this project allows crocheters to showcase their skills through color changes and motif joining. Follow along with the written directions, alongside your project photographs, for a rewarding crafting session.
Project Details
- Crochet terminology: U.S. Terms
- Skill level: Intermediate
- Finished size: Approximately 18 inches square
- Construction method: Motif-based with a border
Materials and Tools
| Yarn Option | Yarn and Specifications | Amount |
|---|---|---|
| A: Little Lamb | STITCH NATION by Debbie Stoller™ “Full o’ Sheep™” | 2 balls |
| B: Poppy | STITCH NATION by Debbie Stoller™ “Full o’ Sheep™” | 1 ball |
| C: Clementine | STITCH NATION by Debbie Stoller™ “Full o’ Sheep™” | 1 ball |
| D: Thyme | STITCH NATION by Debbie Stoller™ “Full o’ Sheep™” | 1 ball |
| E: Aquamarine | STITCH NATION by Debbie Stoller™ “Full o’ Sheep™” | 1 ball |
Yarn specifications: Yarn Art T100 available in 3.5 oz (100 g); 155 yd (142 m) balls.
Crochet Patterns — No Ads. No Clutter.
Browse the Crochet Library →
Crochet Hook:5 mm
Supplies: Sewing needle and matching sewing thread, yarn needle.
Abbreviations
| Abbreviation | Meaning |
|---|---|
| ch | Chain |
| dc | Double crochet |
| sc | Single crochet |
| sl st | Slip stitch |
| *…* | Repeat from the instructions between asterisks |
Preparation and Techniques
Working in a Spiral
This project uses a combination of joined rounds and spirals. Be sure to join at the end of each round carefully to maintain a seamless look.
Changing Yarn Colors
Color changes add visual interest to the motifs. When changing colors, be sure to leave a long enough tail for weaving in ends later.
Complete Pattern Instructions
Motif Instructions (Make 16)
Follow the color sequence chart for each motif:
| Motif # | Color 1 | Color 2 | Color 3 | Color 4 |
|---|---|---|---|---|
| 1 | D | A | E | A |
| 2 | C | A | D | A |
| 3 | C | A | E | A |
| 4 | D | A | C | A |
| 5 | C | A | B | A |
| 6 | E | A | B | A |
| 7 | D | A | B | A |
| 8 | E | A | D | A |
| 9 | B | A | D | A |
| 10 | B | A | C | A |
| 11 | E | A | B | A |
| 12 | C | A | E | A |
Repeat motifs 1–12 to total 16 motifs according to the chart for placement.
First Motif
- With Color 1: ch 4; join with slip st in first ch to form ring.
- Round 1: ch 3 (counts as first dc here and throughout), 11 dc in ring, join with slip st in top of beginning ch-3 – 12 dc. Fasten off Color 1 and join A between the first and last dc of round 1.
- Round 2 (Color 2): ch 3, dc in same space, *2 dc between next 2 dc; repeat from * around*; join with slip st in top of beginning ch-3 – 24 dc. Fasten off Color 2 and join Color 3 between the first and last dc of round 2.
- Round 3 (Color 3): ch 3, 2 dc in same space, *skip next 2 dc, 3 dc between last skipped and next dc; repeat from * around; join with slip st in 3rd ch of beginning ch 4 – 36 dc. Fasten off Color 3 and join Color 4 between the first and last dc of round 2.
- Round 4 (Color 4): ch 3, *(2 dc, ch 1, 3 dc) in same space*, * twice*, ch 1, skip next 3 dc, (3 dc, ch 1, 3 dc) between last skipped and next dc; repeat from * twice*; repeat from * to ** once; join with slip st in top of beginning ch-3 – 4 corner ch-1 spaces; 9 dc and 3 ch-1 spaces on each side. Fasten off.
Second Motif (Joining Across One Side)
Work the same as the First Motif, joining to previous motif(s) while completing round 4 by replacing ch-1 spaces on the side to be joined with sc in the corresponding ch-1 space(s) on the preceding motif(s), following the assembly diagram for placement. Fasten off.
