
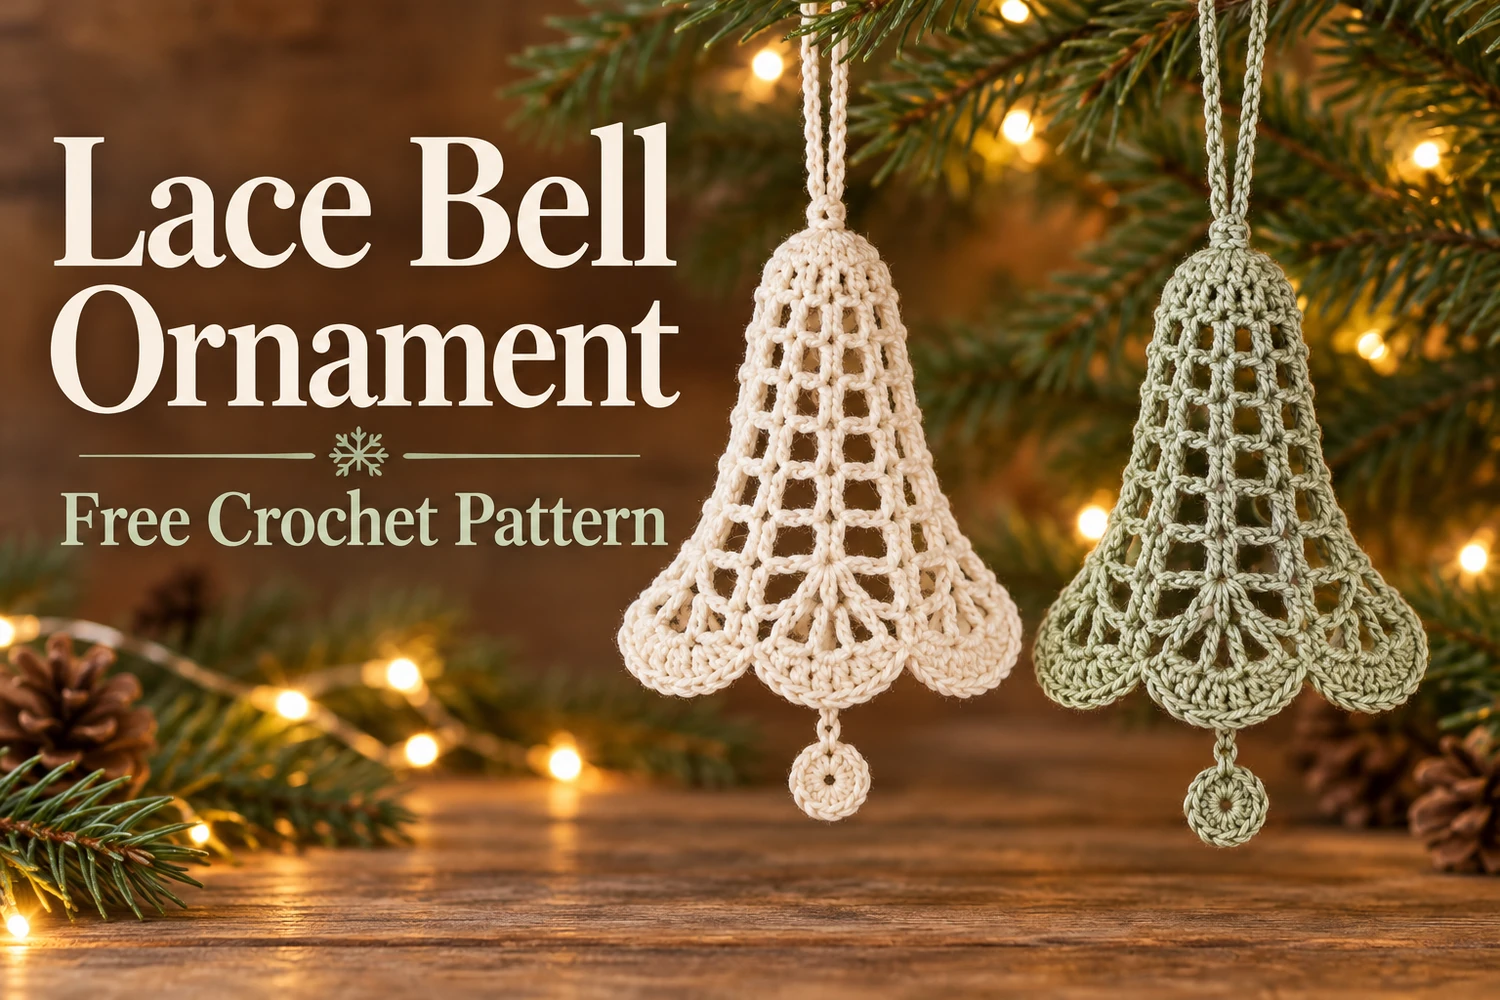
This Lace Bell Ornament Crochet Pattern makes a delicate flat Christmas bell with a rounded top, open mesh sides, three scalloped fans along its flared lower edge, and a small crochet clapper. Ivory and muted sage cotton follow the soft natural colors in the reference.
The bell is worked from its rounded top downward in turned rows. A simple lace mesh forms the middle, then three chain arches support the flared fans. Make the clapper separately and add a matching chain loop for hanging.
Pattern Information
- Skill level: intermediate beginner; turned lace rows and shell fans.
- Estimated height: 13–17 cm excluding the loop in sport cotton with a 2.5 mm hook; size depends on tension.
- Construction: one flat bell body, one small flat clapper, and chain attachments. No stuffing.
- Colors: ivory or muted sage; make one bell in each color if desired.
This is an image-inspired adaptation in US crochet terms. Stitch and repeat counts have been reviewed, but the design has not been physically crocheted or independently tested. Follow the written pattern for construction; photographs illustrate the intended appearance.
Materials
- Sport-weight cotton, approximately 15–20 g per bell.
- 2–2.5 mm crochet hook matched to the cotton.
- Tapestry needle, scissors, stitch markers, blocking mat, and rustproof pins.
- Optional fabric stiffener suitable for the chosen yarn.
Stitches and Notes
- ch: chain; sl st: slip stitch; sc: single crochet; dc: double crochet.
- MR: magic ring; inc: 2 sc in one stitch.
- Starting ch 3 counts as the first dc in dc rows. Starting ch 1 does not count.
- Turn at the end of each body row. Work into dc tops unless a chain space is named.
- Do not join the first row ends into a full circle; the top is a semicircle.
Lace Bell Ornament Crochet Pattern
1. Rounded Bell Top
Row 1:ch 3 and 6 dc into a MR . Tighten the ring gently so the stitches form a semicircle. Turn without joining the row ends.
Responsivo Post 01 – P1
Row 2:ch 3, dc in the same first stitch, dc in each of the next 5 stitches, 2 dc in the last stitch . The last stitch is the top of the previous starting ch 3. Turn.
2. Open Mesh Body
Row 3:ch 3, then repeat (ch 1, dc in the next dc) eight times . Turn. The starting ch 3 is your first dc, so do not add a second dc into that first stitch.
Rows 4–5:ch 3; repeat (ch 1, dc in the next dc) eight times, passing over each previous ch-1 space without working into it . Turn after each row.
Keep the nine upright dc columns lined up. The chain spaces make the airy middle of the bell. If you prefer a taller bell, add one more mesh row with the same nine dc and eight spaces; the remaining counts stay the same.
3. Three Lower Arches
Row 6:ch 1 and sc in the first dc. Ch 4; pass over the next two dc and all intervening chain spaces, then sc in the fourth dc of the previous row. Ch 4 and sc in the seventh dc. Ch 4 and sc in the ninth dc, which is the top of the previous starting chain . Turn.
The three spans are between dc columns 1–4, 4–7, and 7–9. The last span is slightly shorter in the base but uses the same chain length; adjust it gently during blocking so the three fans hang evenly. Work the arches loosely enough to support the lower flare.
4. Scalloped Bell Edge
Row 7:sl st in the first sc. Repeat (9 dc into the next ch-4 arch, sl st in the next sc) three times . Fasten off with a long tail.
The nine dc in each arch spread into a rounded lobe. Keep the slip-stitch anchors relaxed; pulling them tight can fold one fan behind another. The middle fan becomes the lowest point of the bell.
Responsivo Post 02 – P2
5. Side Edges
Join matching cotton at the top neck point. Work down one sloping side, placing approximately 2 sc around each dc-row end of Rows 1–5, then 1 sc around the Row 6 end. Stop at the first lower fan. Fasten off. Repeat on the other side with similar tension.
These side stitches tidy and stabilize the outline; they do not run across or replace the three lower fans. A side with five dc-row ends and one sc-row end receives about 11 sc. Adjust only if your row ends need it to lie flat, and keep both sides balanced.
