
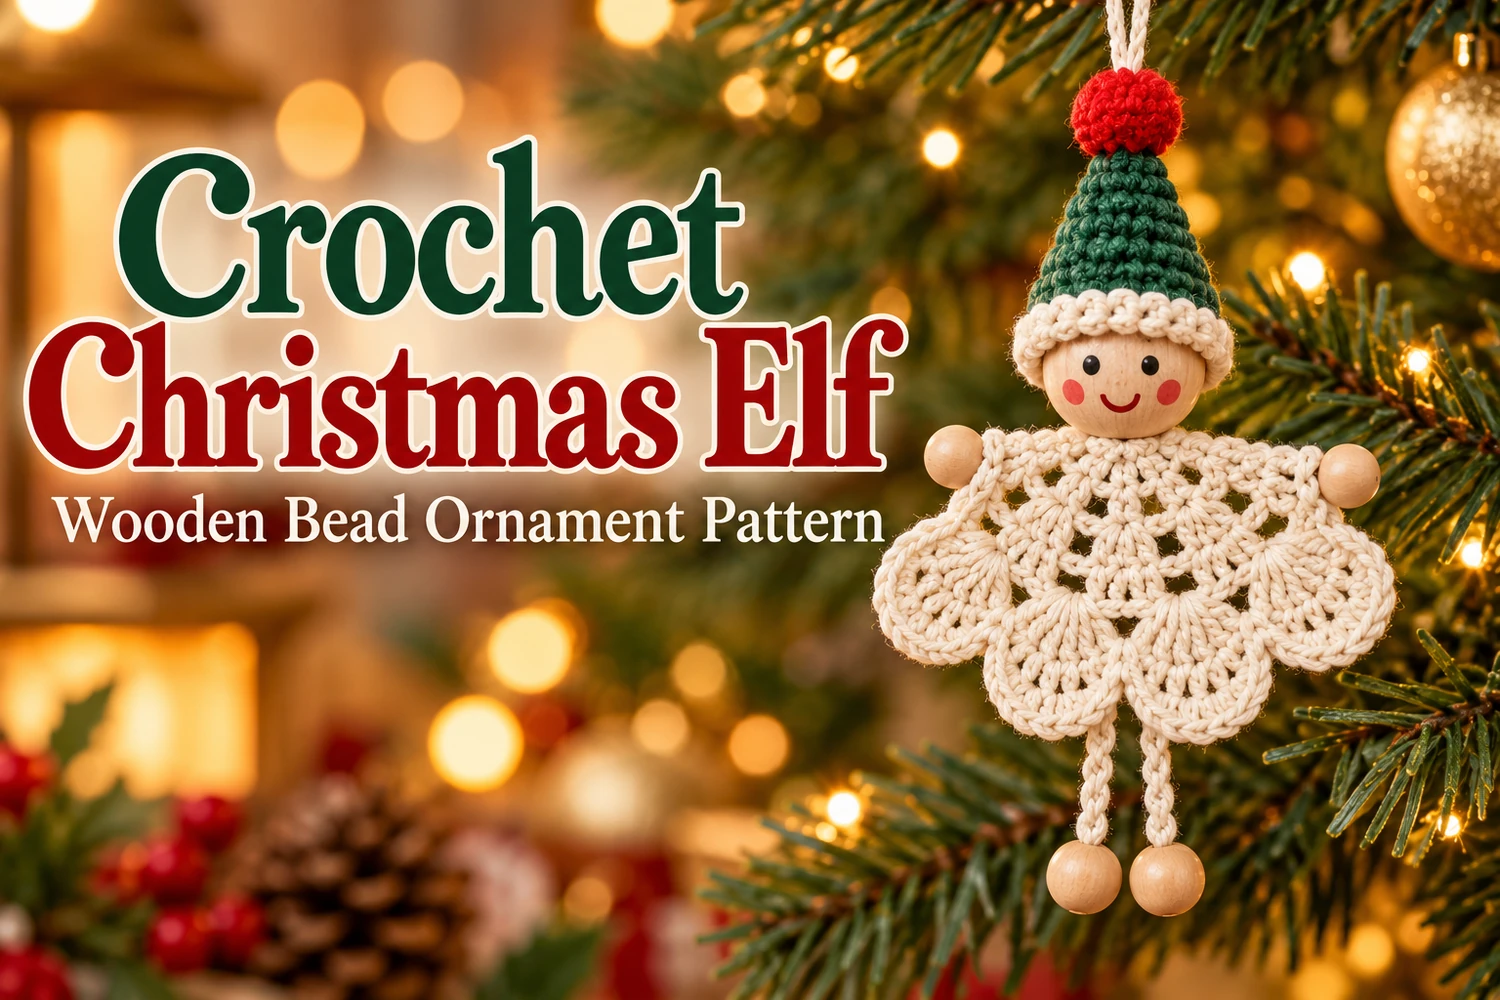
This Wooden Bead Christmas Elf Crochet Pattern makes a smiling holiday ornament with a natural wooden head, an ivory openwork body, and a pointed green hat topped with a red crochet pompom. Wooden bead hands and feet add the gentle dangling movement of the reference.
The body is an unstuffed semicircular lace fan worked in turned rows. Make the hat separately in rounds, then connect the beads with reinforced cords and crochet chains. A separate hanging cord carries the ornament through the head and hat.
Pattern Information
- Skill level: intermediate; shell lace, small rounds, bead threading, and secure assembly.
- Estimated height: 15–19 cm excluding the hanging loop in DK cotton. Yarn, bead sizes, and tension change the final proportions.
- Construction: flat ivory lace fan, green cone hat, white brim, red pompom, wooden head and four limb beads.
- US crochet terminology. This is a display decoration.
This is an image-inspired adaptation. Stitch and repeat counts have been reviewed, but the design has not been physically crocheted or independently tested. Follow the written pattern for construction; the photographs illustrate the intended look.
Materials
- DK cotton: approximately 15–20 g ivory, 5–10 g forest green, and a small amount of red.
- 2.5–3 mm hook, tapestry needle, fine needle or bead threader, scissors, pins, and a marker.
- One smooth wooden head bead approximately 25–30 mm across, with a vertical hole wide enough for the suspension cord.
- Four smooth wooden beads approximately 10–12 mm across, for hands and feet. Check hole sizes before beginning.
- Strong thin ivory cord that fits through the bead holes, plus strong sewing thread.
- Optional water-based craft paint or fine paint pens for the face, suitable for wood. Let it dry fully before assembly.
Abbreviations and Notes
- MR: magic ring; ch: chain; sl st: slip stitch.
- sc: single crochet; dc: double crochet.
- inc: 2 sc in one stitch; dec: sc2tog.
- Shell: 5 dc in the same stitch.
- Body ch 3 counts as the first dc. Hat and brim ch 1 do not count as stitches.
- Turn after each lace body row. Work the hat and pompom in continuous rounds, moving a marker.
Wooden Bead Christmas Elf Crochet Pattern
1. Ivory Lace Fan Body
Leave a long beginning tail. Make a MR with ivory and work back and forth into it to create a semicircle rather than joining it into a complete circle.
Responsivo Post 01 – P1
Row 1:ch 3, 8 dc into the MR . Gently close the ring so the nine stitches spread into a fan. Turn; do not join the row ends.
Row 2:ch 3 and 2 dc in the first stitch, ch 2, skip 1 stitch. Repeat (3 dc in the next stitch, ch 2, skip 1 stitch) three times. Work 3 dc in the last stitch . Turn. The last stitch is the top of the previous starting ch 3.
Row 3:ch 3 and dc in the first stitch, dc in the next stitch, 2 dc in the next stitch. For each of the remaining four groups: ch 2, pass over the previous ch-2 space without working into it, then 2 dc in the first dc of the next group, dc in its middle dc, 2 dc in its last dc . Turn.
Row 4, scalloped edge:ch 1. Over each five-dc group work (sc in the first dc, skip 1 dc, 5 dc in the middle dc, skip 1 dc, sc in the last dc). Between groups, work 1 sc into the ch-2 space. Repeat across all five groups. Fasten off with a long assembly tail .
The two ends of Row 1 remain close together at the top neck point; the five shells form the wider lower arc. Keep the upper side corners available for the hands. The middle shell points downward when the body hangs. Do not stuff this piece.
2. Pointed Green Hat
Start at the tip with green. R1: 6 sc in MR . R2: (2 sc, inc) × 2 . R3: (3 sc, inc) × 2 . R4: (4 sc, inc) × 2 . R5: (5 sc, inc) × 2 . R6: (6 sc, inc) × 2 . R7: (7 sc, inc) × 2 . R8: (8 sc, inc) × 2 . R9: (9 sc, inc) × 2 . R10: (10 sc, inc) × 2 . R11: 24 sc .
Try the open edge over the top of the actual head bead. It should cover the upper third of the bead without hiding the eyes. If needed, change hook size for the whole hat; bead and yarn dimensions vary. Do not force a tight hat over a larger bead.
Ivory brim: change to ivory and work 24 sc in each of two rounds. Sl st into the next stitch, fasten off, and weave in the ends. Fold the two-round brim gently outward if desired. Keep a small route through the hat tip for the suspension cord.
Responsivo Post 02 – P2
3. Red Crochet Pompom
With red: R1, 6 sc in MR ; R2, inc × 6 ; R3, dec × 6 . Fasten off, gather the six remaining front loops, and keep a sewing tail. This tiny pompom needs no stuffing. Sew it securely to the green hat tip, leaving a path beside it for the hanging cord.
4. Wooden Face and Main Suspension
If using an unfinished bead, paint two tiny black eyes, red cheeks, and a small red smile on its front, keeping the hole vertical. Follow the paint label and let it dry fully before handling. A ready-painted bead is also suitable.
Fold a strong ivory cord approximately 45–55 cm long into a loop. Keep the folded loop above the hat. Feed both loose ends downward through the hat tip and then through the vertical hole in the wooden head bead. Bring both ends out beneath the bead, keeping the loop above the pompom.
Anchor the two loose ends through several dense stitches around the lace fan neck, passing through the fabric in at least four directions. Tie secure knots on the back and sew the cord ends into the dense top stitches. Adjust the loop to your chosen length. The suspension must support the head and body without depending on glue or a single chain stitch.
Seat the green hat over the bead. Add a few small hidden sewing stitches between the brim and the suspension cord at the back to prevent the hat from slipping. Do not sew through the painted face. The hat is decorative; the cord carries the weight.
