
5. Beaded Hands
Make two short ivory chains of 6 ch, leaving long tails at both ends. Sew one chain to each upper side corner of the fan, spreading its attachment over several dense stitches. Adjust both sides to the same visible length.
Run an additional strong cord along each chain, through its loops. Pass it through a wooden hand bead and tie a stopper knot larger than the bead hole. Pull the bead gently against the end of the chain. Return the cord through the bead where possible and sew the remaining end securely into the body. If a stopper knot slips into the hole, use thicker cord or a larger knot before displaying the ornament.
6. Dangling Chain Legs and Bead Feet
Ch 12 in ivory for each leg, leaving long tails. Attach the two chains to dense stitches near the lower center of the fan: one on each side of the middle shell, keeping the center shell free. Sew across several stitches rather than hanging a leg from one open chain arch.
Pass strong cord through each leg chain and through a wooden foot bead. Knot securely below the bead with a stopper larger than the hole, then return and anchor the cord in the body. Keep the feet level and leave enough chain visible for a gentle swing. Adjust both leg lengths before trimming any ends.
Finishing
Lightly damp-block the lace fan before adding the wooden parts if the shells curl. Pin the open spaces gently, keeping the neck narrow and the lower arc wide. Let the crochet dry fully before attaching beads. Do not soak painted wood.
Check the main hanging cord and every bead connection with a gentle tug. The head should stay upright, the hands should balance at the sides, and the two feet should hang evenly. Weave all remaining yarn tails through dense stitches on the back. Display the ornament away from young children and pets because it contains small beads and long cords.
Questions and Tips
Can I use different bead sizes? Yes. Make sure the hat fits the head and the cord fits every hole. Larger beads may require a thicker yarn and matching hook to keep the body in proportion.
Why does my fan close into a circle? The body is worked in turned rows without joining the row ends. Spread the first nine dc into a semicircle before tightening the ring fully, then block the finished fan flat.
Can I skip the wooden parts? Crochet replacements would need a different head and attachment pattern. The bead head and dangling wooden hands and feet are part of this version.
How should I store it? Keep it dry and store the lace flat with tissue supporting the bead head. Spot-clean the crochet carefully and wipe the wooden pieces with a dry soft cloth.
Complete Elf Chart
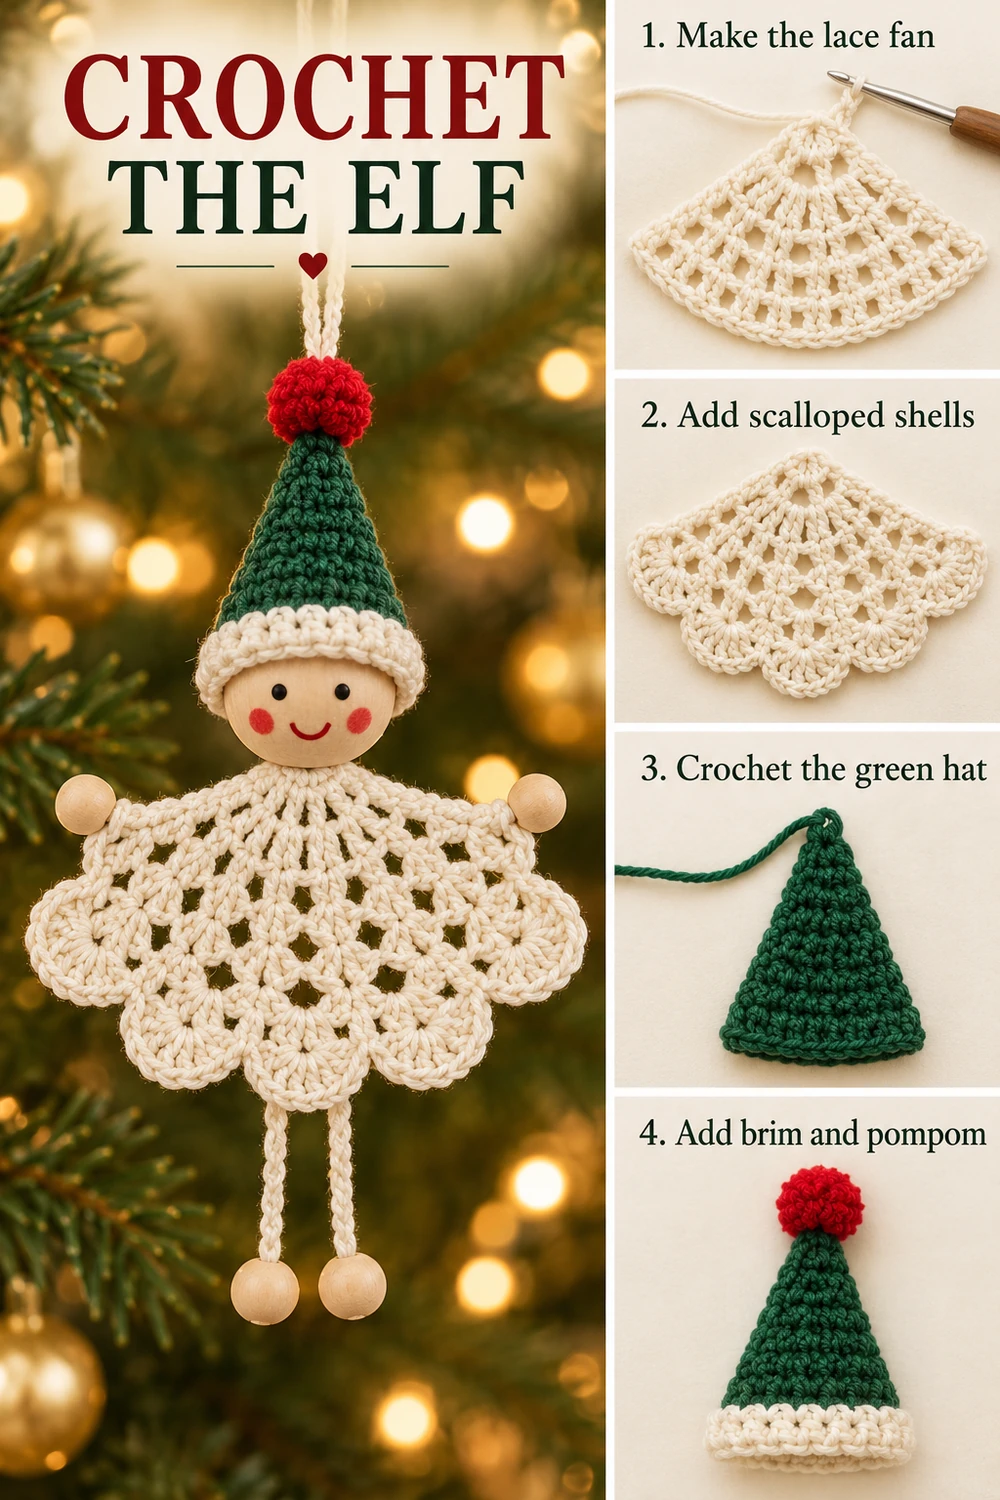
The guide image places one assembled elf-shaped chart at the top and a finished ornament photo underneath. The fan body is shown as connected rows, with the hat above the wooden head and the chains and beads in their assembly positions. Bead outlines are placement guides, not crochet stitches. Read the separate round counts for the cone and the written cord instructions before assembly.
More Free Christmas Crochet Patterns
- Holly Hat Snowman Ornament
- Pearl and Star Christmas Tree
- Ivory Lace Christmas Tree
Save This Pattern
Save this little wooden bead elf for your handmade Christmas decorations. Happy crocheting from Lovely Amigurumi!
Photo Tutorials, Crochet Chart, and Pinterest Gallery
The two photo tutorials and single-chart-above-photo guide appear first, followed by three Pinterest images. All six images are grouped here at the end.
More Free Crochet Patterns
Find your next handmade project with these lovely patterns.
Christmas Lace Star Crochet Pattern – Free Five-Point Ornament Guide
View Pattern →
Granny Stitch Gingerbread Crochet Pattern – Free Ornament Guide
View Pattern →
Blue Lace Snowflake Crochet Pattern – Free Ornament Guide
View Pattern →
CONTENT END 1
