
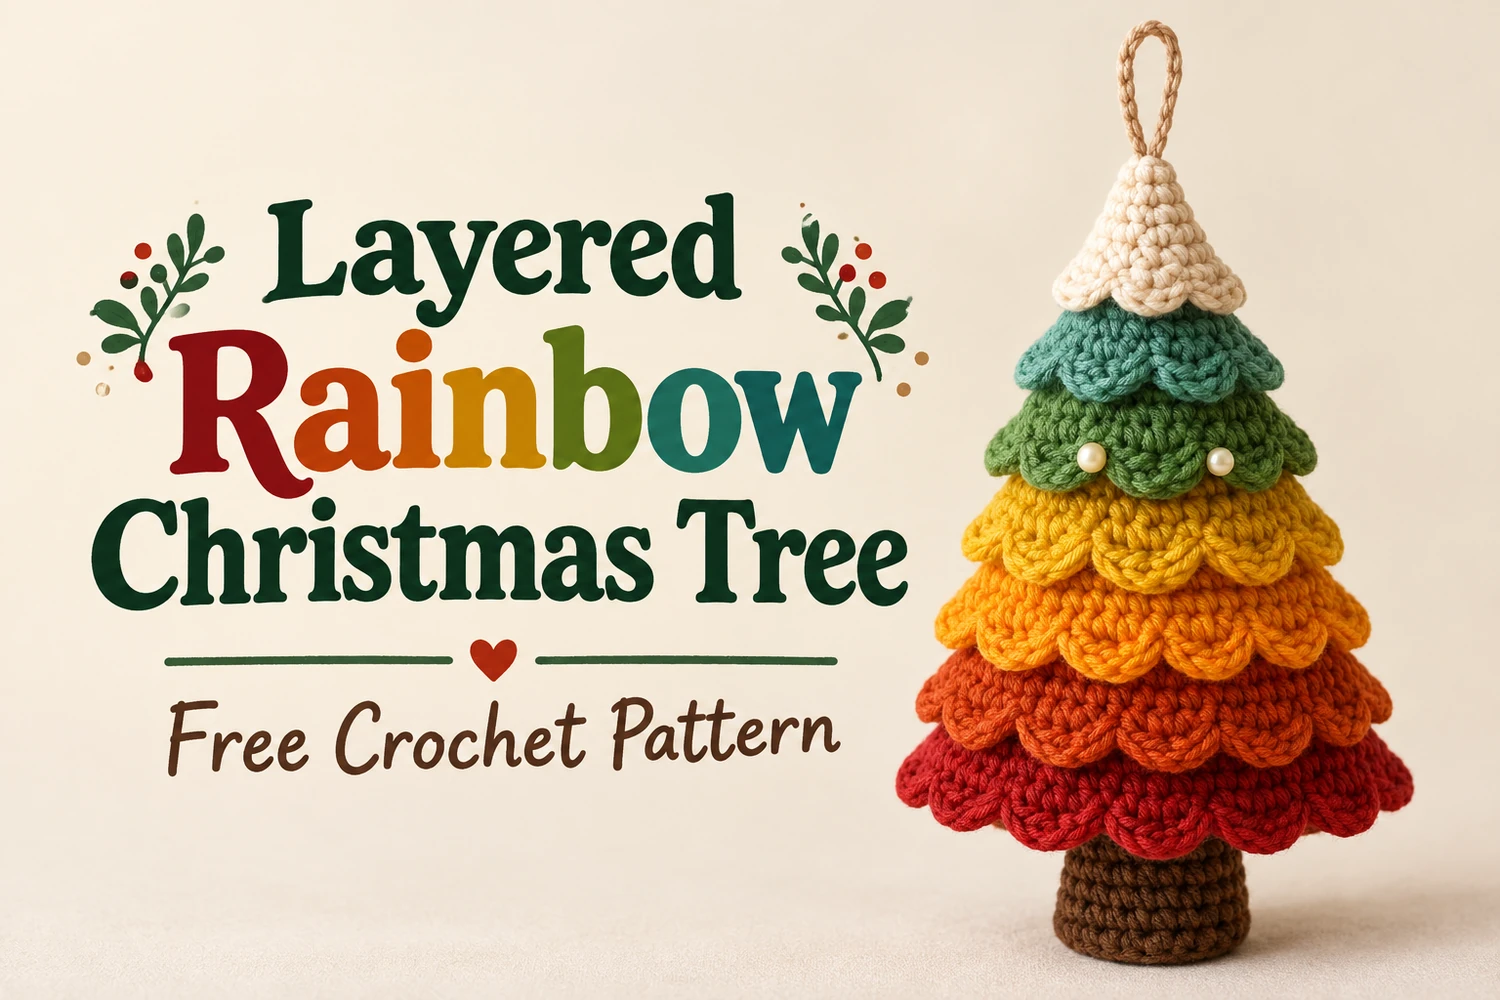
This Layered Rainbow Christmas Tree Crochet Pattern recreates the scalloped tiers of the reference, from a dark red lower skirt through orange, yellow, green, and teal to an ivory snow cap. A short brown trunk supports the tree, and a beige loop lets it hang as an ornament.
A stuffed cone forms the core. Six separate scalloped skirts are sewn around the cone, and an ivory edging completes the top cap, giving seven visible color tiers in total.
Pattern Information
- Skill level: intermediate.
- Estimated height: 18–24 cm including the trunk in DK cotton; tension affects size.
- Construction: stuffed cone, six sewn skirt rings, ivory cap edging, base disc, and brown trunk.
- Colors from bottom upward: dark red, burnt orange, golden orange, yellow, forest green, teal, ivory.
This is an image-inspired adaptation in US crochet terms. Stitch and repeat counts have been reviewed, but the design has not been physically crocheted or independently tested. Follow the written instructions for exact construction; the photographs illustrate the intended appearance.
Materials
- DK cotton: small amounts of all seven tier colors and brown; approximately 90–120 g total.
- 2.5–3 mm hook, tapestry needle, scissors, markers, pins.
- Polyester stuffing.
- Beige hanging cord and two optional small ivory pearls with strong sewing thread.
Stitches and Abbreviations
- ch: chain; sl st: slip stitch; MR: magic ring.
- sc: single crochet; hdc: half double crochet; dc: double crochet; tr: treble crochet.
- inc: 2 sc in the same stitch; dec: sc2tog over the next 2 stitches.
- BLO/FLO: back/front loop only.
- Picot: ch 3, sl st into the first of those three chains.
- Counts in brackets exclude turning chains and joining slip stitches.
Work the core and trunk in continuous rounds. Mark the first stitch. Skirt rings use joined rounds without turning; their starting ch 1 and joins do not count. Keep the yarn tails inside the cone before stuffing.
Responsivo Post 01 – P1
Layered Rainbow Christmas Tree Crochet Pattern
1. Cone Core — Tip to Base
Begin in ivory. R1: 6 sc in MR . R2: 6 sc . For each odd round from R3 through R29, add three evenly spaced increases; the following even round repeats that stitch total.
- R3: (1 sc, inc) × 3. R4: 9 sc.
- R5: (2 sc, inc) × 3. R6: 12 sc.
- R7: (3 sc, inc) × 3. R8: 15 sc.
- R9: (4 sc, inc) × 3. R10: 18 sc.
- R11: (5 sc, inc) × 3. R12: 21 sc.
- R13: (6 sc, inc) × 3. R14: 24 sc.
- R15: (7 sc, inc) × 3. R16: 27 sc.
- R17: (8 sc, inc) × 3. R18: 30 sc.
- R19: (9 sc, inc) × 3. R20: 33 sc.
- R21: (10 sc, inc) × 3. R22: 36 sc.
- R23: (11 sc, inc) × 3. R24: 39 sc.
- R25: (12 sc, inc) × 3. R26: 42 sc.
- R27: (13 sc, inc) × 3. R28: 45 sc.
- R29: (14 sc, inc) × 3. R30: 48 sc.
Color changes: ivory R1–6; teal R7–10; green R11–14; yellow R15–18; golden orange R19–22; burnt orange R23–26; dark red R27–30. Change on the final pull-through before each new color. The final core opening has 48 stitches.
At the start of R7, work that whole round in the back loops of R6. This leaves the twelve front loops of R6 available for the ivory cap edging. All other core rounds use both loops. Fasten off after R30 with a long tail for the base seam.
2. Ivory Snow-Cap Edging
Join ivory to the first unused front loop of R6. Repeat (sc in next loop, skip one loop, 5 dc in next loop, skip one loop) three times. Join to the first sc and fasten off. This edging flares over the upper edge of the teal tier.
3. Six Scalloped Skirt Rings
Make one ring in each color listed below. The foundation count N matches the core circumference at its attachment round. Join the starting chain without twisting.
- Teal: N = 12; attach around core R6.
- Green: N = 18; attach around core R10.
- Yellow: N = 24; attach around core R14.
- Golden orange: N = 30; attach around core R18.
- Burnt orange: N = 36; attach around core R22.
- Dark red: N = 42; attach around core R26.
For each ring: ch N and join into a circle. R1: ch 1, sc in every foundation chain . Join. R2: ch 1, N sc; join . R3: ch 1, repeat (2 sc, inc) N ÷ 3 times; join . R4: repeat (sc in next stitch, skip one stitch, 5 dc in next stitch, skip one stitch) all the way around. Join to the first sc and fasten off.
The six R3 totals are 16, 24, 32, 40, 48, and 56. Their scallop totals are 4, 6, 8, 10, 12, and 14. All foundation counts divide by three, and every scallop consumes four R3 stitches. Leave the foundation-chain tail long enough for sewing.
4. Fit and Sew the Skirts
Before stuffing, slide all six skirts over the tip of the cone, largest first. Move the dark red skirt down to R26, burnt orange to R22, golden orange to R18, yellow to R14, green to R10, and teal to R6. Keep the scalloped edges pointing toward the bottom and the skirt joins at the back.
Responsivo Post 02 – P2
Sew each skirt foundation edge to its attachment round with small stitches through corresponding core stitches. The scallops hang freely over the next lower tier. Secure the top edge completely but do not sew the scalloped edge to the core. Check that the ivory cap and six skirts make seven color bands.
5. Reinforced Hanging Loop
Fold approximately 20–25 cm of beige cord into a loop. Pass both ends through the top opening near the MR and anchor them on the inside through several dense core stitches. Sew at least four passes in different directions. Keep the cord attachment clear of the open scallops. Test gently before stuffing.
