
With dark red or brown, make a flat sc disc: R1 6 sc in MR; R2 inc × 6 ; R3 (sc, inc) × 6 ; R4 (2 sc, inc) × 6 ; R5 (3 sc, inc) × 6 ; R6 (4 sc, inc) × 6 ; R7 (5 sc, inc) × 6 ; R8 (6 sc, inc) × 6 . Fasten off.
Stuff the cone evenly in small tufts, keeping its tip rounded and the bottom flat. Sew the 48-stitch disc to the 48-stitch core opening, matching stitches one for one. Add a final little stuffing before closing. Do not overfill so the skirts are pushed outward unevenly.
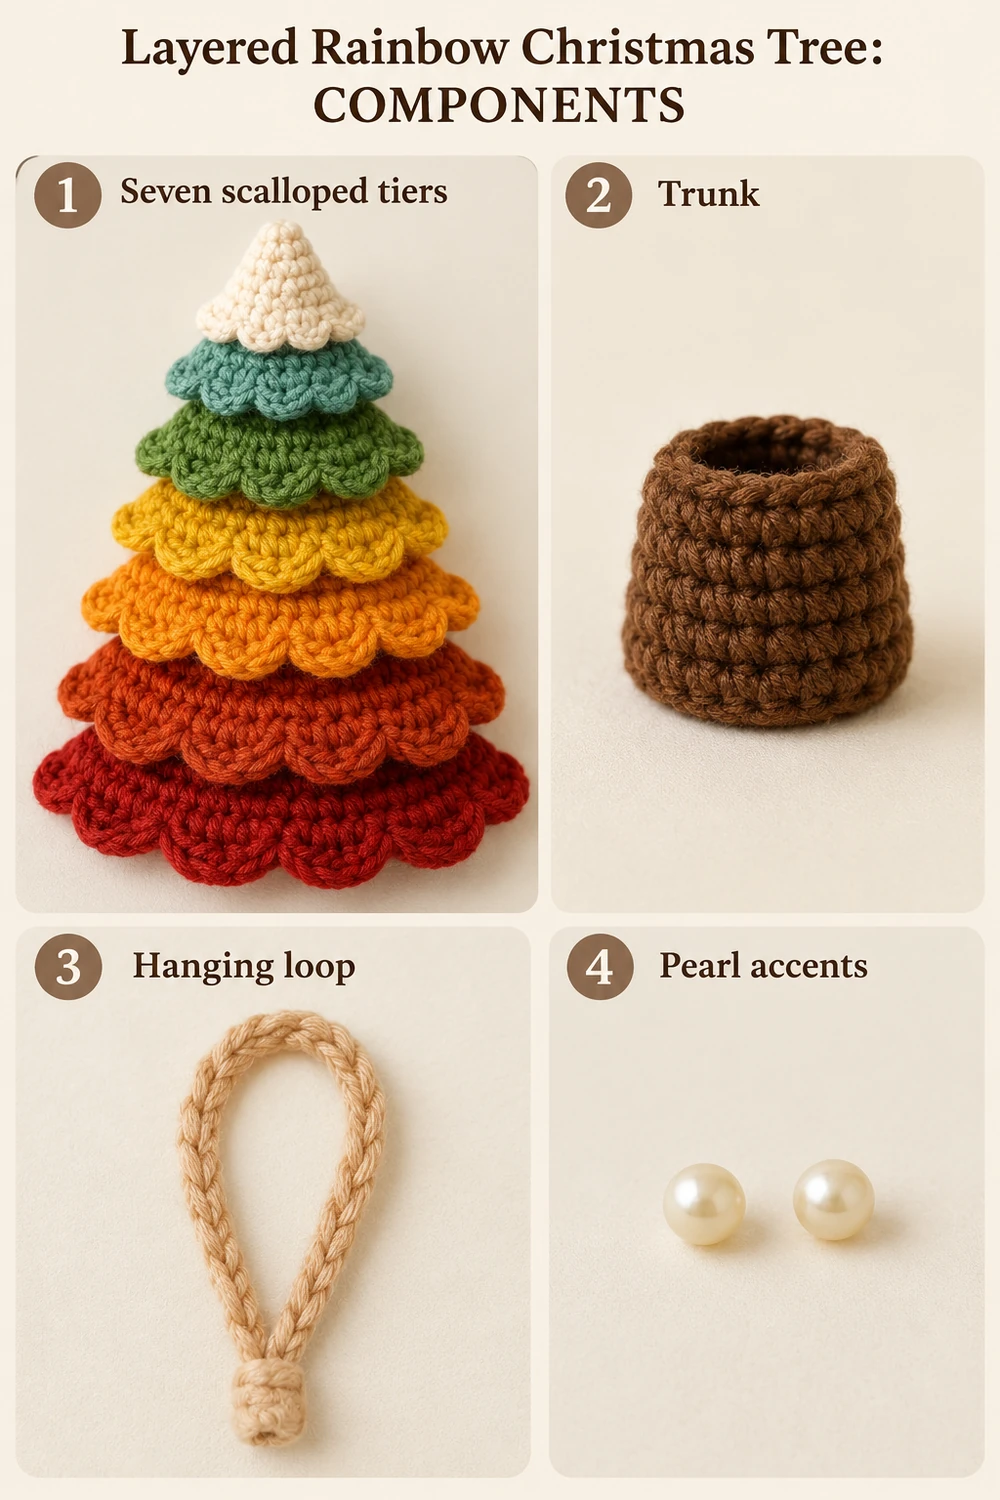
7. Brown Trunk
Begin at the flat bottom: R1 6 sc in MR; R2 inc × 6 ; R3 (sc, inc) × 6 ; R4 18 sc BLO; R5–8 18 sc each round. Fasten off with a sewing tail. Stuff lightly and leave the 18-stitch top opening unclosed. Sew that open edge to the center underside of the base disc. The starting MR disc becomes the flat trunk bottom.
If the tree will stand, distribute the trunk stuffing evenly and keep the base seam centered. It is a soft decoration, so check its balance on the intended surface. For hanging display, the loop remains the main suspension point.
8. Optional Pearl Accents
Sew two small ivory pearls onto dense stitches near the front of the green scalloped skirt. Use at least three thread passes per bead. Omit them for a fully yarn-based version, and display any beaded version away from young children and pets.
Tips and Questions
Why are the skirts made separately?
The separate rings overlap freely and create the layered scalloped shape. Their top edges attach to the cone at matching stitch counts.
Can I change the colors?
Yes. Preserve the ring sizes and attachment rounds. The supplied sequence follows the rainbow-like order in the reference.
How do I keep the cone smooth?
Stuff gradually, distribute the filling before closing the disc, and avoid tightening one skirt seam more than the others. Weave in all tails and spot-clean gently.
Photo and Complete Crochet Chart
The photo-and-chart image contains the complete connected cone-core chart, R1–30, with every increase and straight round shown. The skirts, cap edging, base disc, and trunk are separate components described above. Follow the color schedule and the marked attachment rounds when sewing the skirts.
More Free Christmas Crochet Patterns
- Granny Reindeer Ornament Crochet Pattern
- Embroidered Christmas Star Crochet Pattern
- Simple Christmas Tree Garland Crochet Pattern
Save This Pattern
Save this Layered Rainbow Christmas Tree Crochet Pattern for a handmade holiday project. Happy crocheting from Lovely Amigurumi!
Photo Tutorials, Crochet Chart, and Pinterest Gallery
The two photo tutorials and finished-project photo above its complete crochet chart come first, followed by three Pinterest images. All six images are grouped here at the end.
More Free Crochet Patterns
Find your next handmade project with these lovely patterns.
Christmas Lace Star Crochet Pattern – Free Five-Point Ornament Guide
View Pattern →
Granny Stitch Gingerbread Crochet Pattern – Free Ornament Guide
View Pattern →
Blue Lace Snowflake Crochet Pattern – Free Ornament Guide
View Pattern →
CONTENT END 1
