
Embroider the Face and Buttons
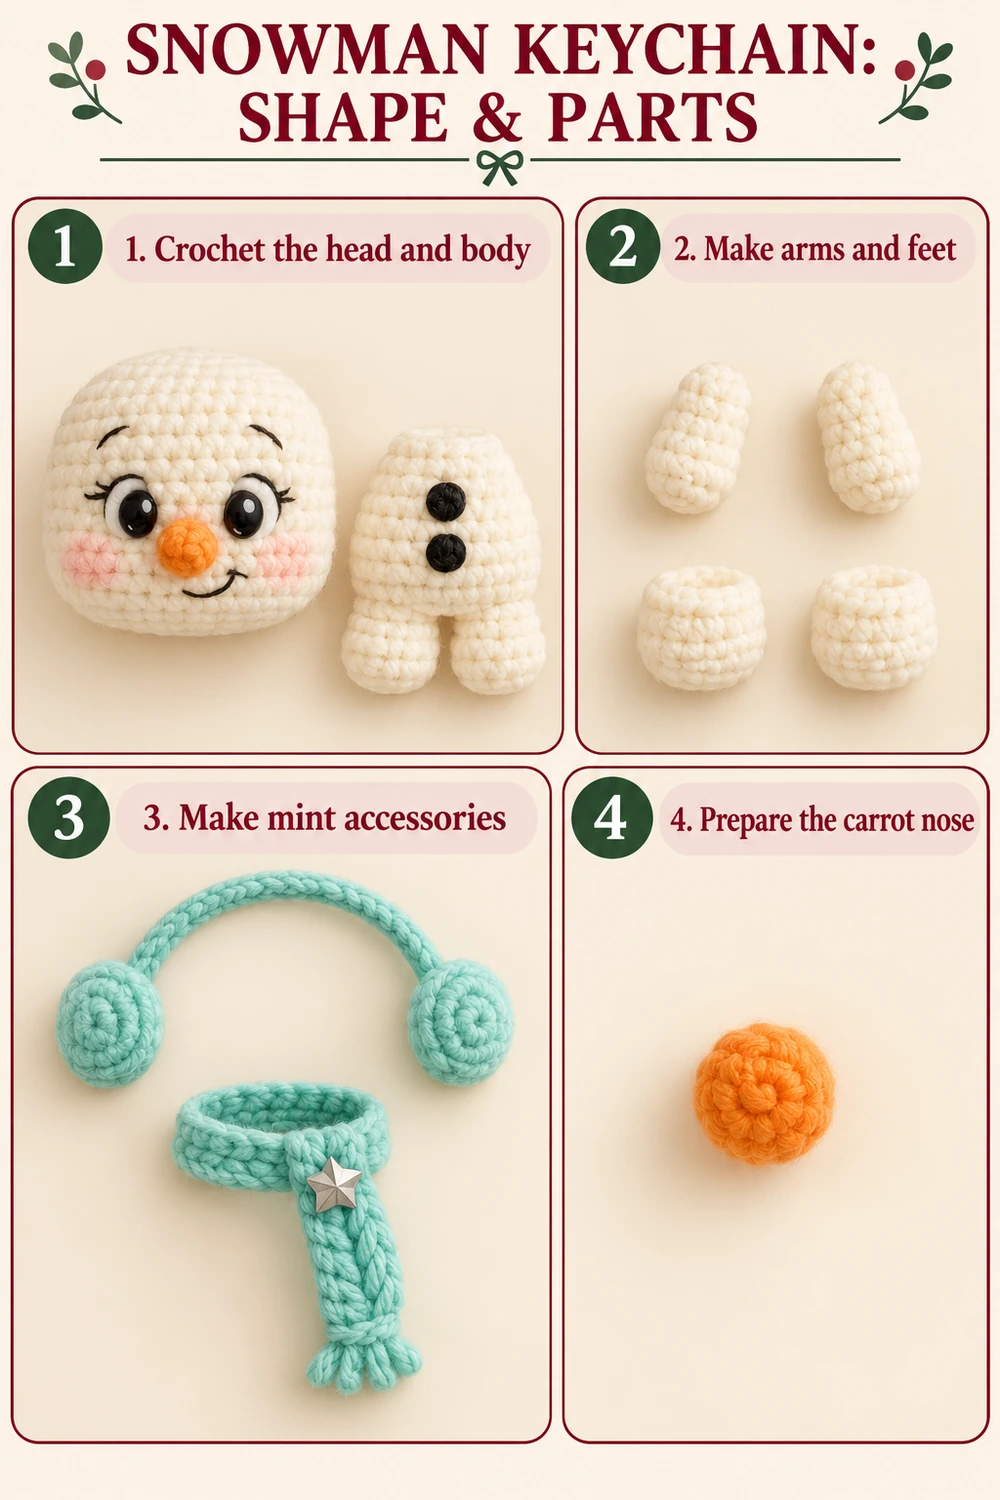
Mark the eyes on head R8–9, about five stitches apart. Embroider two small filled black ovals, keeping the thread layers smooth. Add a tiny white highlight to each eye, two short black lashes toward the outer edge, and a small curved eyebrow above.
Embroider a gentle smile below the carrot nose with two or three short backstitches on each side of the curve. Add small pink yarn stitches to the cheeks beneath the eyes. Keep thread tension loose enough that the stuffing is not pulled inward.
Embroider two filled black circles in a vertical line on the body front, around body R6 and R8. Position the scarf so one long end hangs just to the side of the buttons.
Attach the Keychain Hardware
Use doubled ivory yarn to make a small loop through several dense crown stitches beside the center of the headband. Pass through the head fabric at least four times, spreading the load over several stitches instead of using a single stitch.
Secure the ends deeply inside the head and weave them in different directions. Attach the closed jump ring or chain link through this reinforced yarn loop, then connect the short chain and gold lobster clasp. Close any split in the hardware completely. Gently tug the attachment and every sewn part before use.
The metal attachment belongs to the reinforced head loop. Do not hang the snowman from the scarf, headband, or optional star charm.
Finishing Checklist
- Head and body meet evenly at the neck.
- Both ear pads are level and the headband lies close to the crown.
- The nose is centered, and the smile and eyes are balanced.
- Arms and feet are sewn firmly and symmetrically.
- Scarf, fringe, and optional charm are secured.
- The keychain loop is reinforced and hardware is closed.
Tips and Troubleshooting
The head tilts forward
Add a little more stuffing at the neck and make a second sewing pass around the twelve-stitch join.
The earmuffs look too bulky
Use less stuffing. The ear pads should be softly rounded, with their open backs sewn flat against the head.
The scarf hides the buttons
Turn the overlap slightly to one side and tack the hanging end in place.
Frequently Asked Questions
Can I use safety eyes?
Yes, if appropriate for your intended use. Fit them before stuffing and closing the head. Embroidery keeps the small reference details easy to adjust.
Can this be a tree ornament?
Yes. Replace the metal chain with a securely sewn hanging loop at the crown. Omit the optional metal star if you prefer.
Can I change the accessory color?
Yes. The same scarf and earmuff instructions work in another color; mint-aqua follows the reference.
More Free Christmas Crochet Patterns
- Snowflake Keychain Crochet Pattern
- Christmas Mug Keychain Crochet Patterns
- Christmas Bell Ornament Crochet Pattern
Save This Pattern
Save this Snowman Earmuffs Keychain Crochet Pattern for your next winter bag charm or handmade gift. Happy crocheting from Lovely Amigurumi!
Snowman Tutorials, Ear Pad Chart, and Pinterest Gallery
Two photo tutorials and one finished-snowman photo with an ear-pad stitch chart come first, followed by three Pinterest images. The chart covers ear-pad R1–3 only; use the written pattern for later rounds and all other parts.
More Free Crochet Patterns
Find your next handmade project with these lovely patterns.
Christmas Lace Star Crochet Pattern – Free Five-Point Ornament Guide
View Pattern →
Granny Stitch Gingerbread Crochet Pattern – Free Ornament Guide
View Pattern →
Blue Lace Snowflake Crochet Pattern – Free Ornament Guide
View Pattern →
CONTENT END 1
