
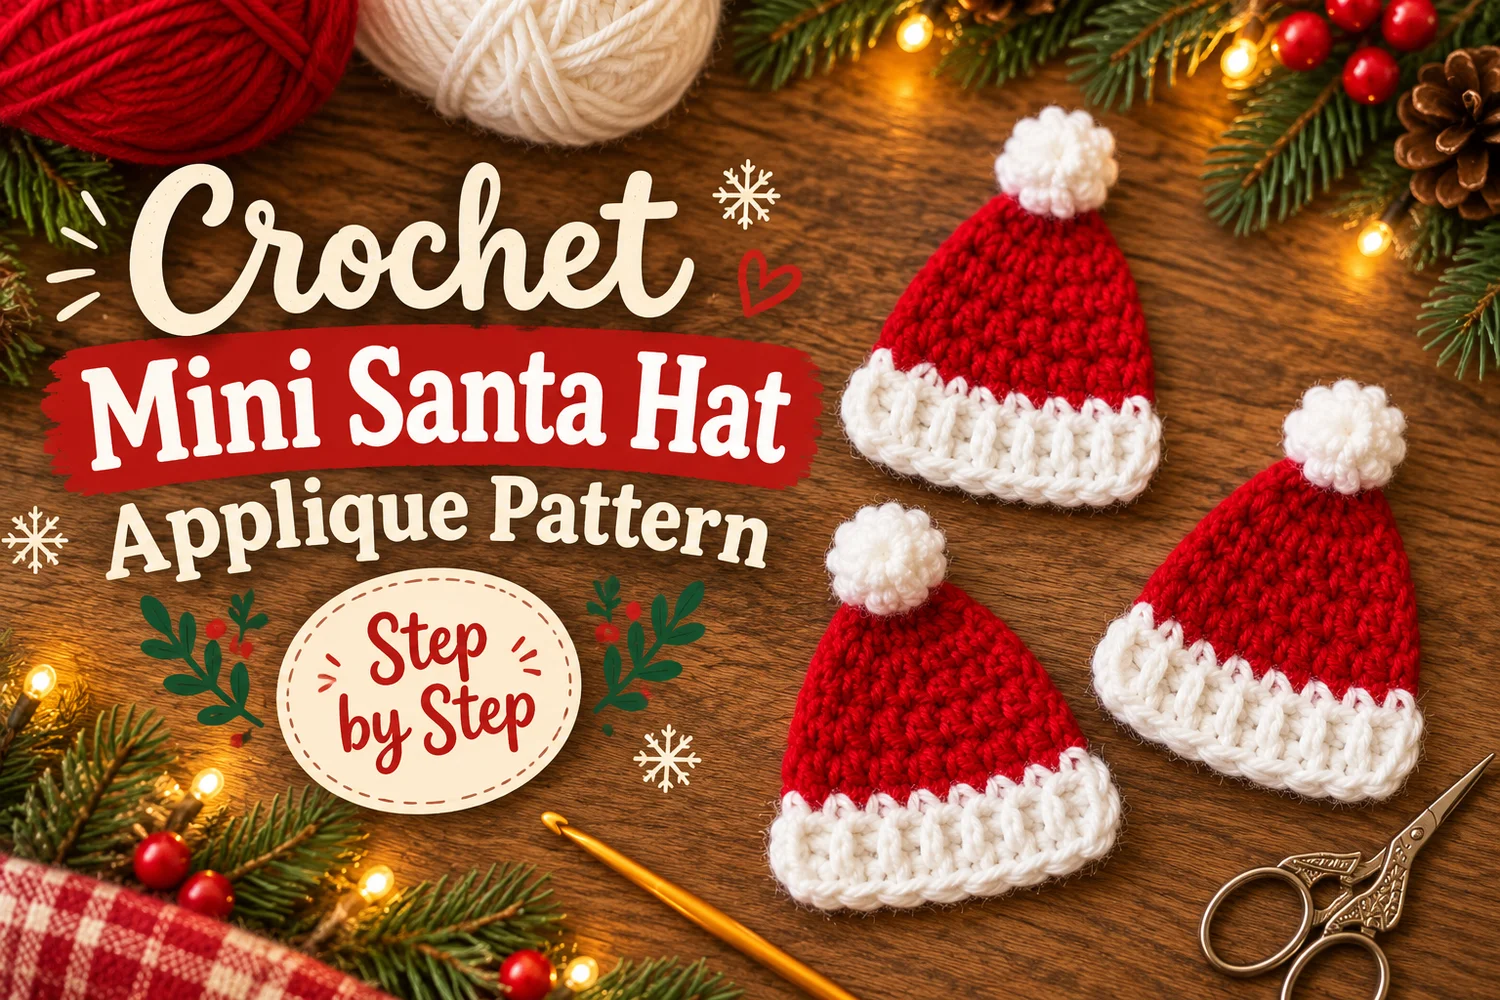
This Mini Santa Hat Applique Crochet Pattern makes a small flat red hat with a white ribbed brim and a textured white pom-pom. The tapered panel and rounded lower corners follow the simple red-and-white hats in the reference photo.
Make a matching set for gift tags, cards, garlands, or sewn decorations. The hat panel stays unstuffed, while the tiny pom-pom adds a little dimension at the top.
Pattern Information
- Skill level: Confident beginner to intermediate, with front and back post stitches.
- Terms: US crochet terminology.
- Construction: Flat red panel worked from the tip downward, white ribbed brim, and separate crocheted pom-pom.
- Estimated size: About 5–7 cm tall including the pom-pom with fine cotton yarn. Yarn, hook, and tension change the finished size.
- Reference details: Bright red hat, broad white ribbed band, and a small textured white pom-pom.
This is an image-inspired adaptation. Counts and shaping have been checked, but the pattern has not been physically crocheted or independently tested. Follow the written instructions for exact stitch placement; the photo tutorials and chart illustrate the construction.
Responsivo Post 01 – P1
Materials for the Mini Santa Hat Applique Crochet Pattern
- Fine cotton yarn in Christmas red and white, a few grams of each per applique.
- A 2–2.5 mm crochet hook, or a size that makes firm, even stitches.
- Tapestry needle and scissors.
- Two stitch markers for the first and last stitches if needed.
- A tiny amount of stuffing for the pom-pom only.
- Optional blocking mat and rust-resistant pins.
Use the same yarn weight for the red panel and white brim. No stuffing is needed inside the hat panel. For a completely flat decoration, use an unstuffed pom-pom and flatten it gently before sewing.
Stitches and Abbreviations
| Abbreviation | Meaning |
|---|---|
| ch | chain |
| sc | single crochet |
| dc | double crochet |
| sl st | slip stitch |
| inc | 2 sc in one stitch |
| dec | single crochet decrease over 2 stitches |
| FPdc | front post double crochet |
| BPdc | back post double crochet |
| MR | magic ring |
| st(s) | stitch(es) |
The panel and brim use turned rows. The pom-pom uses continuous rounds. Beginning chains do not count as stitches anywhere in this pattern.
Front and Back Post Double Crochet
FPdc: Yarn over. Insert the hook from front to back and back to front around the vertical post of the next stitch. Complete a double crochet. Work around the post, not into its top loops.
BPdc: Yarn over. Insert the hook from back to front and front to back around the next post. Complete a double crochet. Alternating these two stitches gives the white brim its raised ribs.
Small Bobble for the Pom-Pom
In one stitch, work three partial double crochets: yarn over, insert the hook, pull up a loop, yarn over, and draw through two loops, leaving the remaining loops on the hook. Repeat twice more in the same stitch.
With four loops on the hook, yarn over and draw through all four. This counts as one bobble stitch. Do not add an extra securing chain; continue into the next base stitch as instructed.
Before You Begin
The red panel starts at its narrow top with two stitches. Increase at both ends of every other row until the bottom has twelve stitches. The intervening straight rows make the sides slope gradually.
Put markers in the first and last stitches if the edges are hard to see. After every turn, work into the first actual stitch below the hook and ignore the turning chain.
Responsivo Post 02 – P2
Mini Santa Hat Applique Crochet Pattern
1. Red Hat Panel
With red, ch 2.
- Row 1:2 sc in the second chain from the hook.
- Row 2:Ch 1, turn, inc in each stitch.
- Row 3:Ch 1, turn, 4 sc.
- Row 4:Ch 1, turn, inc in the first stitch, 2 sc, inc in the last stitch.
- Row 5:Ch 1, turn, 6 sc.
- Row 6:Ch 1, turn, inc, 4 sc, inc.
- Row 7:Ch 1, turn, 8 sc.
- Row 8:Ch 1, turn, inc, 6 sc, inc.
- Row 9:Ch 1, turn, 10 sc.
- Row 10:Ch 1, turn, inc, 8 sc, inc.
- Row 11:Ch 1, turn, 12 sc.
Change to white on the final pull-through of the last sc in Row 11. Leave a red tail to weave in later. Keep the panel flat rather than joining its sides into a cone.
Red Panel Count Check
| Rows | Count |
|---|---|
| 1 | 2 sc |
| 2–3 | 4 sc per row |
| 4–5 | 6 sc per row |
| 6–7 | 8 sc per row |
| 8–9 | 10 sc per row |
| 10–11 | 12 sc per row |
The full row-count sequence is 2, 4, 4, 6, 6, 8, 8, 10, 10, 12, 12. Each increase row adds two stitches: one at each edge.
2. White Ribbed Brim
Row 12:With white, ch 2, turn, dc in each of the 12 red stitches.
The ch 2 gives height and does not count as a stitch. Keep the first and last dc in the actual edge stitches, not in a turning chain.
Row 13:Ch 2, turn, (FPdc around the next post, BPdc around the next post) six times.
Work the first post stitch around the first dc of Row 12. Do not add an ordinary dc at either edge. The repeat uses all twelve posts and finishes with a BPdc.
Lower edging:Ch 1, turn, sl st loosely into each of the 12 stitch tops. Fasten off with a long tail.
Gently round the lower corners with your fingers. Keep the edging loose so the white band stays broad and does not curl inward. Leave the brim unfolded to show the vertical ribs.
3. Small White Crocheted Pom-Pom
With white, work in continuous rounds:
- R1:6 sc in MR.
- R2:Inc × 6.
- R3:(1 sc, 1 small bobble in the next stitch) × 6.
- R4:Dec × 6.
Push the bobbles outward if they settle inside. Add a tiny pinch of stuffing for a rounded pom-pom, or leave it unstuffed for a flatter applique.
Fasten off with a 20 cm sewing tail. Thread it through the front loops of the final six stitches and draw closed. Keep the remaining tail for attachment.
Sew the Pom-Pom to the Tip
Place the white pom-pom over the narrow red top, centered above Row 1. Its lower edge should overlap the red tip slightly.
Sew through several red stitches near Rows 1–2 and through the base of the pom-pom at least three times. Change direction between passes so it cannot swing from one loose stitch.
