
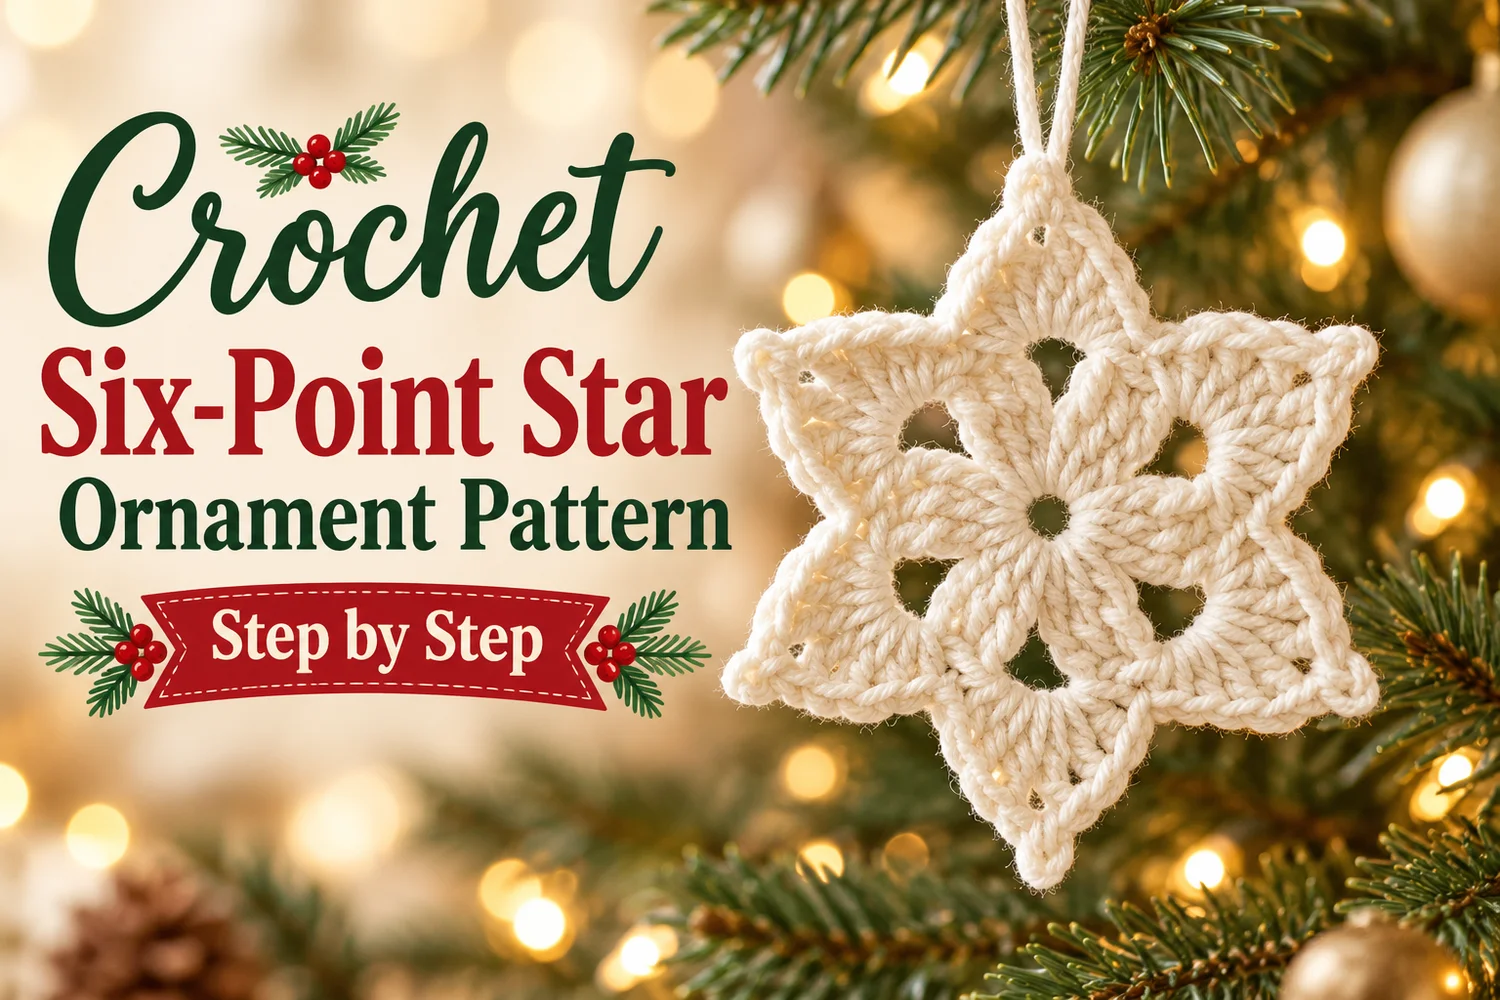
This Six-Point Star Ornament Crochet Pattern makes a flat cream star with six pointed sections, six open windows, and a small center opening. The clustered stitches and simple picot tips follow the soft, openwork appearance of the reference.
Work the motif in three rounds, shape it flat, and add a thin cream hanging loop. The final gallery includes two visual tutorials and a photo-and-symbol-chart guide, followed by three Pinterest images.
Pattern Information
- Skill level: Confident beginner familiar with clusters and treble crochet.
- Terms: US crochet terminology.
- Construction: Six clusters around a magic ring, six pointed fans, and a single crochet and picot edging.
- Estimated size: Approximately 8–11 cm from tip to tip with fine cotton yarn; yarn, hook, and blocking change the size.
- Reference details: Cream yarn, six points, six open windows, small center hole, and a matching yarn hanger.
This is an image-inspired adaptation. Counts and repeat placement have been checked, but the pattern has not been physically crocheted or independently tested. Use the written instructions for exact counts; the visual guides help show the construction.
Responsivo Post 01 – P1
Materials for the Six-Point Star Ornament Crochet Pattern
- Firm cotton yarn in cream or ivory, approximately 5–10 g as a starting allowance.
- A 2.5–3 mm crochet hook, or a size that makes neat stitches with clearly open chain spaces.
- Tapestry needle and scissors.
- Six stitch markers, or a marker for the first repeat.
- Blocking mat and rust-resistant pins.
- A separate 20–25 cm length of cream yarn for the hanger.
- Optional yarn-compatible fabric stiffener.
No stuffing or metal ring is needed. Cotton helps the open motif retain its shape after blocking. Use a smooth yarn so the clusters and open windows remain easy to see.
Stitches and Abbreviations
| Abbreviation | Meaning |
|---|---|
| MR | magic ring |
| ch | chain |
| sl st | slip stitch |
| sc | single crochet |
| hdc | half double crochet |
| dc | double crochet |
| tr | treble crochet; yarn over twice before inserting the hook |
| cl | 3-dc cluster, described below |
| sp | space |
| st(s) | stitch(es) |
How to Make a 3-dc Cluster
All three partial double crochets are worked into the same ring or space. Yarn over, insert the hook, pull up a loop, yarn over, and draw through two loops. Leave the remaining loops on the hook. Repeat those steps twice more in the same place.
You now have four loops on the hook. Yarn over and draw through all four to close the cluster. It counts as one cluster with three joined double-crochet legs.
Tip Picot for the Final Edging
After the specified sc at a point, ch 3, then sl st in the third chain from the hook. This makes one small tip loop. Continue with the next sc into the same tip space.
Before You Begin
The starting ch 2 raises the yarn to cluster height and does not count as a separate stitch or cluster. All six clusters in Round 1 are made in the same magic ring, separated by ch-5 spaces.
Round 2 makes one pointed fan in each of those six spaces. Do not make extra fans into the cluster tops. This keeps the motif at exactly six main points.
Six-Point Star Ornament Crochet Pattern
Round 1 — Six Clusters and Six Windows
With cream, make a magic ring. Ch 2; this chain does not count as a stitch.
Work (3-dc cluster in MR, ch 5) six times. Join with sl st into the top of the first cluster, below its following chain space.
Responsivo Post 02 – P2
Count: 6 clusters and 6 ch-5 spaces. The joining slip stitch does not create a seventh cluster.
Draw the magic ring inward gently, leaving a small center opening of approximately 5–7 mm if your yarn allows. Hold the ring size while working the next round. Later, secure the starting tail through several stitches so the opening cannot loosen.
Round 2 — Six Pointed Fans
Sl st into the next ch-5 space. Work the following sequence around that chain space, rather than into its individual chains:
(Sc, hdc, dc, tr, ch 3, tr, dc, hdc, sc).
Move directly to the next ch-5 space and repeat the same fan. Continue until all six spaces contain one fan. Join with sl st to the first sc.
Count: 6 points, 48 worked stitches, and 6 ch-3 tip spaces. Each point has eight worked stitches: sc, hdc, dc, tr, tr, dc, hdc, sc.
The chain-space openings remain visible between the center clusters and the new fans. Spread them gently; do not fill them with additional stitches or sewing.
Round 3 — Single Crochet and Picot Edge
Ch 1; it does not count as a stitch. For each of the six points:
- Sc in each of the next four stitches on the first side of the point: the sc, hdc, dc, and tr from Round 2.
- Into the ch-3 tip space, work sc, ch 3, sl st in the third chain from the hook, then another sc in the same tip space.
- Sc in each of the next four stitches on the second side: tr, dc, hdc, and sc.
Repeat around all six points, working directly from the last sc of one fan to the first sc of the next. Join with sl st to the first sc and fasten off with a 15–20 cm tail.
Count: 60 sc and 6 tip picots. Each point uses eight side sc plus two sc in its tip space. The picot chains and joining slip stitches are not included in the sc total.
Count Check Before Finishing
| Round | What to count |
|---|---|
| 1 | 6 clusters and 6 ch-5 spaces |
| 2 | 6 fans; 48 worked stitches and 6 ch-3 tip spaces |
| 3 | 60 sc and 6 small tip picots |
Lay the motif flat and count six large points, six open windows, and six little tip picots. Small variations in tension can be corrected with blocking, but an extra repeat needs to be corrected before finishing.
Secure and Weave in the Ends
Thread the starting tail through the backs of several cluster bases, following the center circle. Change direction and weave through several more stitches without pulling the opening shut.
Weave the finishing tail along the back of the edging, changing direction before trimming. Keep the tails inside dense stitch areas so they do not cross the open windows.
