
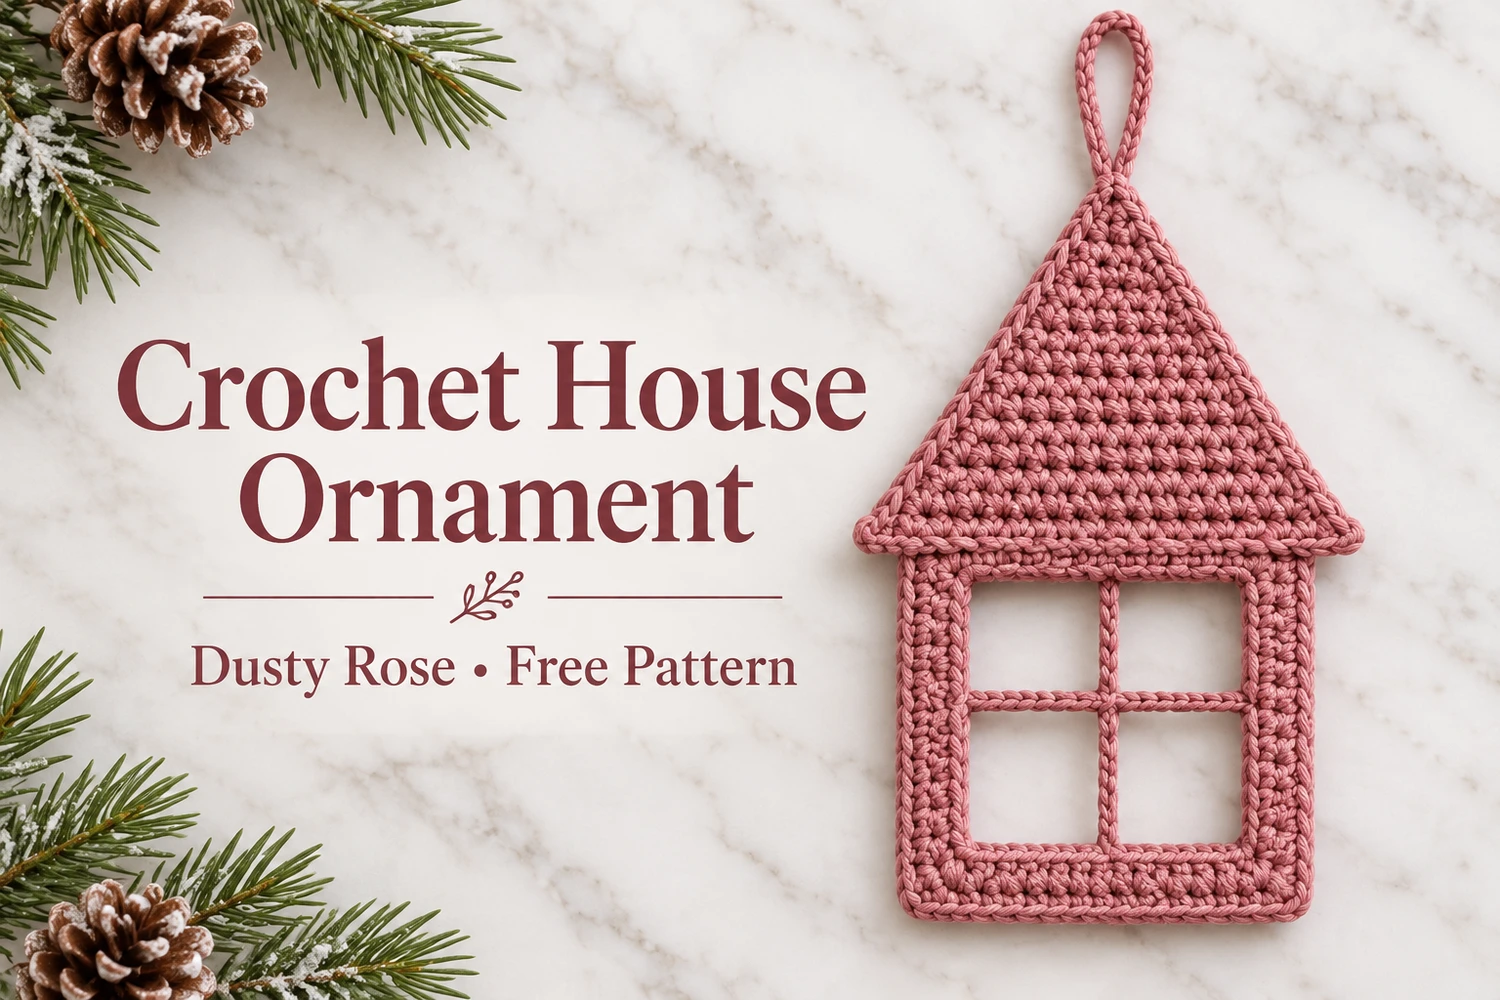
This Dusty Rose House Ornament Crochet Pattern makes a flat pink cottage with a solid pointed roof, a rectangular frame, and an open window divided into four panes. A matching chain loop at the roof peak completes the simple reference-inspired silhouette.
Work the lower frame with two narrow side pillars, then bridge across the window. Crochet the roof separately and sew it above the frame with a small overhang. Two chain bars cross in the window, leaving all four panes empty.
Pattern Information
- Skill level: confident beginner to intermediate; turned rows, decreases, chain bridges, and sewing.
- US crochet terminology.
- Estimated height: 14–18 cm excluding the loop, using sport cotton and a 2.5 mm hook. Tension changes the dimensions.
- Color: dusty rose throughout.
- Construction: one rectangular window frame, one solid triangular roof, two window bars, and one hanging loop.
- No backing fabric, stuffing, door, chimney, beads, or extra decorations are needed.
This is an image-inspired adaptation. Stitch totals and construction have been reviewed, but the design has not been physically crocheted or independently tested. Follow the written instructions for this version; the photographs guide its appearance.
Materials
- Sport cotton in dusty rose, approximately 15–20 g.
- 2–2.5 mm crochet hook matched to the yarn.
- Tapestry needle, scissors, and stitch markers.
- Blocking mat and rustproof pins.
- Optional cotton-compatible fabric stiffener for a firmer hanging ornament.
Abbreviations and Working Notes
- ch: chain; sl st: slip stitch; sc: single crochet.
- sc2tog: single crochet two stitches together, reducing two base stitches to one.
- Ch 1 at the beginning of a row does not count as a stitch.
- Turn at the end of each row unless the instructions say to fasten off.
- The frame is 18 stitches wide: four stitches for each side pillar and ten positions across the open middle.
- The roof starts 24 stitches wide, leaving three stitches of overhang at each side of the 18-stitch frame.
Dusty Rose House Ornament Crochet Pattern
1. Bottom of the Window Frame
With dusty rose, ch 19. Row 1: sc in the second chain from the hook and each remaining chain . Turn. Rows 2–3: ch 1, sc in each stitch , turning after Row 2. After Row 3, fasten off.
Responsivo Post 01 – P1
Mark the first four and last four stitches of Row 3. These groups become the two upright pillars. The ten stitches between them remain unworked while the window opening is formed.
2. First Side Pillar
With the right side of the base facing, join yarn at one outer end of Row 3. Row 4: ch 1, sc across the four marked stitches at that end . Turn.
Rows 5–16: ch 1, sc across the four pillar stitches , turning after every row except the last. Fasten off after Row 16. There are thirteen pillar rows in total, counting Row 4.
Keep the inner edge of the pillar straight. Do not continue across the ten center stitches of the base; that section must remain open above the bottom band.
3. Second Side Pillar
Join a new strand at the other outer end of base Row 3. Work Rows 4–16 across its four marked stitches in exactly the same way, then fasten off. Both pillars must have thirteen rows and four stitches in each row.
Lay the piece flat. Its lower shape is now a U: an 18-stitch bottom band and two equal upright sides, with a ten-position gap between them. Match the two pillar tops before adding the bridge.
4. Bridge the Top of the Window
With the right side facing, join yarn at the outer upper corner of one pillar. Row 17: ch 1, sc across the four top stitches, ch 10, then sc across the four top stitches of the other pillar . Turn.
Row 18: ch 1, sc in the first four stitches, sc in each of the ten bridge chains, then sc in the last four stitches . Turn. Row 19: ch 1, sc across . Fasten off with a long tail.
Responsivo Post 02 – P2
The frame is nineteen rows high overall. The opening runs between the three-row bottom band and the three-row top section. Check that the ch-10 bridge has a similar width to the ten unworked base stitches; avoid pulling it tight or leaving it sagging.
5. Solid Triangle Roof
With pink, ch 25. Row 1: sc from the second chain across . Turn. Every following roof row begins with ch 1, which does not count.
- Row 2: sc2tog, 20 sc, sc2tog .
- Row 3: sc2tog, 18 sc, sc2tog .
- Row 4: sc2tog, 16 sc, sc2tog .
- Row 5: sc2tog, 14 sc, sc2tog .
- Row 6: sc2tog, 12 sc, sc2tog .
- Row 7: sc2tog, 10 sc, sc2tog .
- Row 8: sc2tog, 8 sc, sc2tog .
- Row 9: sc2tog, 6 sc, sc2tog .
- Row 10: sc2tog, 4 sc, sc2tog .
- Row 11: sc2tog, 2 sc, sc2tog .
- Row 12: sc2tog twice .
- Row 13: sc2tog .
Turn after each row except the last. Fasten off with a long tail. The roof is one dense triangle; do not add holes, a chimney, or a separate roof backing.
The first twelve rows go from 24 stitches to two, decreasing by two on each row after the first. The final row reduces those last two stitches to one apex stitch. Keep the two sloping edges even.
6. Block and Join Roof to Frame
Lightly dampen the roof and frame. Pin the frame into a rectangle, keeping the four-stitch pillars parallel. Pin the roof into a balanced triangle with a straight lower edge and a centered apex. Let both dry completely.
Center the roof above the frame. Align the middle eighteen foundation positions of the roof with the eighteen stitches of frame Row 19; leave three roof positions free at each side for the eaves.
Sew the frame’s upper edge to that central roof section with small whipstitches, catching corresponding loops and hiding the seam on the back. Keep the roof overhang balanced. Do not sew across the window opening or pull the upper band into a curve.
